> ## Documentation Index
> Fetch the complete documentation index at: https://launchdarkly.com/docs/llms.txt
> Use this file to discover all available pages before exploring further.
# Segments
This topic introduces the concept of segments. Segments let you group together users, accounts, or other contexts so you can easily target them as a group in your flag targeting rules. This helps guarantee that the right groups of people are getting the right flag variations every time, instead of having to build your flag targeting rules from scratch for every flag.
Some examples of segments you could create include:
* **Internal users**: a group of internal employees who test new features before you release them to your beta testers.
* **Beta testers**: A group of customers that have agreed to act as beta testers for new products and features
* **Enterprise accounts**: a group of all of your enterprise-level customer accounts who should have access to your premium features
Here is an example of a flag targeting a "Mobile beta" segment:
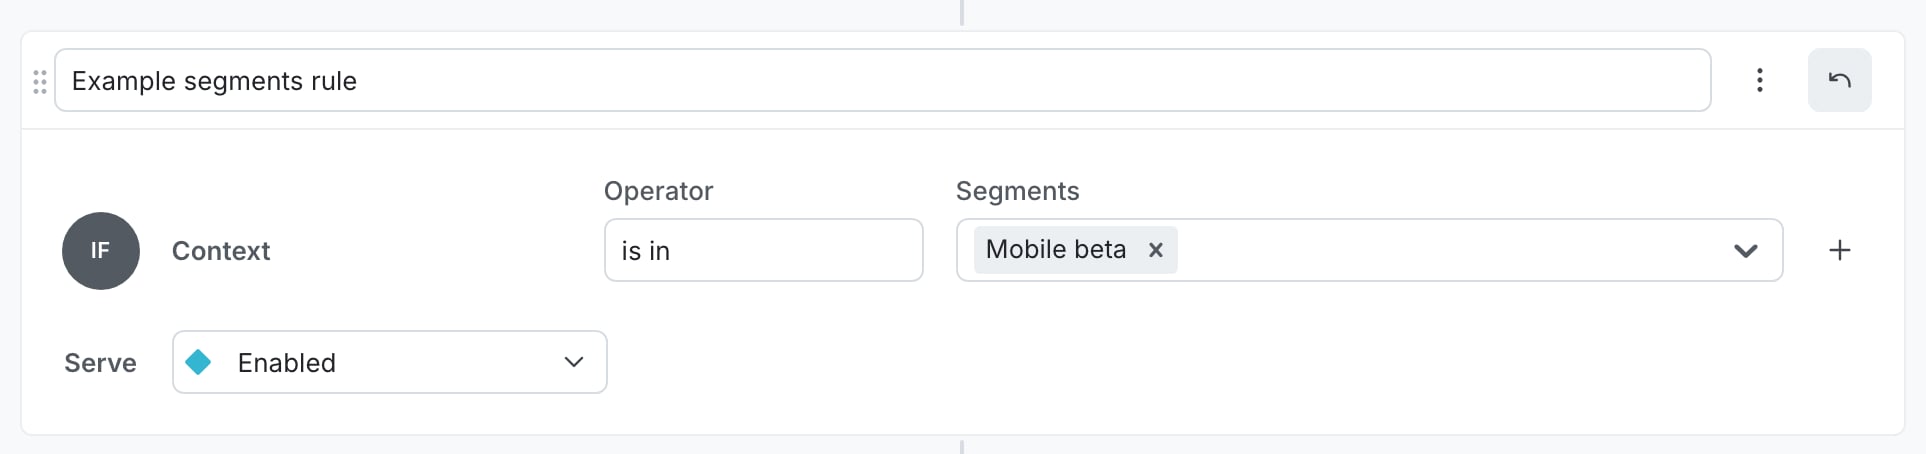 When you target segments in a flag rule, selecting multiple segments in a single condition uses OR logic. The rule matches if the context is a member of any one of the selected segments.
## How to use segments
Using segments requires three steps:
1. [Create the segment](/docs/home/flags/segments-create)
2. [Add targeting rules](/docs/home/flags/rule-based-segments) or [add lists of contexts to target](/docs/home/flags/list-based-segments)
3. [Target that segment in one or more flags](/docs/home/flags/segment-targeting)
Like contexts, segments are environment-specific.
We recommend using tags on your segments to help you understand quickly which segments are associated with which projects or teams. To learn more, read [Tags](/docs/home/account/tags).
### Example use
For an example of how you can use segments, read [Using segments and targeting to manage early access programs](/docs/guides/flags/eap-targeting).
## View segments
You can view segments from the **Segments** list:
When you target segments in a flag rule, selecting multiple segments in a single condition uses OR logic. The rule matches if the context is a member of any one of the selected segments.
## How to use segments
Using segments requires three steps:
1. [Create the segment](/docs/home/flags/segments-create)
2. [Add targeting rules](/docs/home/flags/rule-based-segments) or [add lists of contexts to target](/docs/home/flags/list-based-segments)
3. [Target that segment in one or more flags](/docs/home/flags/segment-targeting)
Like contexts, segments are environment-specific.
We recommend using tags on your segments to help you understand quickly which segments are associated with which projects or teams. To learn more, read [Tags](/docs/home/account/tags).
### Example use
For an example of how you can use segments, read [Using segments and targeting to manage early access programs](/docs/guides/flags/eap-targeting).
## View segments
You can view segments from the **Segments** list:
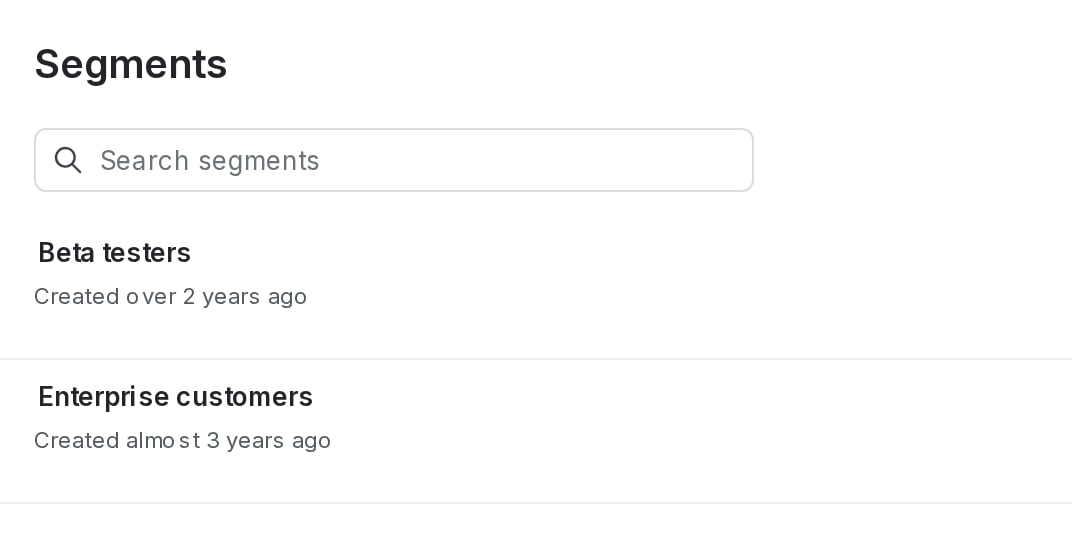 From the list, you can filter segments to display only those matching the criteria you select. You can filter based on tags or segment kind using the **Tags** and **Kind** menus.
### Save filtered Segments lists
You can create shortcuts to filtered **Segments** lists, and save them in the left sidebar to return to at any time.
To create a shortcut to a filtered **Segments** list:
1. In the left sidebar, click **Code**. The CodeControl menu appears.
2. Click **Segments**.
3. Add your desired environments to the **Segments** list following the instructions in [Open environments](/docs/home/account/environment#open-environments).
4. Add any segment filters you need such as tags or segment kind.
5. Click the **bolt** icon above the **Segments** list to create a shortcut:
From the list, you can filter segments to display only those matching the criteria you select. You can filter based on tags or segment kind using the **Tags** and **Kind** menus.
### Save filtered Segments lists
You can create shortcuts to filtered **Segments** lists, and save them in the left sidebar to return to at any time.
To create a shortcut to a filtered **Segments** list:
1. In the left sidebar, click **Code**. The CodeControl menu appears.
2. Click **Segments**.
3. Add your desired environments to the **Segments** list following the instructions in [Open environments](/docs/home/account/environment#open-environments).
4. Add any segment filters you need such as tags or segment kind.
5. Click the **bolt** icon above the **Segments** list to create a shortcut:
 6. Add a **Name** for your shortcut.
7. (Optional) Choose an **Icon** to represent your shortcut in the left sidebar.
8. Click **Save**.
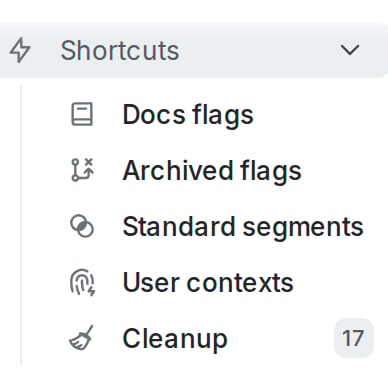
Your shortcut appears in the left sidebar.
6. Add a **Name** for your shortcut.
7. (Optional) Choose an **Icon** to represent your shortcut in the left sidebar.
8. Click **Save**.
Your shortcut appears in the left sidebar.
 ## View segment details
To view a segment's details:
1. In the left sidebar, click **Code**. The CodeControl menu appears.
2. Click **Segments**.
3. Click the **Name** of the segment.
4. The segment details page appears.
The segment details page displays information about:
* which flags use this segment in their targeting rules
* which flag variations are served to the contexts in this segment
* which individual targets are included or excluded from this segment
* the targeting rules for this segment
## View segment details
To view a segment's details:
1. In the left sidebar, click **Code**. The CodeControl menu appears.
2. Click **Segments**.
3. Click the **Name** of the segment.
4. The segment details page appears.
The segment details page displays information about:
* which flags use this segment in their targeting rules
* which flag variations are served to the contexts in this segment
* which individual targets are included or excluded from this segment
* the targeting rules for this segment
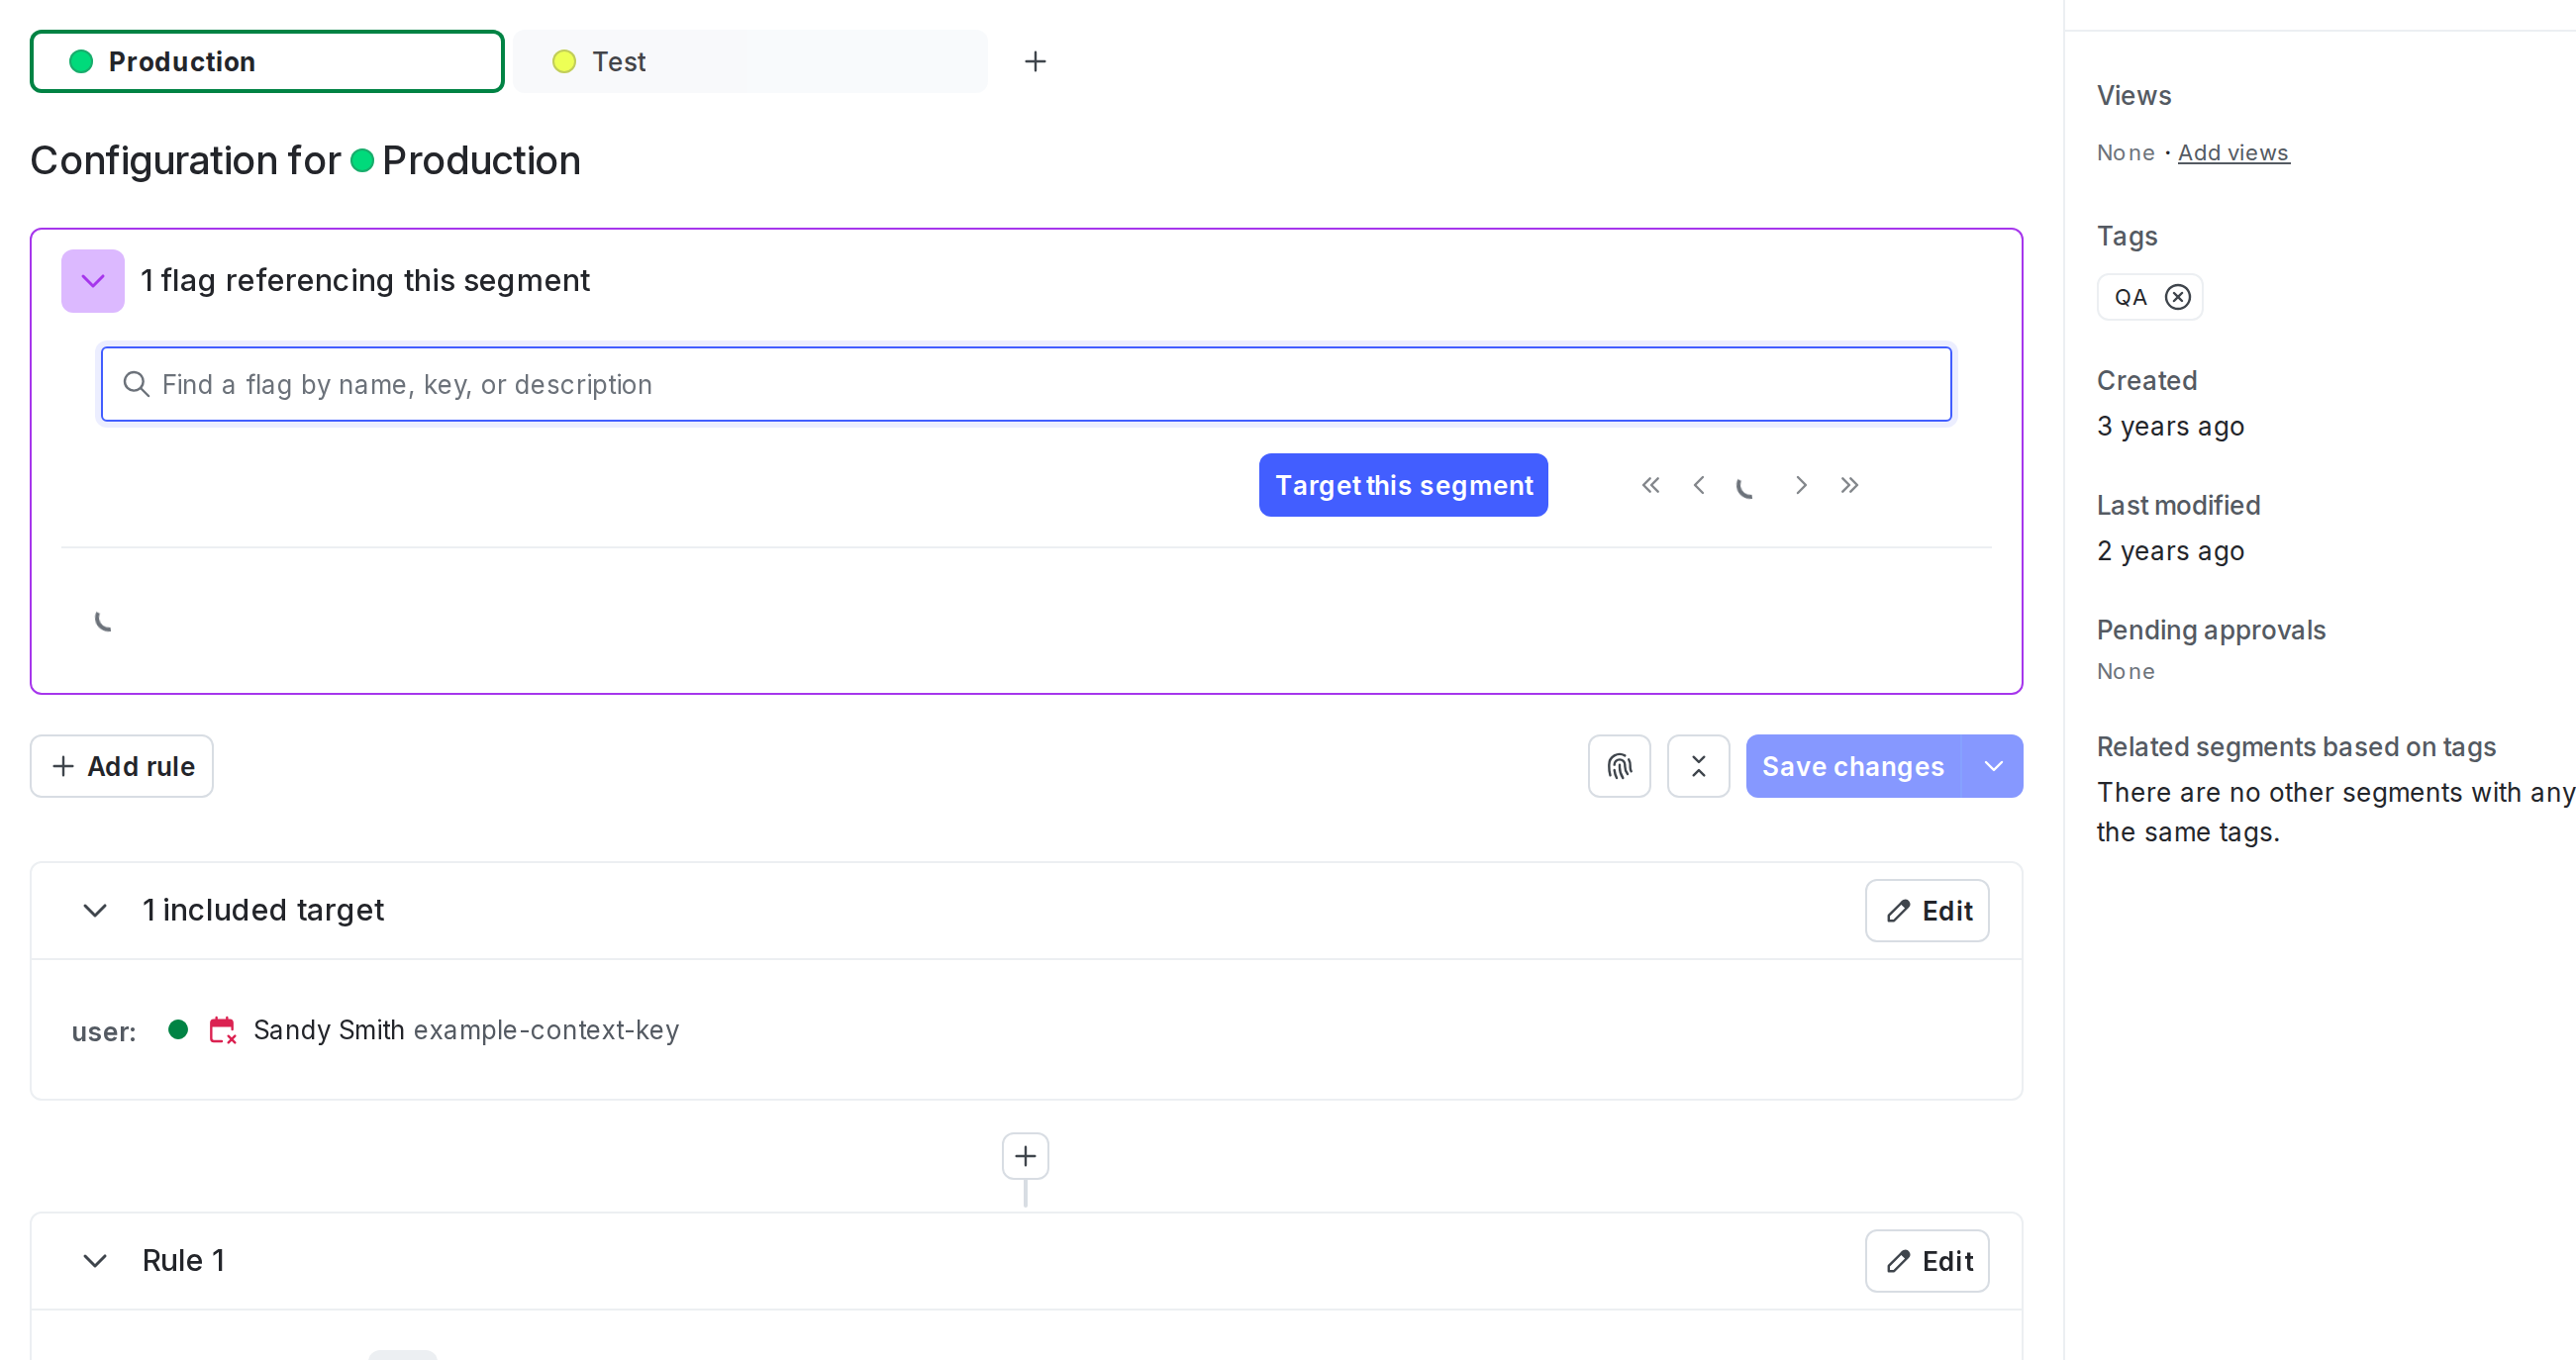 For each segment, contexts may be specified individually, by rules, by an uploaded file, or by a third-party application that is synced with LaunchDarkly. If the contexts are specified by a file or if they are synced, you can search for specific contexts that are included in this segment.
## Related content
Read the topics in this category to learn how to create, manage, and delete segments:
* [Creating segments](/docs/home/flags/segments-create)
* [Targeting segments](/docs/home/flags/segment-targeting)
* [Managing segments](/docs/home/flags/segment-management)
* [Segment types](/docs/home/flags/segment-types)
* [SDK and integration configuration for segments](/docs/home/flags/segment-config)
For each segment, contexts may be specified individually, by rules, by an uploaded file, or by a third-party application that is synced with LaunchDarkly. If the contexts are specified by a file or if they are synced, you can search for specific contexts that are included in this segment.
## Related content
Read the topics in this category to learn how to create, manage, and delete segments:
* [Creating segments](/docs/home/flags/segments-create)
* [Targeting segments](/docs/home/flags/segment-targeting)
* [Managing segments](/docs/home/flags/segment-management)
* [Segment types](/docs/home/flags/segment-types)
* [SDK and integration configuration for segments](/docs/home/flags/segment-config)