> ## Documentation Index
> Fetch the complete documentation index at: https://launchdarkly.com/docs/llms.txt
> Use this file to discover all available pages before exploring further.
# Using the LaunchDarkly developer toolbar
This topic describes how to use the LaunchDarkly developer toolbar. You can install and configure the toolbar directly in your codebase, and use it in your browser during local development.
To begin, follow the instructions for [setting up the developer toolbar](/docs/home/getting-started/dev-toolbar-setup). Then, you can use the toolbar to work in any LaunchDarkly environment, test different flag variations locally without affecting other members, or work offline.
## Interactive mode
Interactive mode connects your front end with the [LaunchDarkly MCP server](/docs/home/getting-started/mcp). This lets you use an AI agent in Cursor or another integrated development environment (IDE) to wrap the code for front-end elements in a new or existing feature flag.
To wrap the code for a front-end element in a flag:
1. In the toolbar, click the **arrow** icon to enter interactive mode. The toolbar minimizes.
2. Click the front-end element you want to wrap in a flag. The toolbar reappears.
3. In the toolbar, click **Add to Cursor** to enable the LaunchDarkly MCP server in Cursor.
4. Enter the **Flag key** for the flag you want to wrap around the element.
5. Use the **Open in** menu to open Cursor. If you don't want to use an AI agent in Cursor, you can also make the changes manually in an IDE of your choice.
6. In Cursor, a prompt appears with instructions for its AI agent to update your code with the feature flag.
You can make additional adjustments to your codebase as needed, and return to the toolbar to test the flag locally using the **Feature flags** tab.
## Feature flags
From the **Feature flags** tab, you can toggle boolean flags on and off.
For string, number, and JSON flags, you can edit the value the flag is serving as needed:
* To edit the value of a string flag, click on on the **pencil** icon and enter a string, then click the **check** icon.
* To edit the value of a number flag, click on on the **pencil** icon and enter a number, then click the **check** icon.
* To edit the value of a JSON flag, click **Edit JSON**, make your edits as needed, and click **Save**.
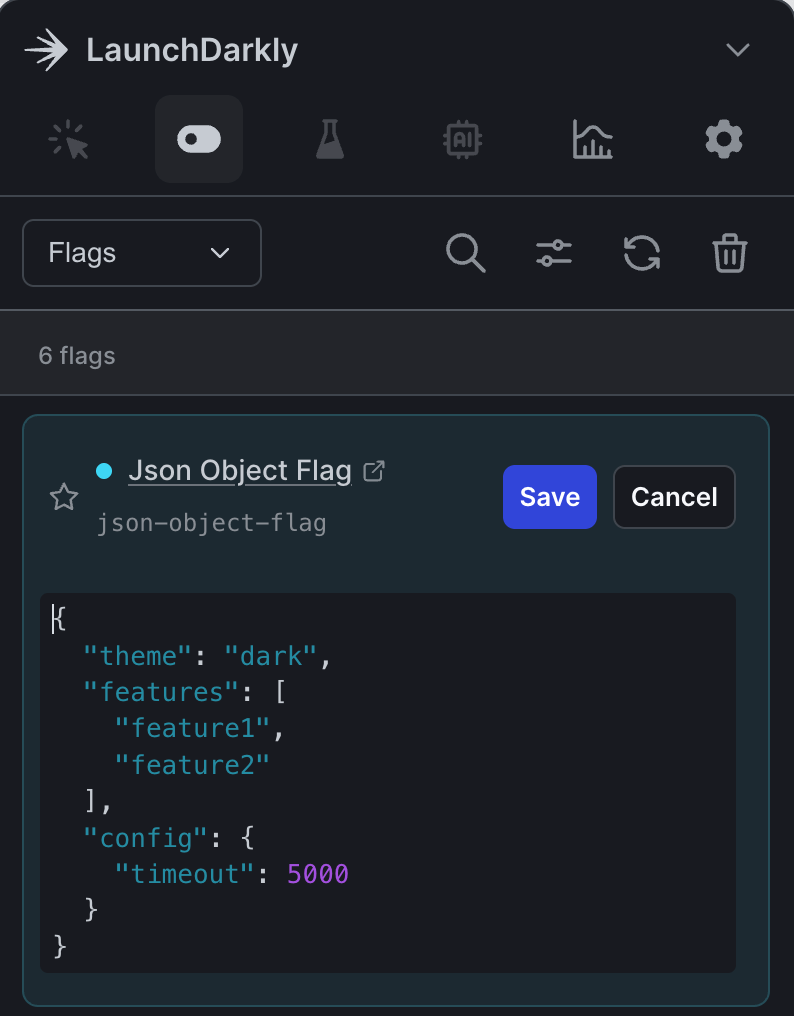 Any flag changes you make affect only your local environment, and do not affect other members of your organization that are using the flag.
## Monitor events
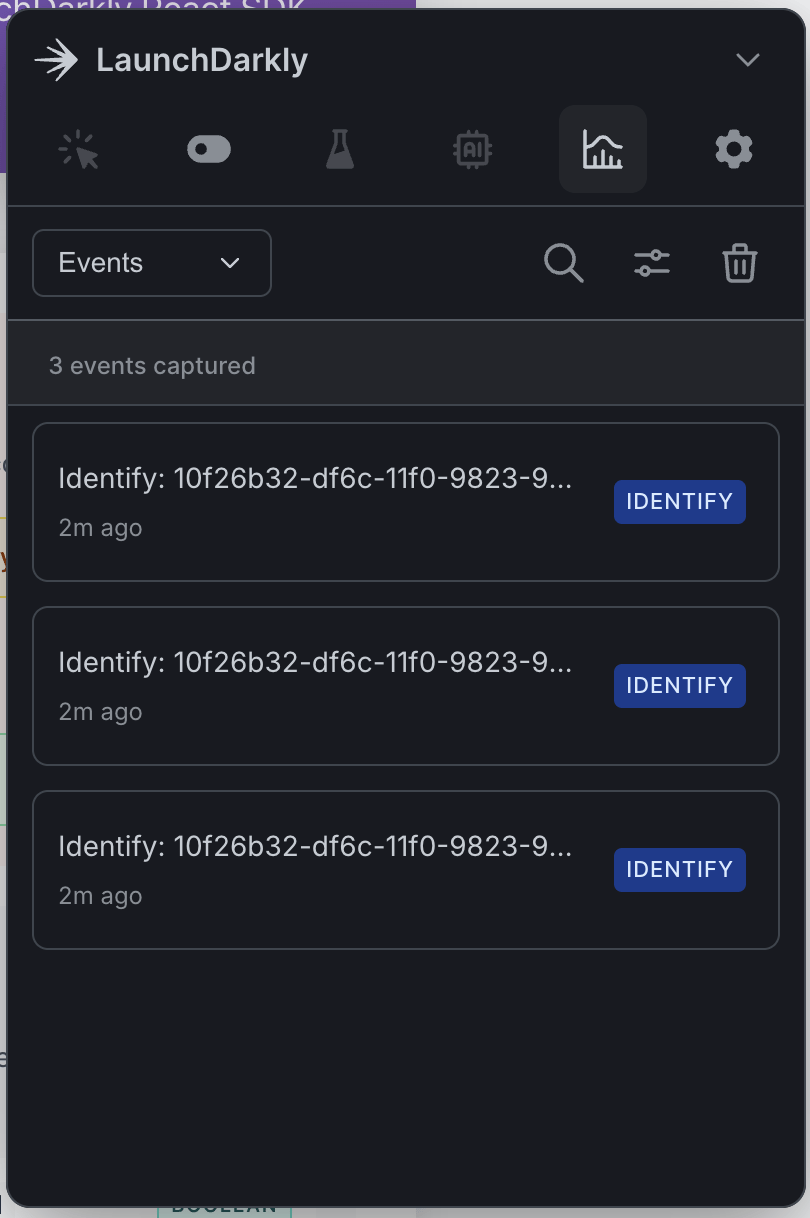
From the **Monitoring** tab, you can view incoming [flag evaluation events](/docs/sdk/concepts/events).
Use the **filter** icon to narrow your view to only feature, custom, or identify events. Use the **trash** icon to clear the event list.
Any flag changes you make affect only your local environment, and do not affect other members of your organization that are using the flag.
## Monitor events
From the **Monitoring** tab, you can view incoming [flag evaluation events](/docs/sdk/concepts/events).
Use the **filter** icon to narrow your view to only feature, custom, or identify events. Use the **trash** icon to clear the event list.
 ## Safe domains
You can specify hosted domains and domains you control as safe for use with the toolbar. This allows you to test flags in your local and hosted environments.
Here's how to specify safe domains:
1. Navigate to the [developer toolbar setup](https://app.launchdarkly.com/settings/integrations/launchdarkly-developer-toolbar/new). The "Create LaunchDarkly Developer Toolbar configuration" page appears.
## Safe domains
You can specify hosted domains and domains you control as safe for use with the toolbar. This allows you to test flags in your local and hosted environments.
Here's how to specify safe domains:
1. Navigate to the [developer toolbar setup](https://app.launchdarkly.com/settings/integrations/launchdarkly-developer-toolbar/new). The "Create LaunchDarkly Developer Toolbar configuration" page appears.
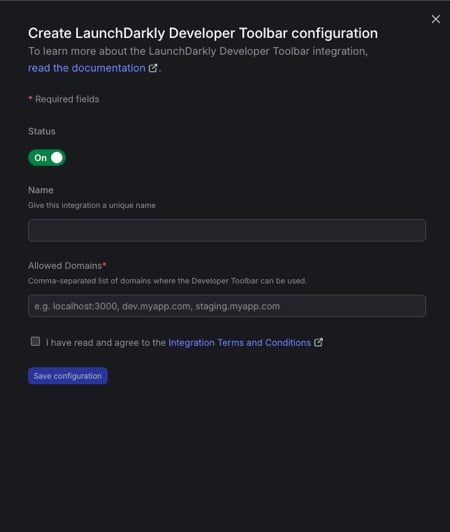 2. In the "Allowed domains" field, enter the domain to add. You can specify multiple domains as a comma-separated list. You can also use wildcards, for example `*.example.com`, to allow all subdomains.
3. Click the checkbox to acknowledge the Integration Terms and Conditions.
4. Click **Save configuration**.
The domains you add appear in the list of safe domains. This change takes up to five minutes to propagate.
2. In the "Allowed domains" field, enter the domain to add. You can specify multiple domains as a comma-separated list. You can also use wildcards, for example `*.example.com`, to allow all subdomains.
3. Click the checkbox to acknowledge the Integration Terms and Conditions.
4. Click **Save configuration**.
The domains you add appear in the list of safe domains. This change takes up to five minutes to propagate.