

Tutorial requirements
- Python 3.6 or newer. If your operating system does not provide a Python interpreter, you can go to python.org to download an installer.
- Visual Studio Code or your favorite IDE.
- LaunchDarkly account. If you haven’t done so already, create a free account.
Set Up the Environment
Clone the repository and switch over to the “kill-switch-event-starter” branch to follow along in this tutorial.Create and Activate a Virtual Environment
Run the following commands in your terminal to clone the repository with starter code, install dependencies, and start the server.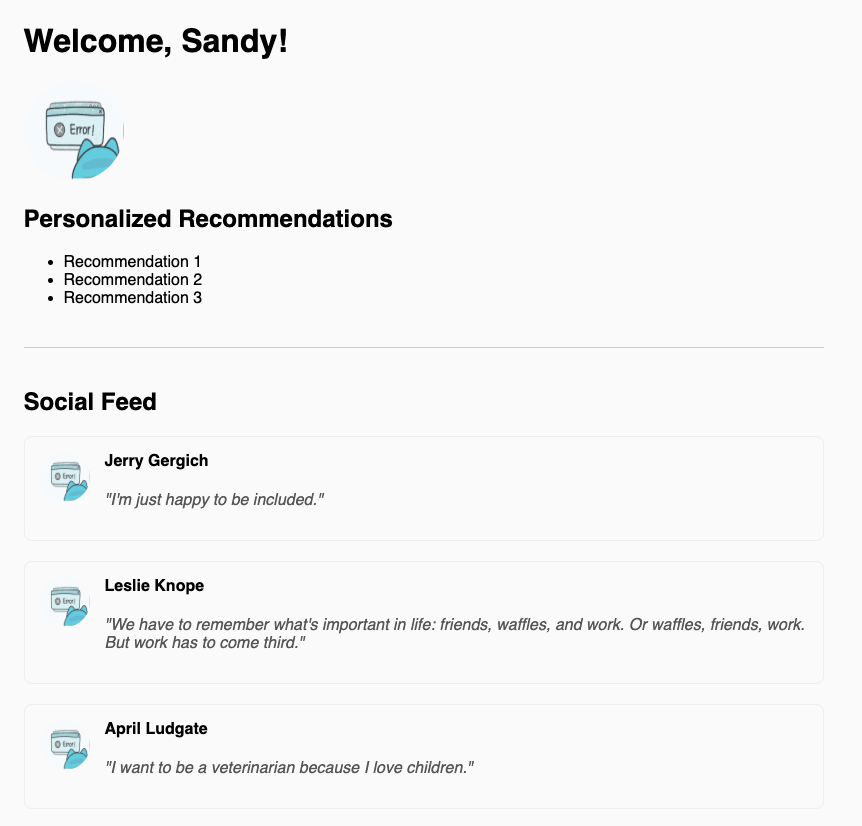
Set up the developer environment for the Python application
Make sure that you are currently in the virtual environment of your project’s directory in the terminal or command prompt. Create a file at the root of your project folder named .env and add the following lines to define the environment variables. These are placeholder values, which you’ll be updating later with real ones. LAUNCHDARKLY_SDK_KEY=“sdk-###############“Configure your LaunchDarkly kill switch flag
In the LaunchDarkly app, click on “Flags” in the left sidebar menu and then click one of the Create flag buttons.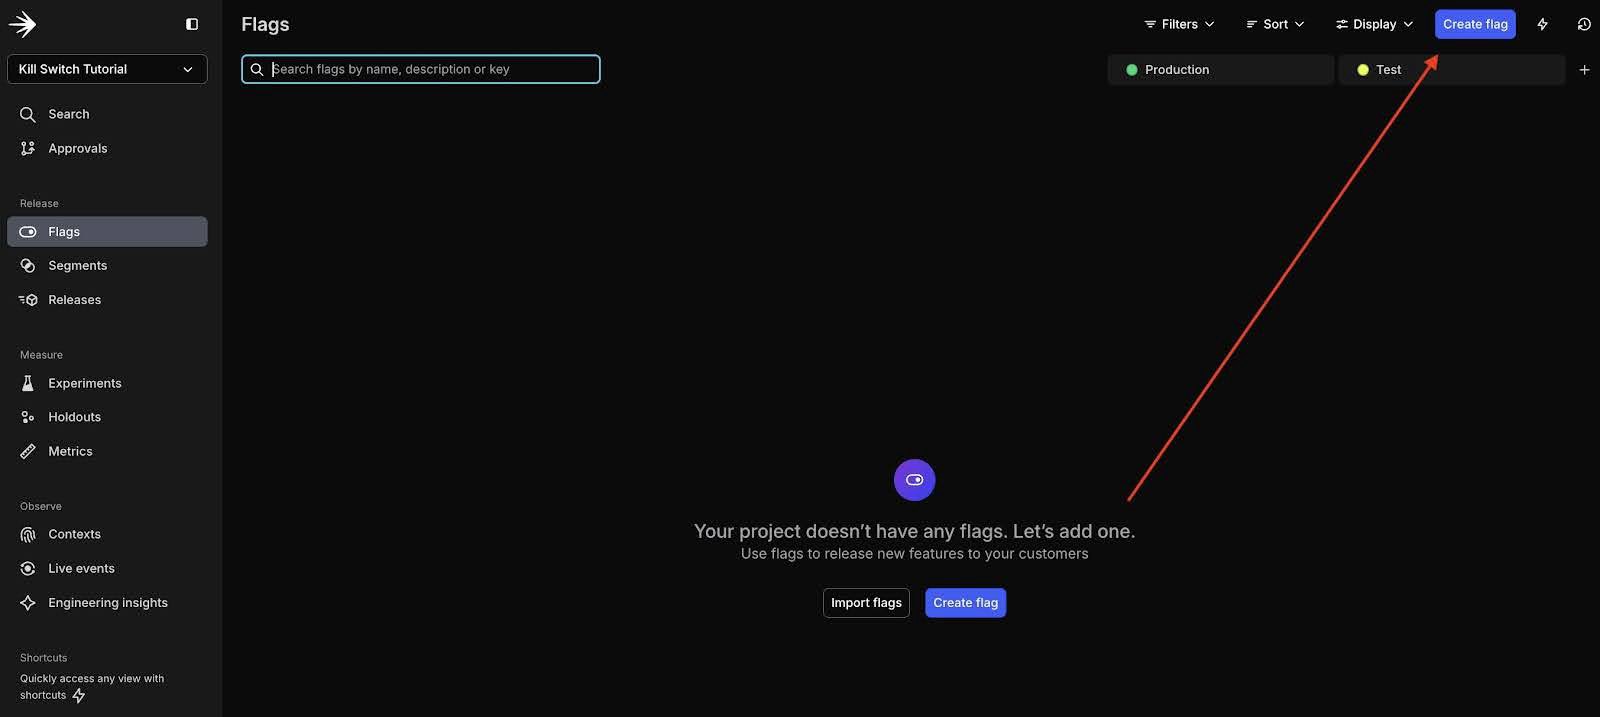
- Name your flag “show-avatars-and-reccs”. When you type in the Name, the key will automatically populate.
- Enter some text in the description field to explain the purpose of this flag: “Shut off calls to the 3rd-party API that generates avatars.”
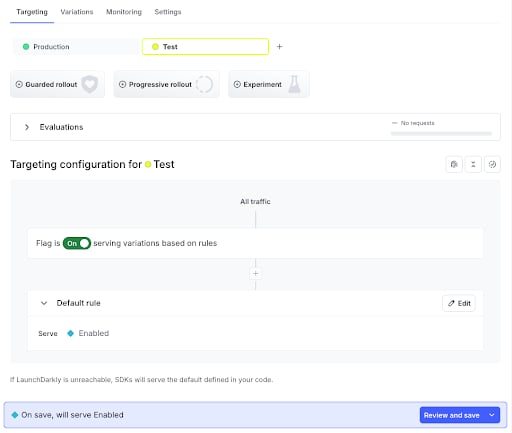
- Click No template and select “Kill switch” as the flag template. Selecting this option will automatically set up the flag variations for you.
flag_key = "replace-key-here"
Test the kill switch flag
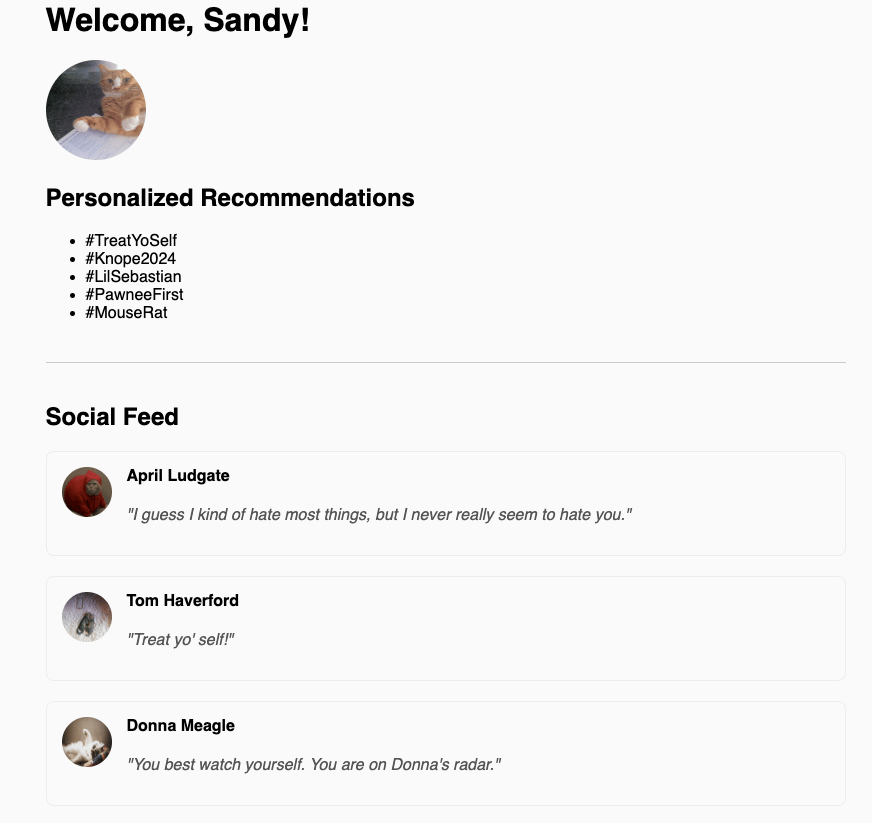
It’s time to initialize and make calls to the LaunchDarkly Python SDK. In the index route, uncomment the lines of code that creates theshow_avatar function. This function will retrieve feature flag values from the LaunchDarkly client and determine the actions based on the flag logic. The sample lines of code defining the user “Sandy” are no longer needed, so remove them completely.
Make sure that the index route looks like the code below:
Add a websocket to the Python application
WebSockets need to be implemented to enable real-time two-way communication between the server and client-side browser. SocketIO is a great Python library that can get the job done quickly with low latency. Without this library, the browser would not know about the flag changes and the user would have to manually refresh the page, which is a slow process and will not truly demonstrate the power of a kill switch flag. To have your website update immediately when a LaunchDarkly flag changes, you need to implement SocketIO as the real-time update mechanism between your back end and front end. The front end will wait and listen for the flag value changes in order to update the UI accordingly. In your terminal, run the following command to install the library.pip install flask-socketio
Navigate to the app.py file and add the following import statements to the top of the file:
show_evaluation_result function, add a class named FlagValueChangeListener to handle the values from the WebSocket:
Add the socket to the front end
At this point, you’ll need to add some code so the browser can listen for the event using SocketIO’s JavaScript client. Add the following JavaScript to the head tag in the index.html file in the templates folder:flag_update event via the SocketIO library.
The front end listens for this event and reloads the page automatically, so users see the updated content immediately without a manual refresh needed.
Navigate back to LaunchDarkly and disable your flag. Click Review and save again as you did previously when you enabled it. This is the process you will use if you have to quickly kill external API calls. No more wasting resources when one part of your application is failing and you need to act fast!
What’s next for building with kill switches and WebSockets?
In this post you’ve learned how to use the LaunchDarkly Python SDK to add kill switch flags and WebSockets to your Flask web application. If you want to learn more about what you can do with kill switch flags, check out the following articles:- Add LaunchDarkly kill switches to a FastAPI app
- Quickly disable external API calls in your Sinatra application sing LaunchDarkly kill switch flags
- Implement Kill Switch Flags to a Spring Boot Application