A successful CI/CD pipeline uses many different tools and services including cloud platforms, containers, monitoring, logging, and feature management. Making sure the tools you choose work together is an important aspect. Pivotal Cloud Foundry is one tool that LaunchDarkly customers include in their toolbox.
Pivotal Cloud Foundry (PCF) is a multi-cloud platform based on Cloud Foundry, an open-source Platform as a Service (PaaS). Individuals and companies of all sizes use PCF to continuously delivery apps in a highly scalable, secure way.
This guide walks you through how to configure LaunchDarkly to work with your Pivotal Cloud Foundry applications.
Prerequisites
- LaunchDarkly account
- Pivotal account
- An application running in Pivotal (our examples assume you are using Maven or Gradle, but any build strategy will work)
Initial setup
Setting up LaunchDarkly to control your first feature flag takes only a few minutes.
Setting up LaunchDarkly
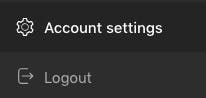
Create a new project by navigating to "Account Settings" in the bottom left navigation pane.
Click the “New Project” button.

Enter a name and any tags to be associated with the project. The key will be auto-generated, you can modify if desired.
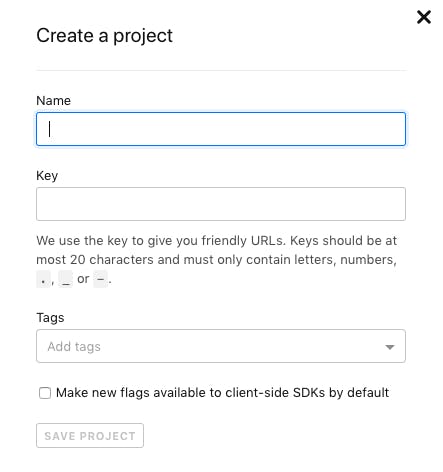
Once the project has been saved, copy your SDK key – you will need that below.

Within your application
First, add the SDK to your project:
Now import the LaunchDarkly client in your application code:
import com.launchdarkly.client.*;Next, configure the LaunchDarkly Client with your SDK key (from the steps above) and create the client:
LDClient ldClient = new LDClient(YOUR_SDK_KEY);Creating your first feature flag
Within LaunchDarkly
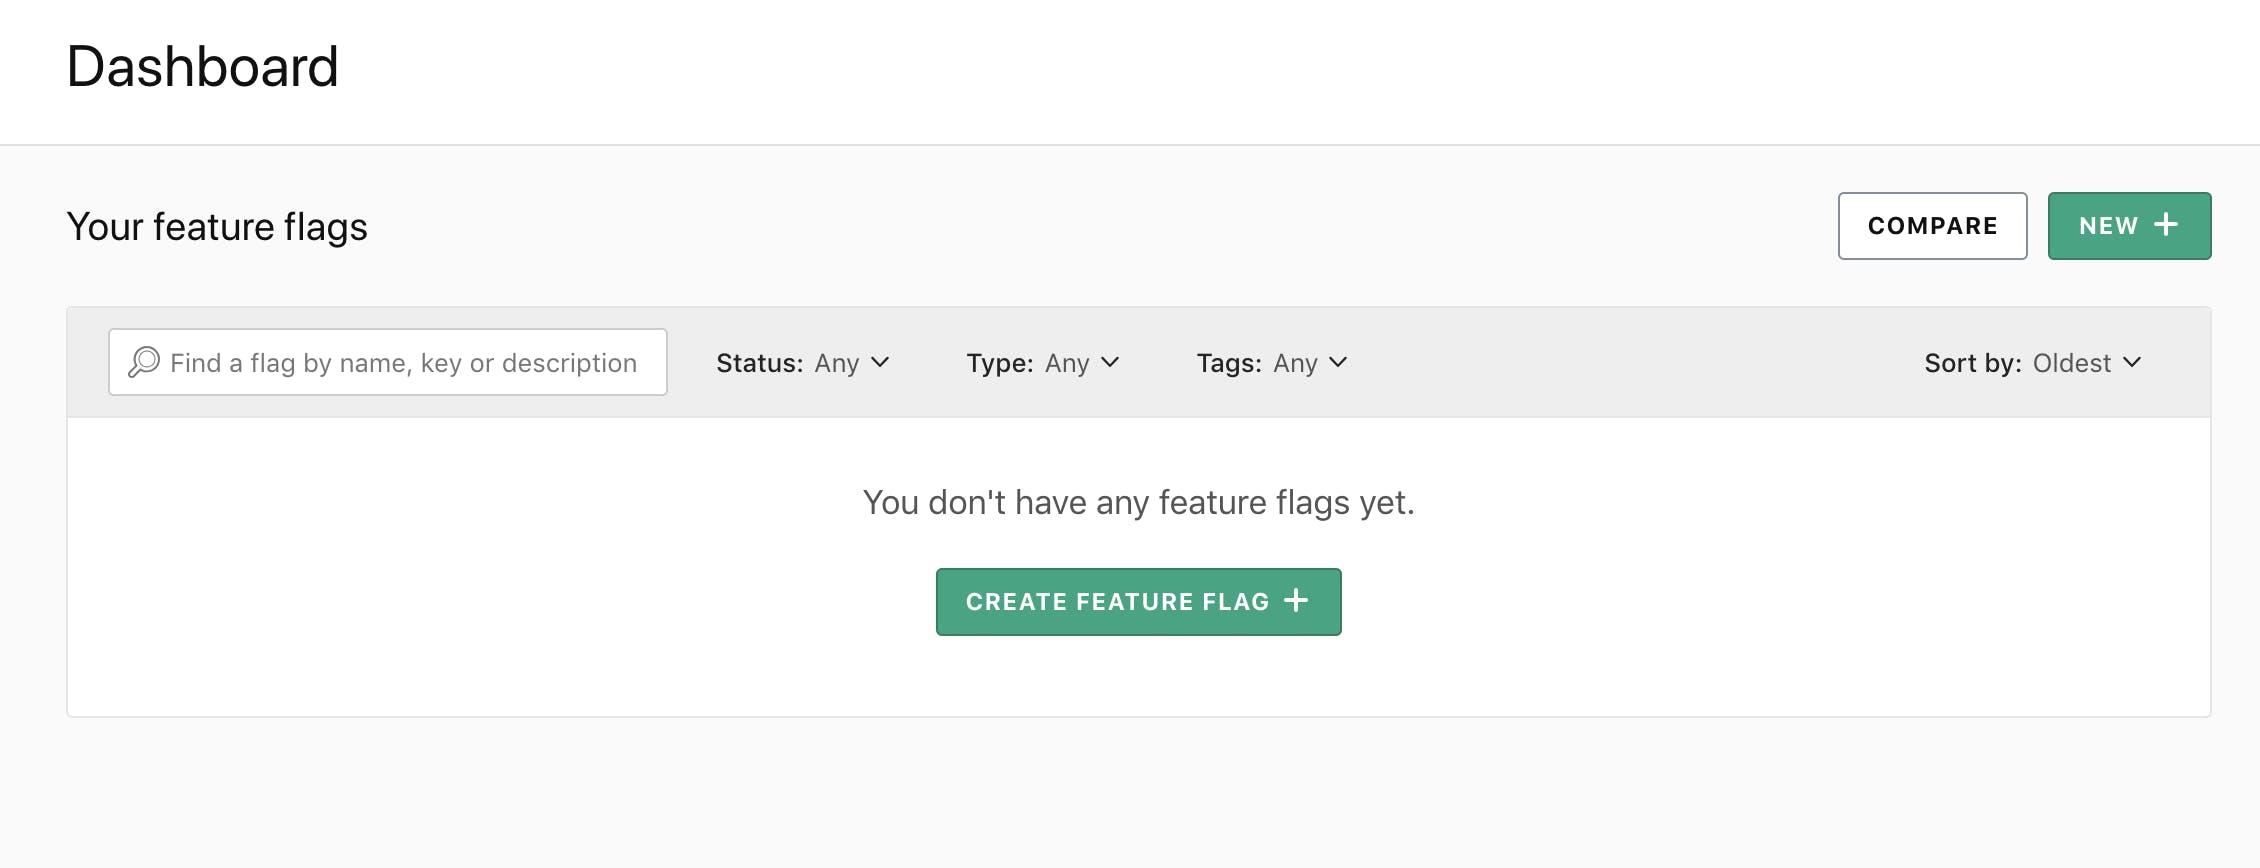
To create a feature flag, navigate to your feature flag dashboard.
Click "New" or “Create Feature Flag”. This will prompt you to create a feature flag.
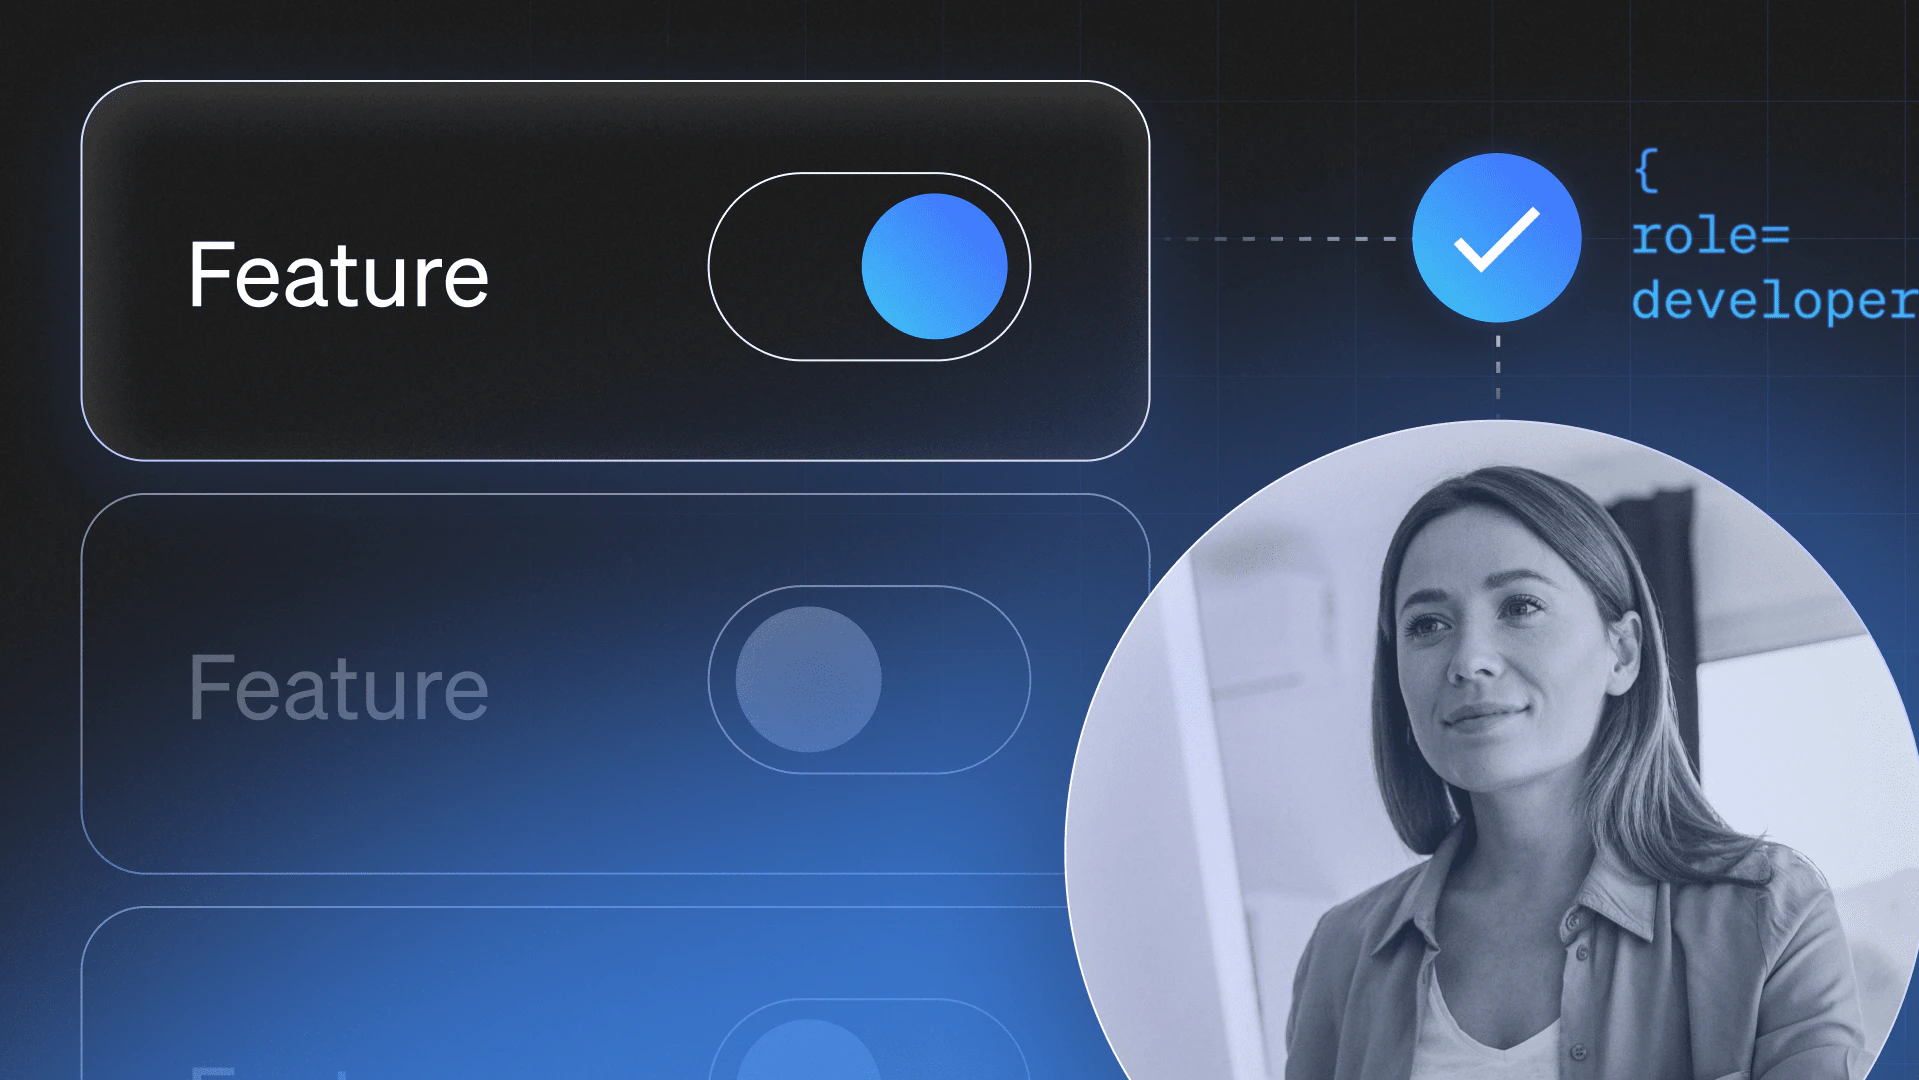
In the "Create a feature flag" area, you can specify attributes for your new feature flag, including name, description, and type. These attributes help you manage the feature flag and customize it to your use case.
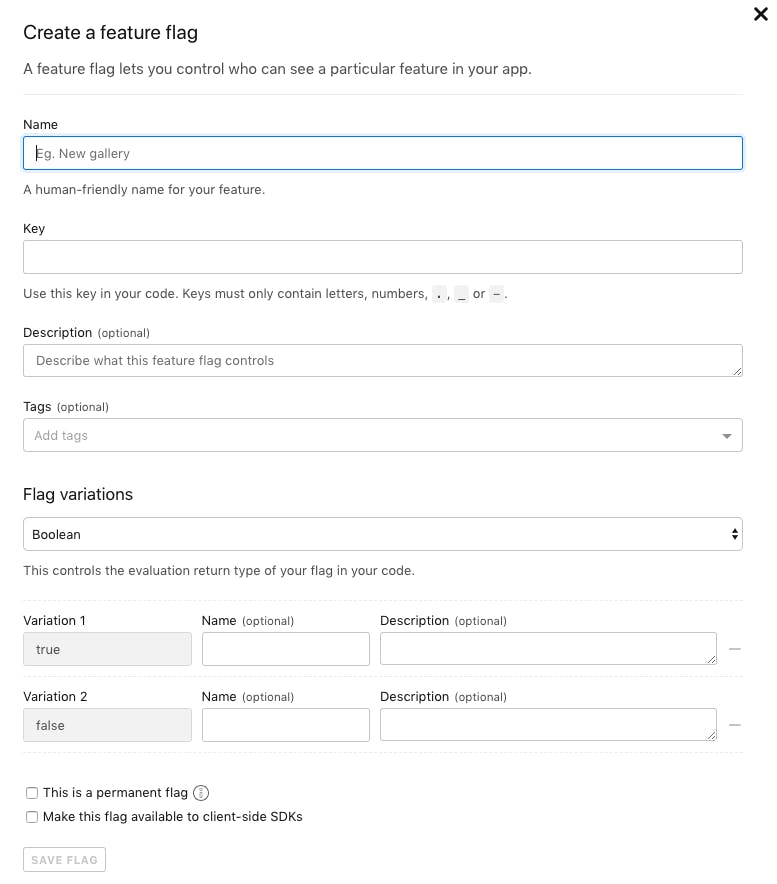
Name: Give your feature flag a meaningful human-friendly name. This name will appear on the feature flag dashboard.
Key: The key will be used to reference the flag in your code. It may be customized in any way. Keys must be unique.
Description: Describe the purpose of the flag to help others understand what the flag does.
Tags: Labels are used to categorize a flag and control permissions using custom roles. You can tag flags with a team such as marketing or operations to determine who has read or write access to control the flag.
Read more on custom roles and tags.
Flags can be either Boolean or multivariate. A Boolean flag can return either true or false. With a multivariate flag, you can define two or more custom variations for a feature. These variations can be strings, numbers, JSON objects, or JSON arrays.
Read more on flag variations.
Note: JSON names require double quotes, even though JavaScript the language does not. LaunchDarkly will validate your input as JSON if formatted correctly within double quotes.
This is a permanent flag: Feature flags can be temporary or permanent. Mark the flag as permanent if you intend it to keep it in your code long-term (e.g., a flag to enable maintenance mode). LaunchDarkly will not prompt you to remove permanent flags, even if one variation has been rolled out to all of your users.
Make this flag available to client-side SDKs: Once the flag is saved, you will see the targeting screen. There are multiple ways you can target users. You can target individuals or groups of users, users based on attributes, or a random percentage of users. For our example, we selected a percent-based rollout where the flag would be evaluated as true for 50% of the users and false for 50% of the users.
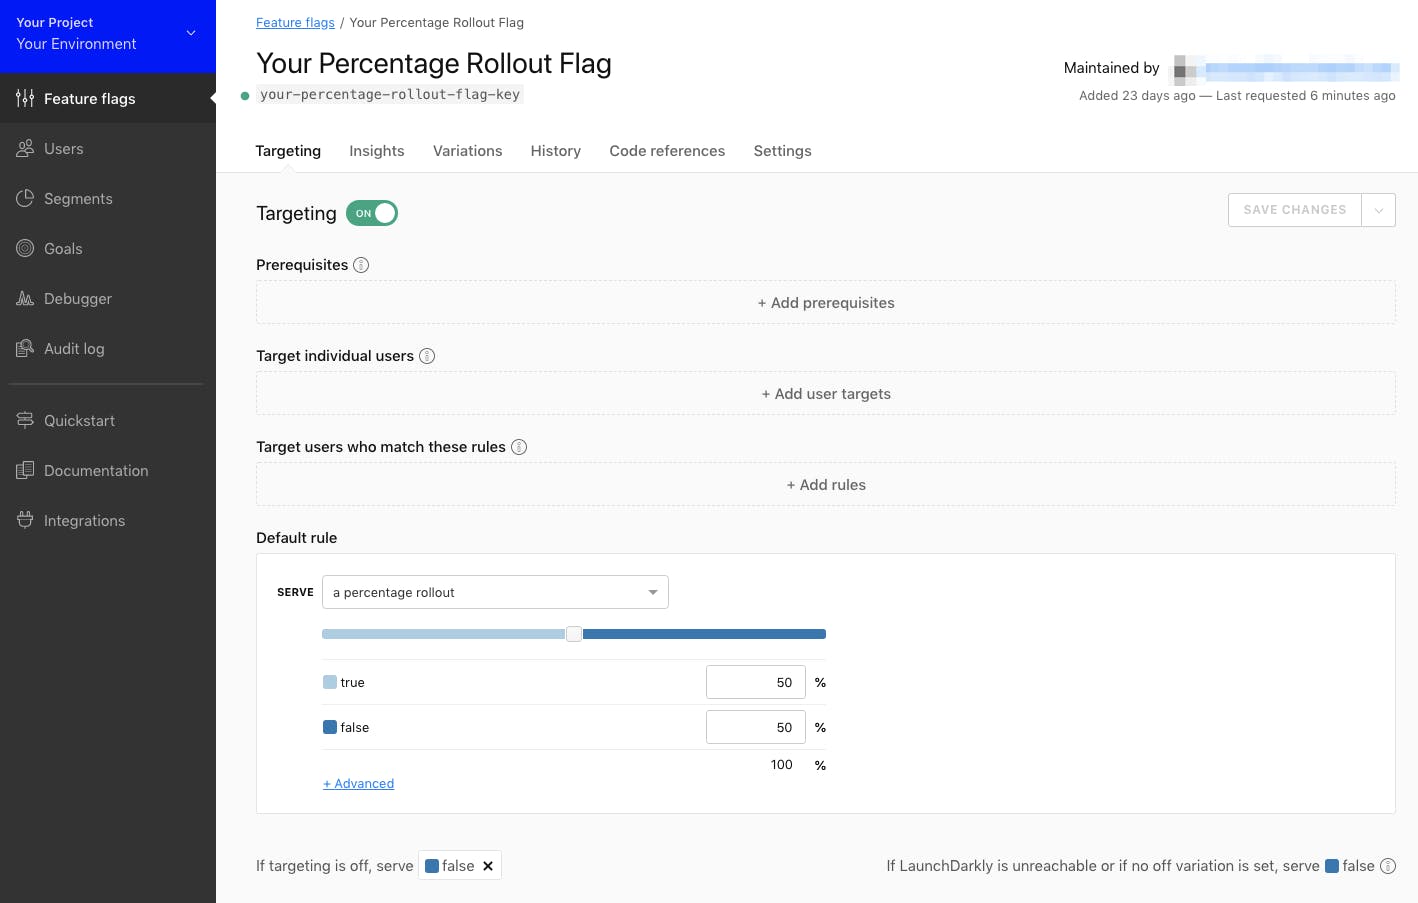
Learn more about targeting and identifying users.
In your app
The feature key created above will be used in your application code to check which variation of a feature flag a user will receive by calling the variation method (or boolVariation in typed languages).
The variation is combined with the user object. LaunchDarkly uses the user key to identify each user. The key needs to be unique to each user—a database key, an email address (though PII is discouraged), or a hash of an email address works. In this example, we create a random user ID for the userKey.
/** * A web controller that displays a flag evaluation.*/

@Controllerpublic static class DemoController
{@ResponseBody@GetMapping(value = "/", produces = MediaType.TEXT_HTML_VALUE)
public String root()
{String userKey = UUID.randomUUID().toString();
String flagKey = "your-flag-key";
LDUser ldUser = new LDUser.Builder(userKey).build();
This sample web page will randomly display a line of text stating the name of the flag, whether it returned true or false and the unique user key that was generated.
Validate your flag
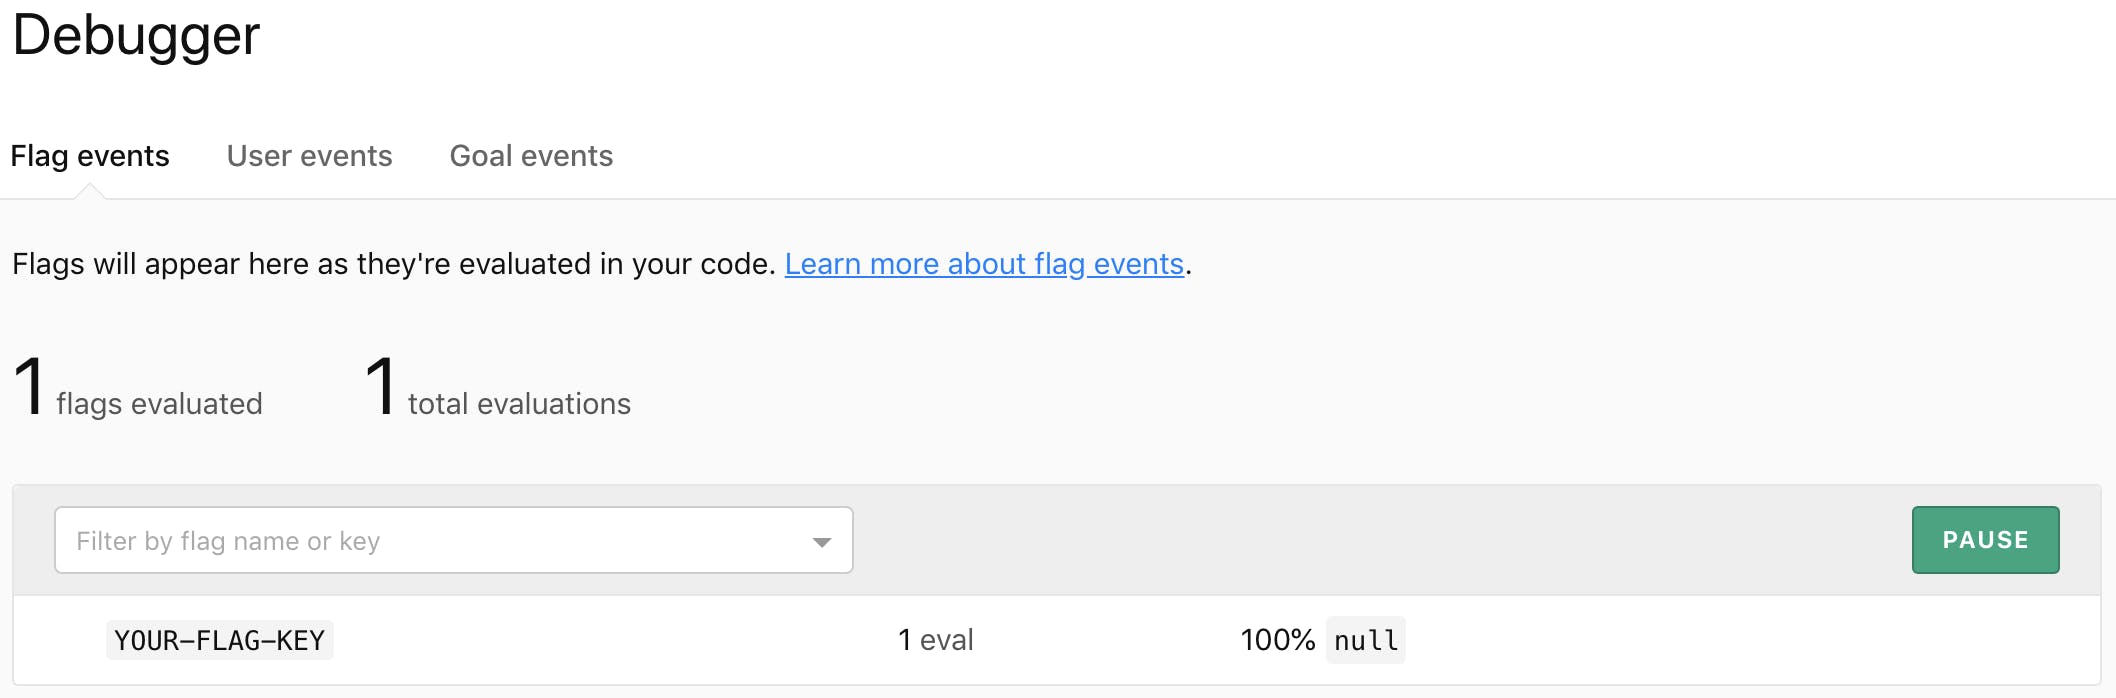
Once you're ready to test your integration, head over to the debugger in LaunchDarkly to get a real-time view of your feature flag requests as they're received. The debugger will show the total number of evaluations while on an active tab. If the debugger was opened after loading your application you will not see flag evaluations listed.
Open a browser and navigate to your application. Toggle the feature on and off while loading/reloading the page.
Loading our sample application you will see one of the following two statements:
"Flag your-percentage-rollout-flag-key serves to user a4d77f6-f441-4514-9a3c-cca72031b1c5"
Or
"Flag your-percentage-rollout-flag-key serves to user 7377aef3-b810-467e-9b33-b970b71e7573"
That's it! Now you can manage the feature on your dashboard. Read on to see how to do controlled rollouts and A/B tests without redeploying your application!