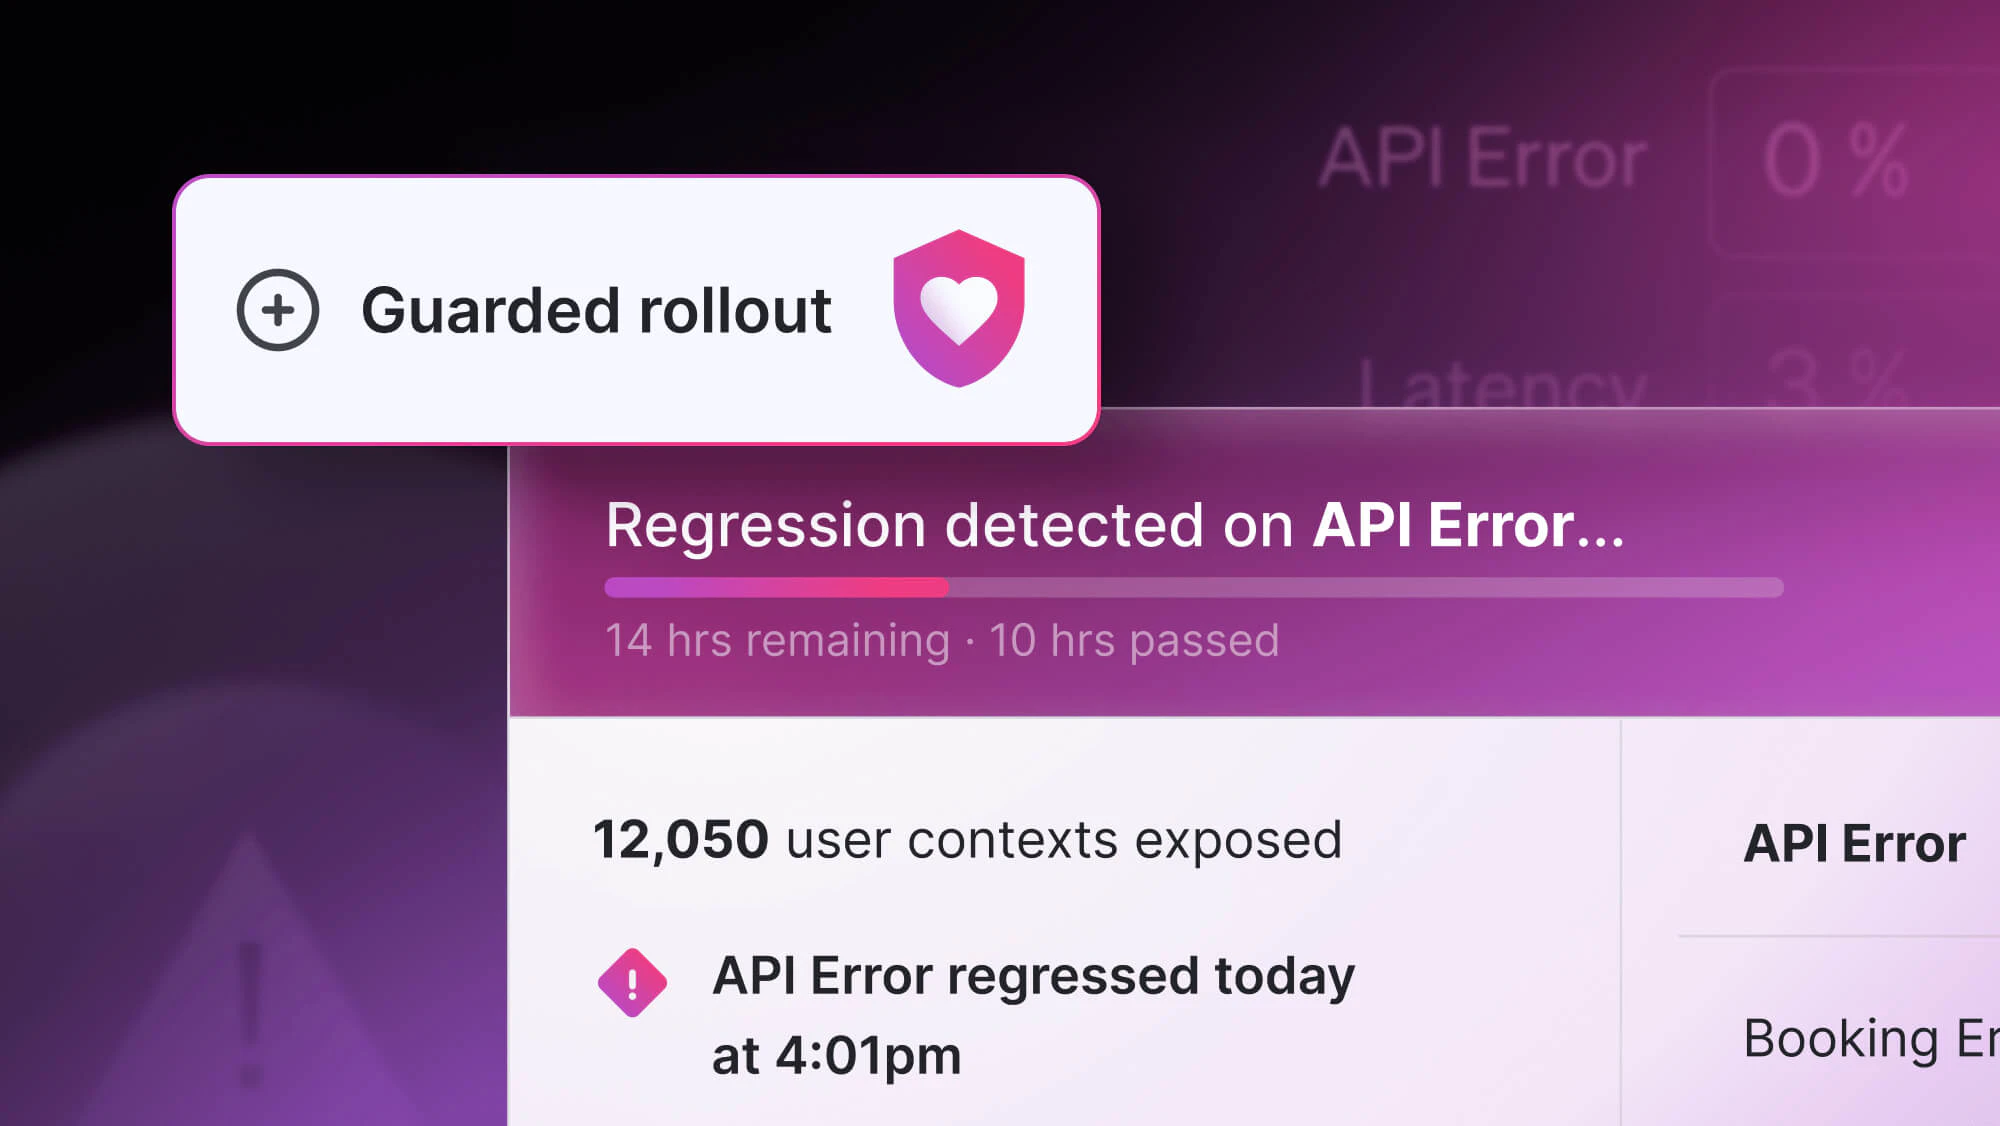
You've got a new feature and want to slowly roll it out to portions of your users to prove viability.
Hopefully the feature is immediately well received, or maybe your users start providing blistering feedback like they're judging a new "Sonic the Hedgehog" movie trailer. Or could be you want to ensure the feature can continue to scale as it rolls out to more accounts without triggering major incidents.
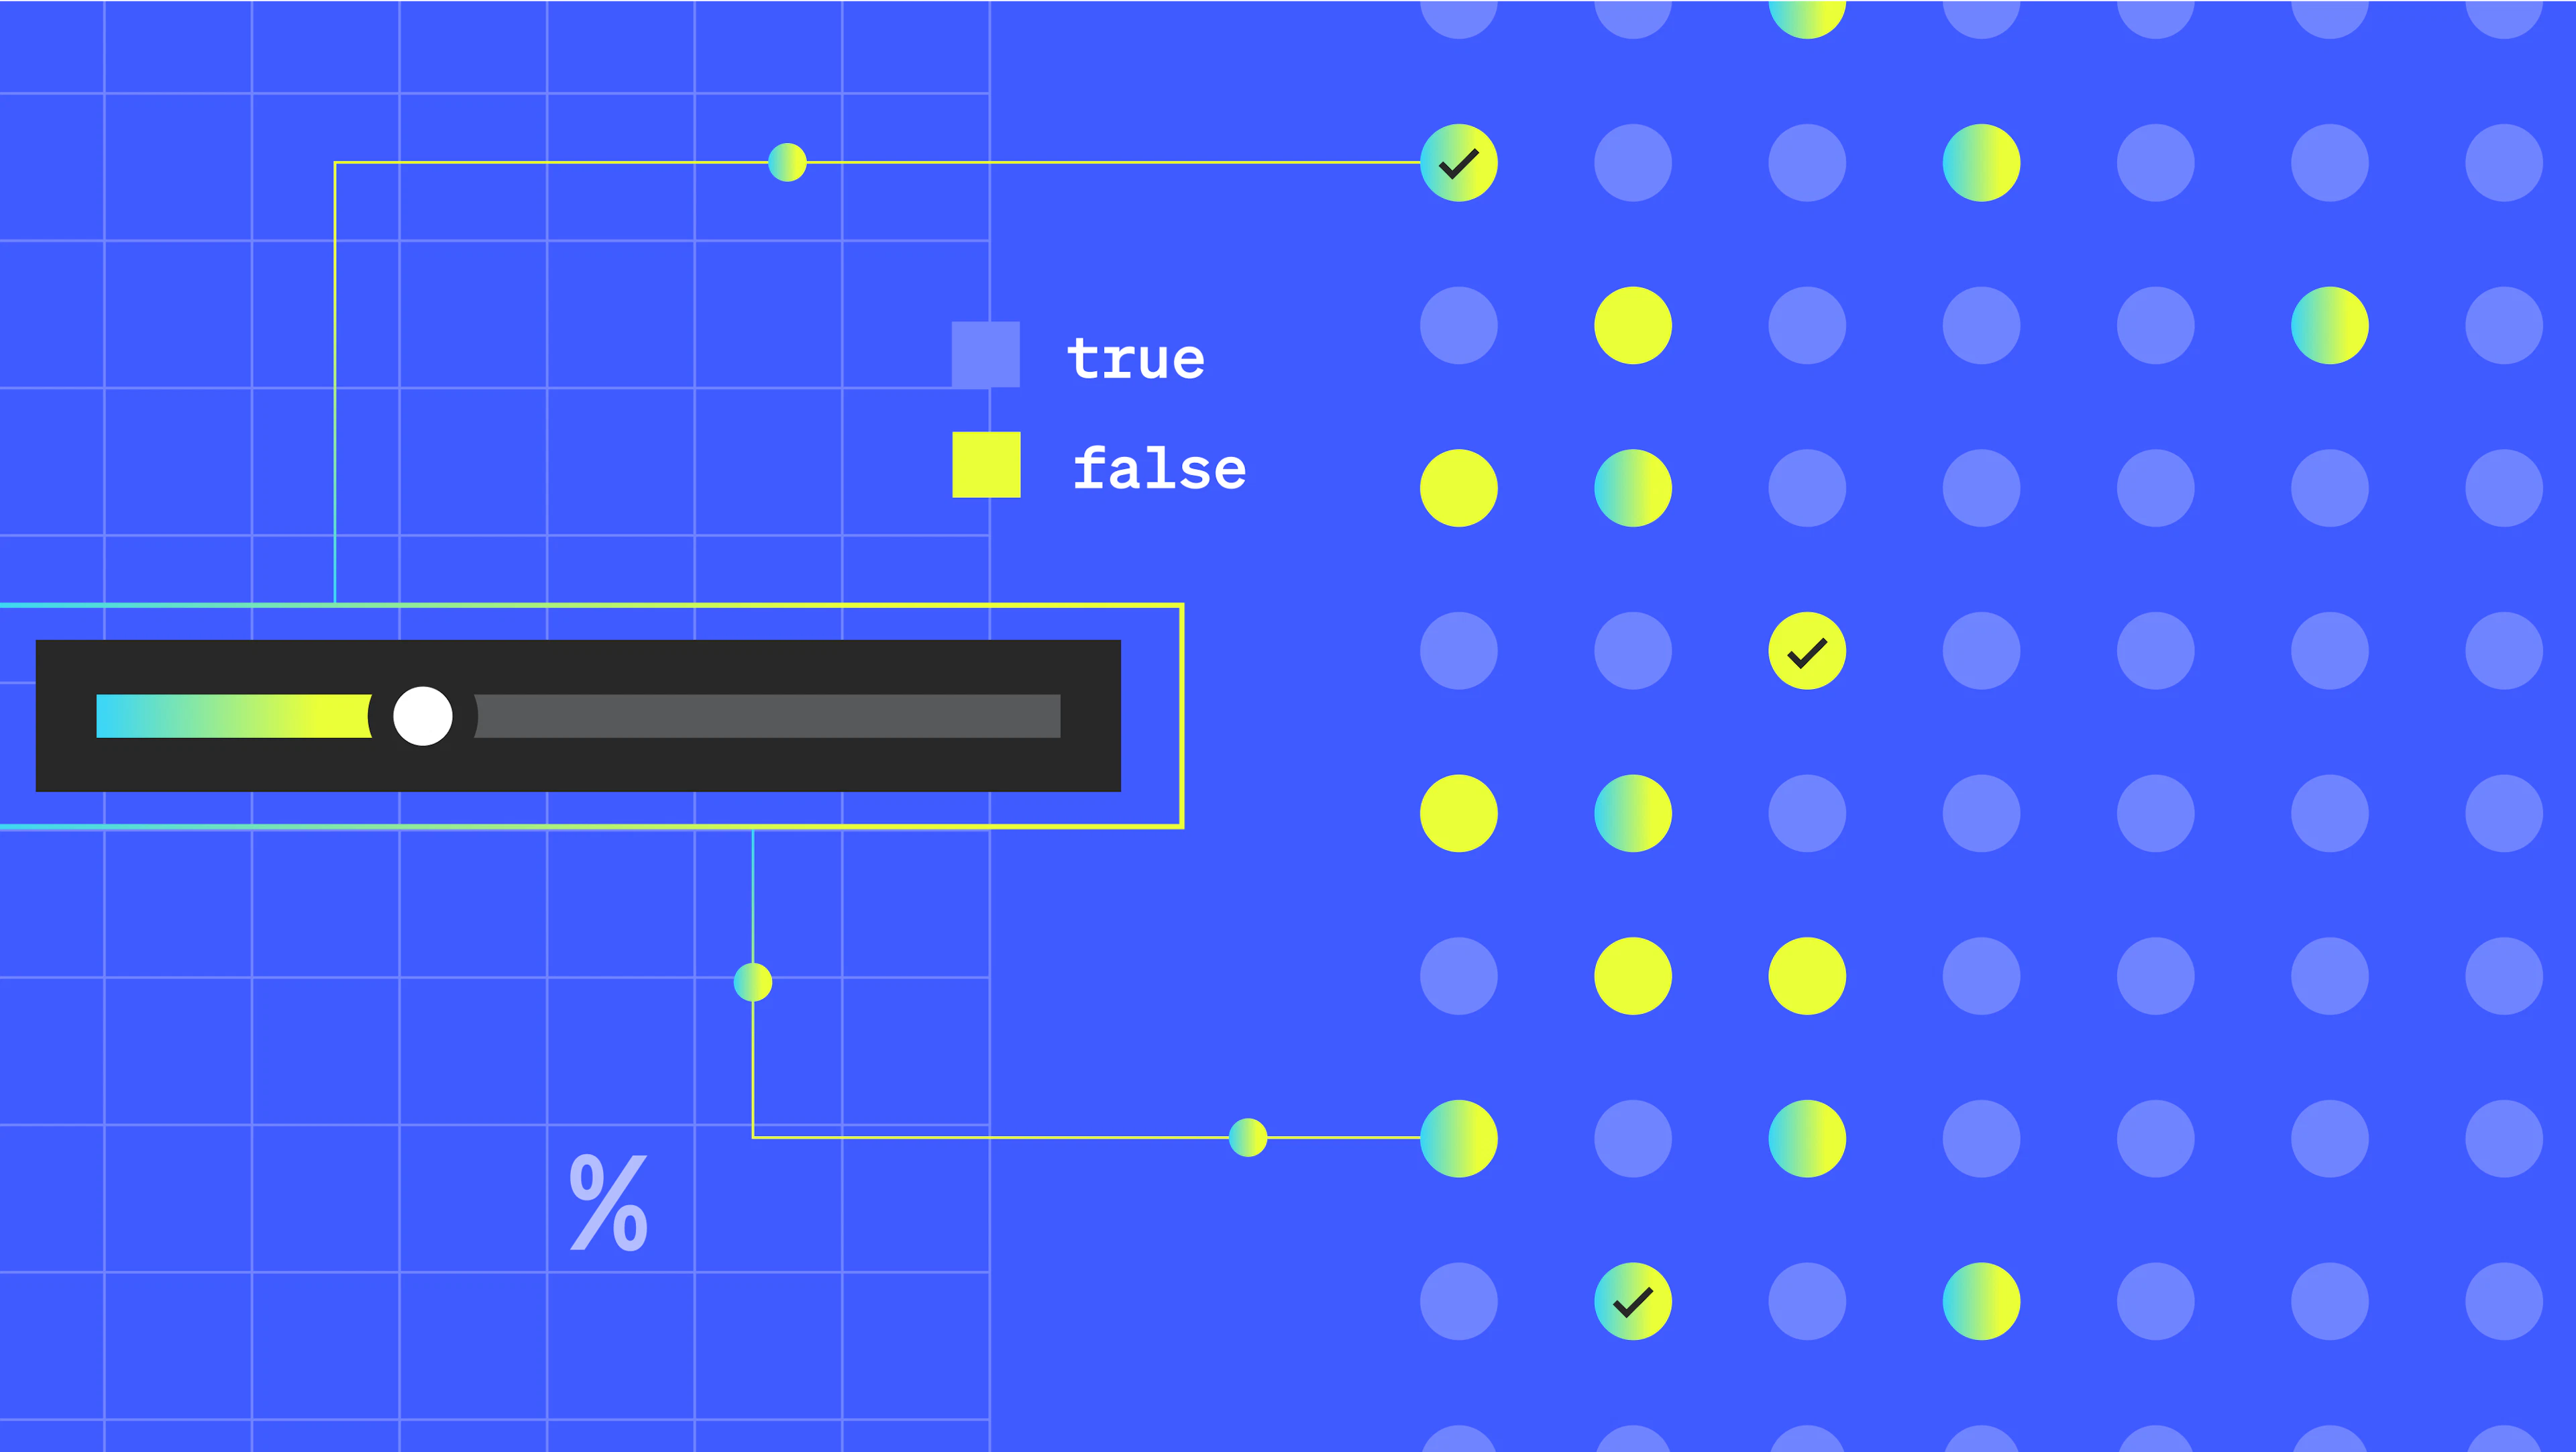
Either way, a percentage rollout gives you time to adjust.
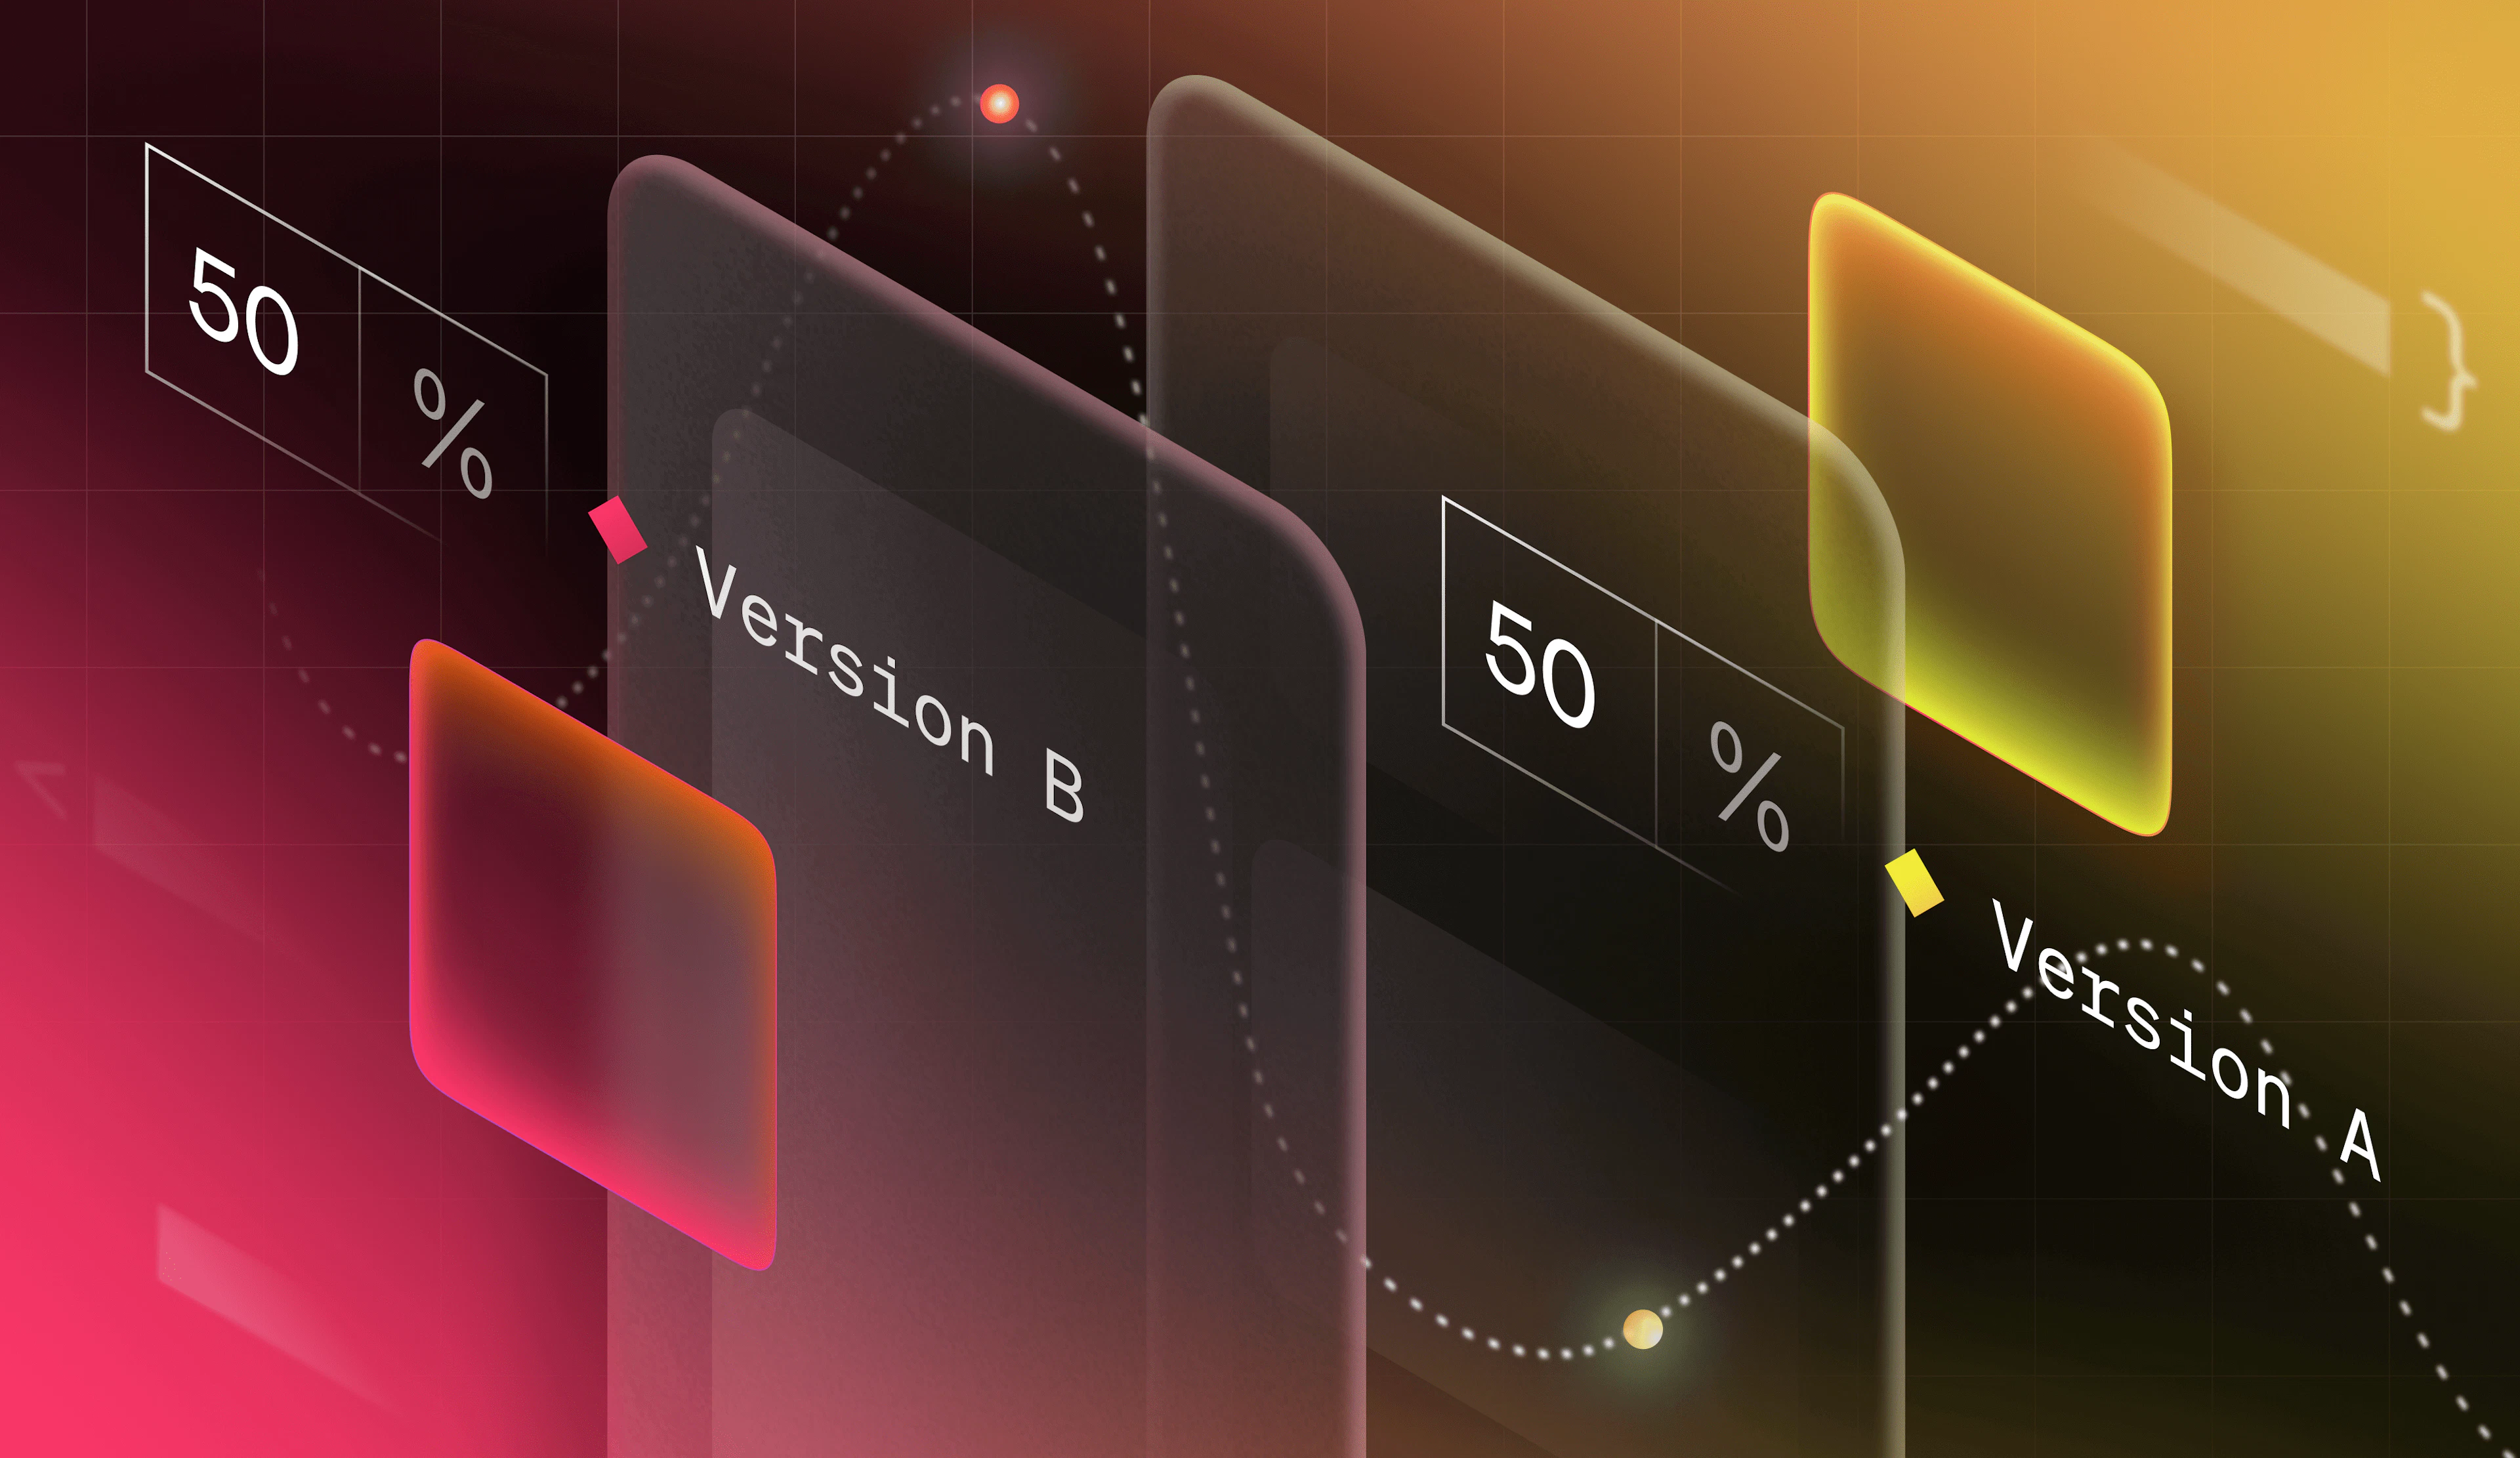
That's because a percentage rollout allows you to gradually release a new feature to a certain percentage of your user base—10%, 20%, 40%, etc.—before making it available to everyone. The benefits of this approach allow you to reduce risk, gauge reception, and improve quality (as in the case of "Sonic.")
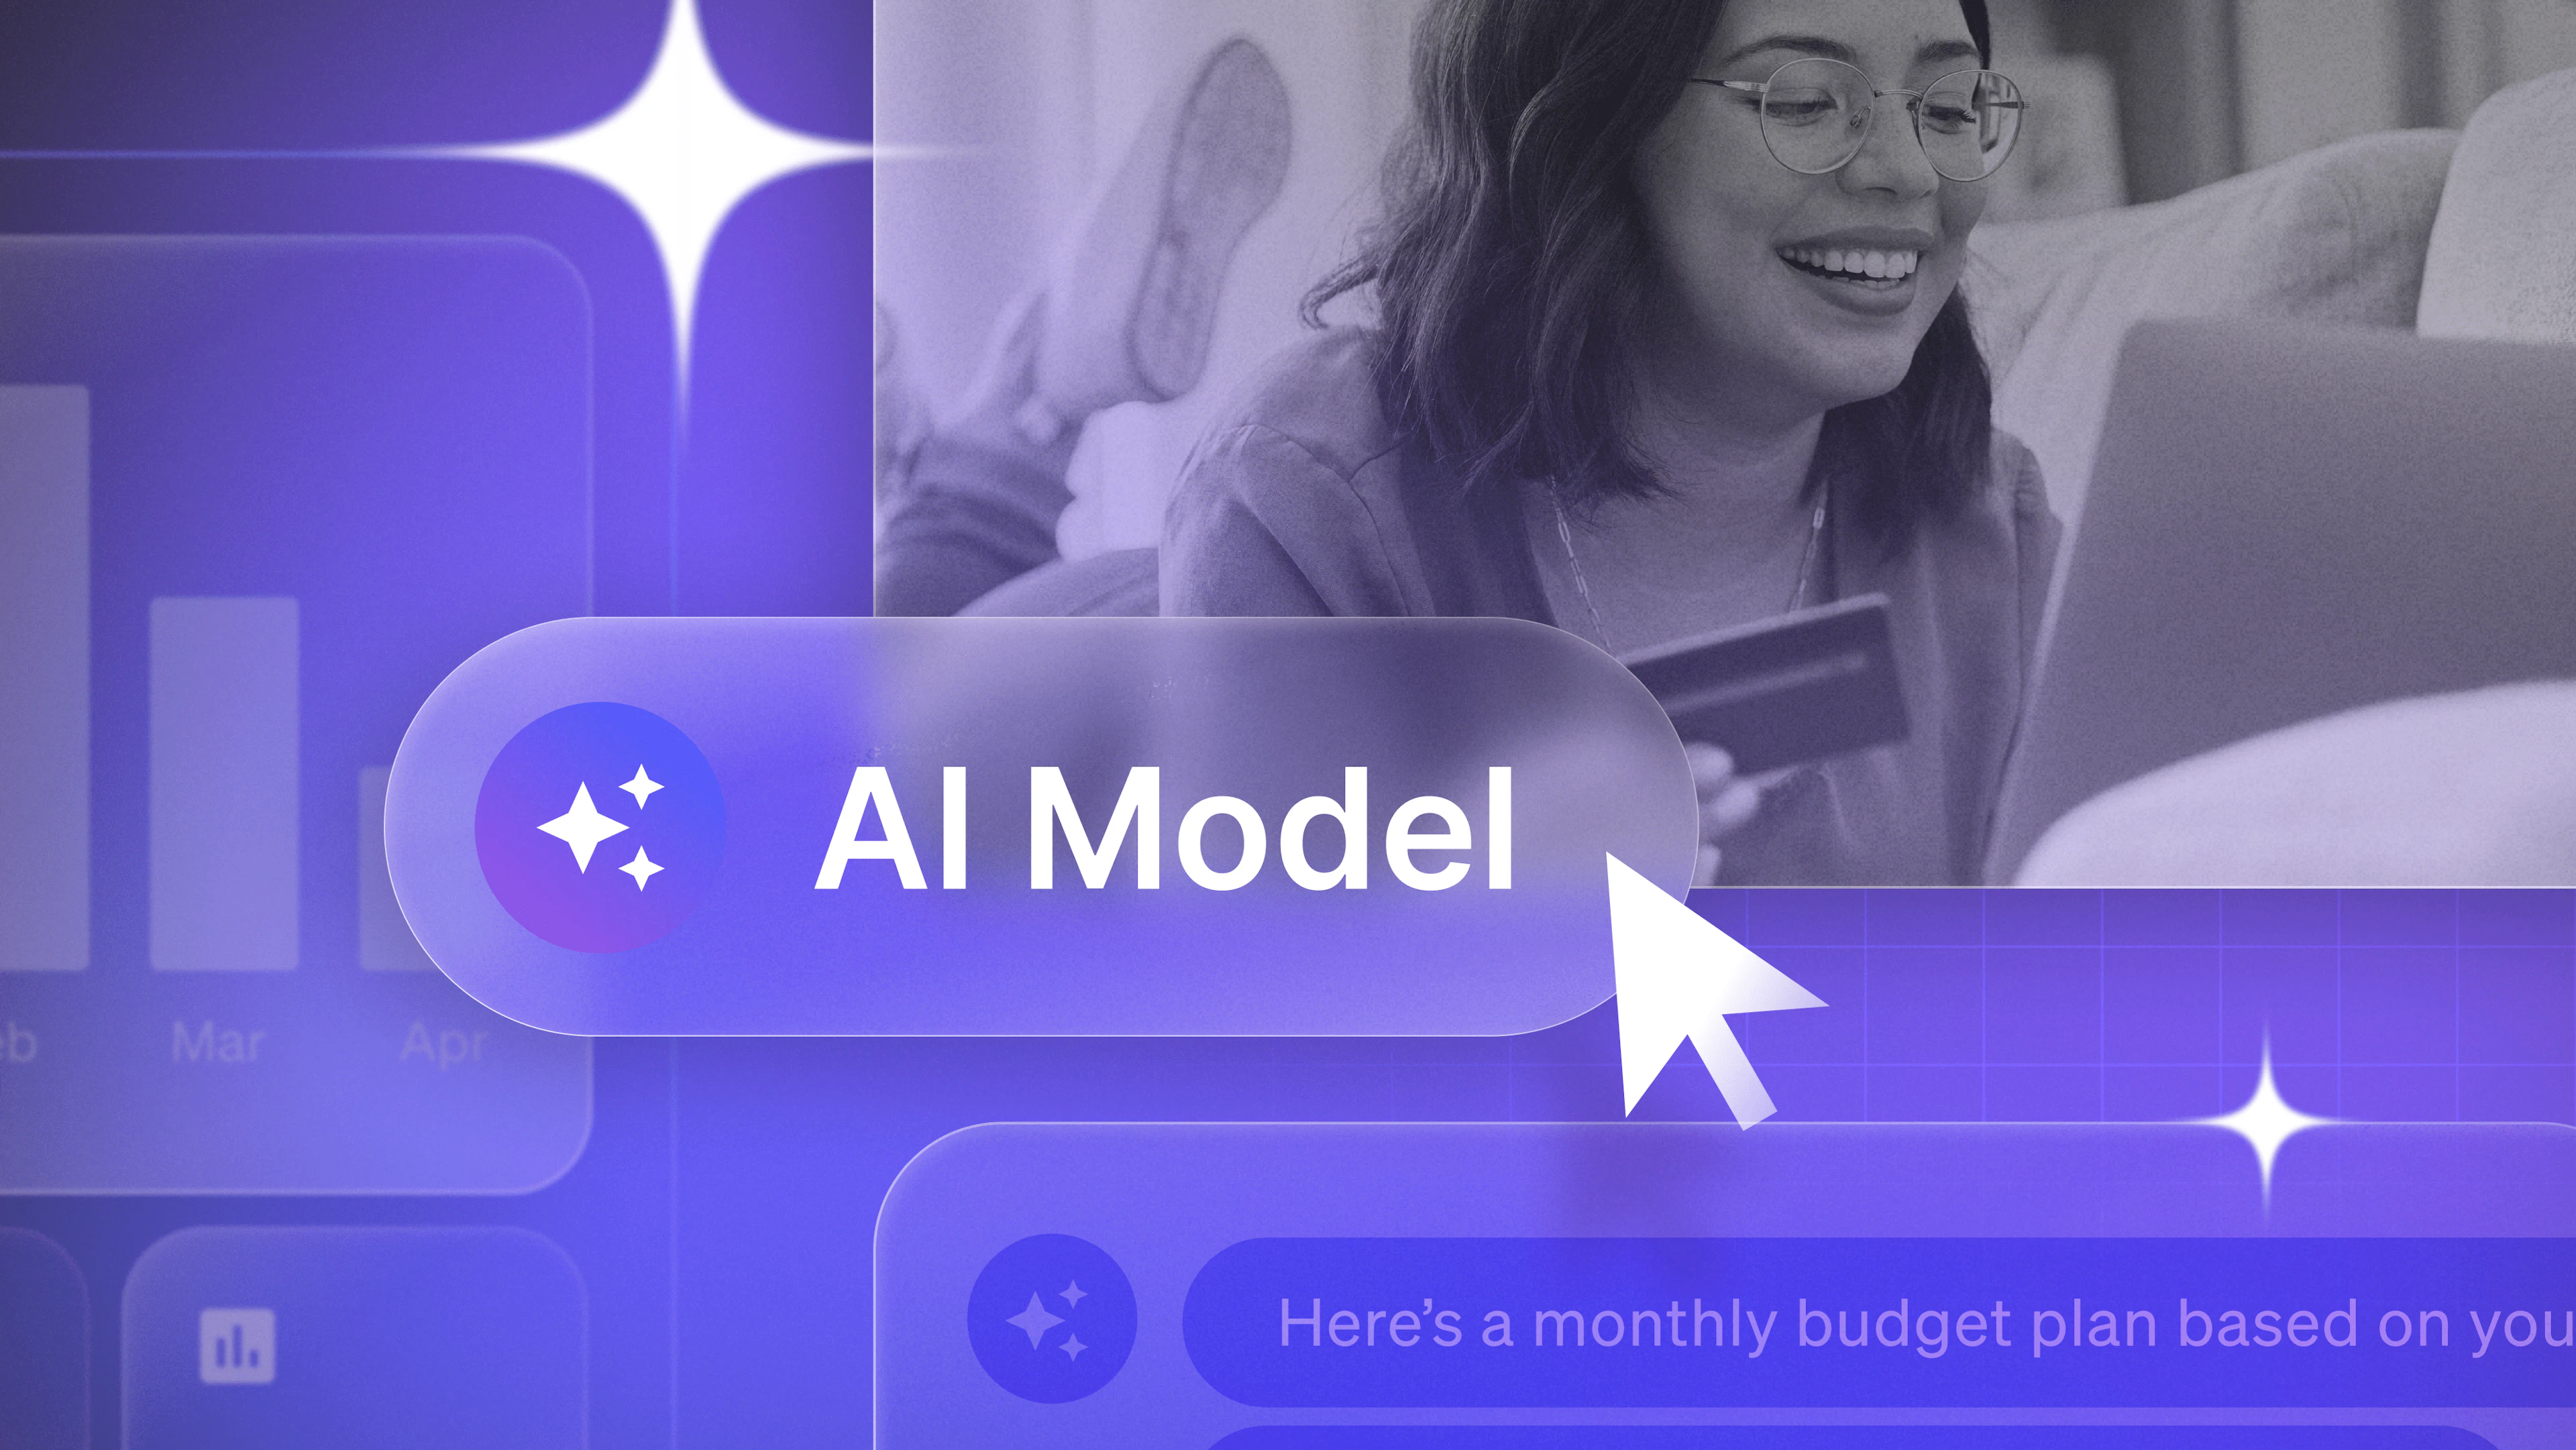
In LaunchDarkly, we've made the automation of percentage rollouts simple. In this post, we'll explain the super easy way to perform a percentage rollout, as well as a more manual way when you really want to get hands-on.
How to automate a percentage rollout in LaunchDarkly
We've recently introduced "workflows," to make automating percentage rollouts ridiculously easy.
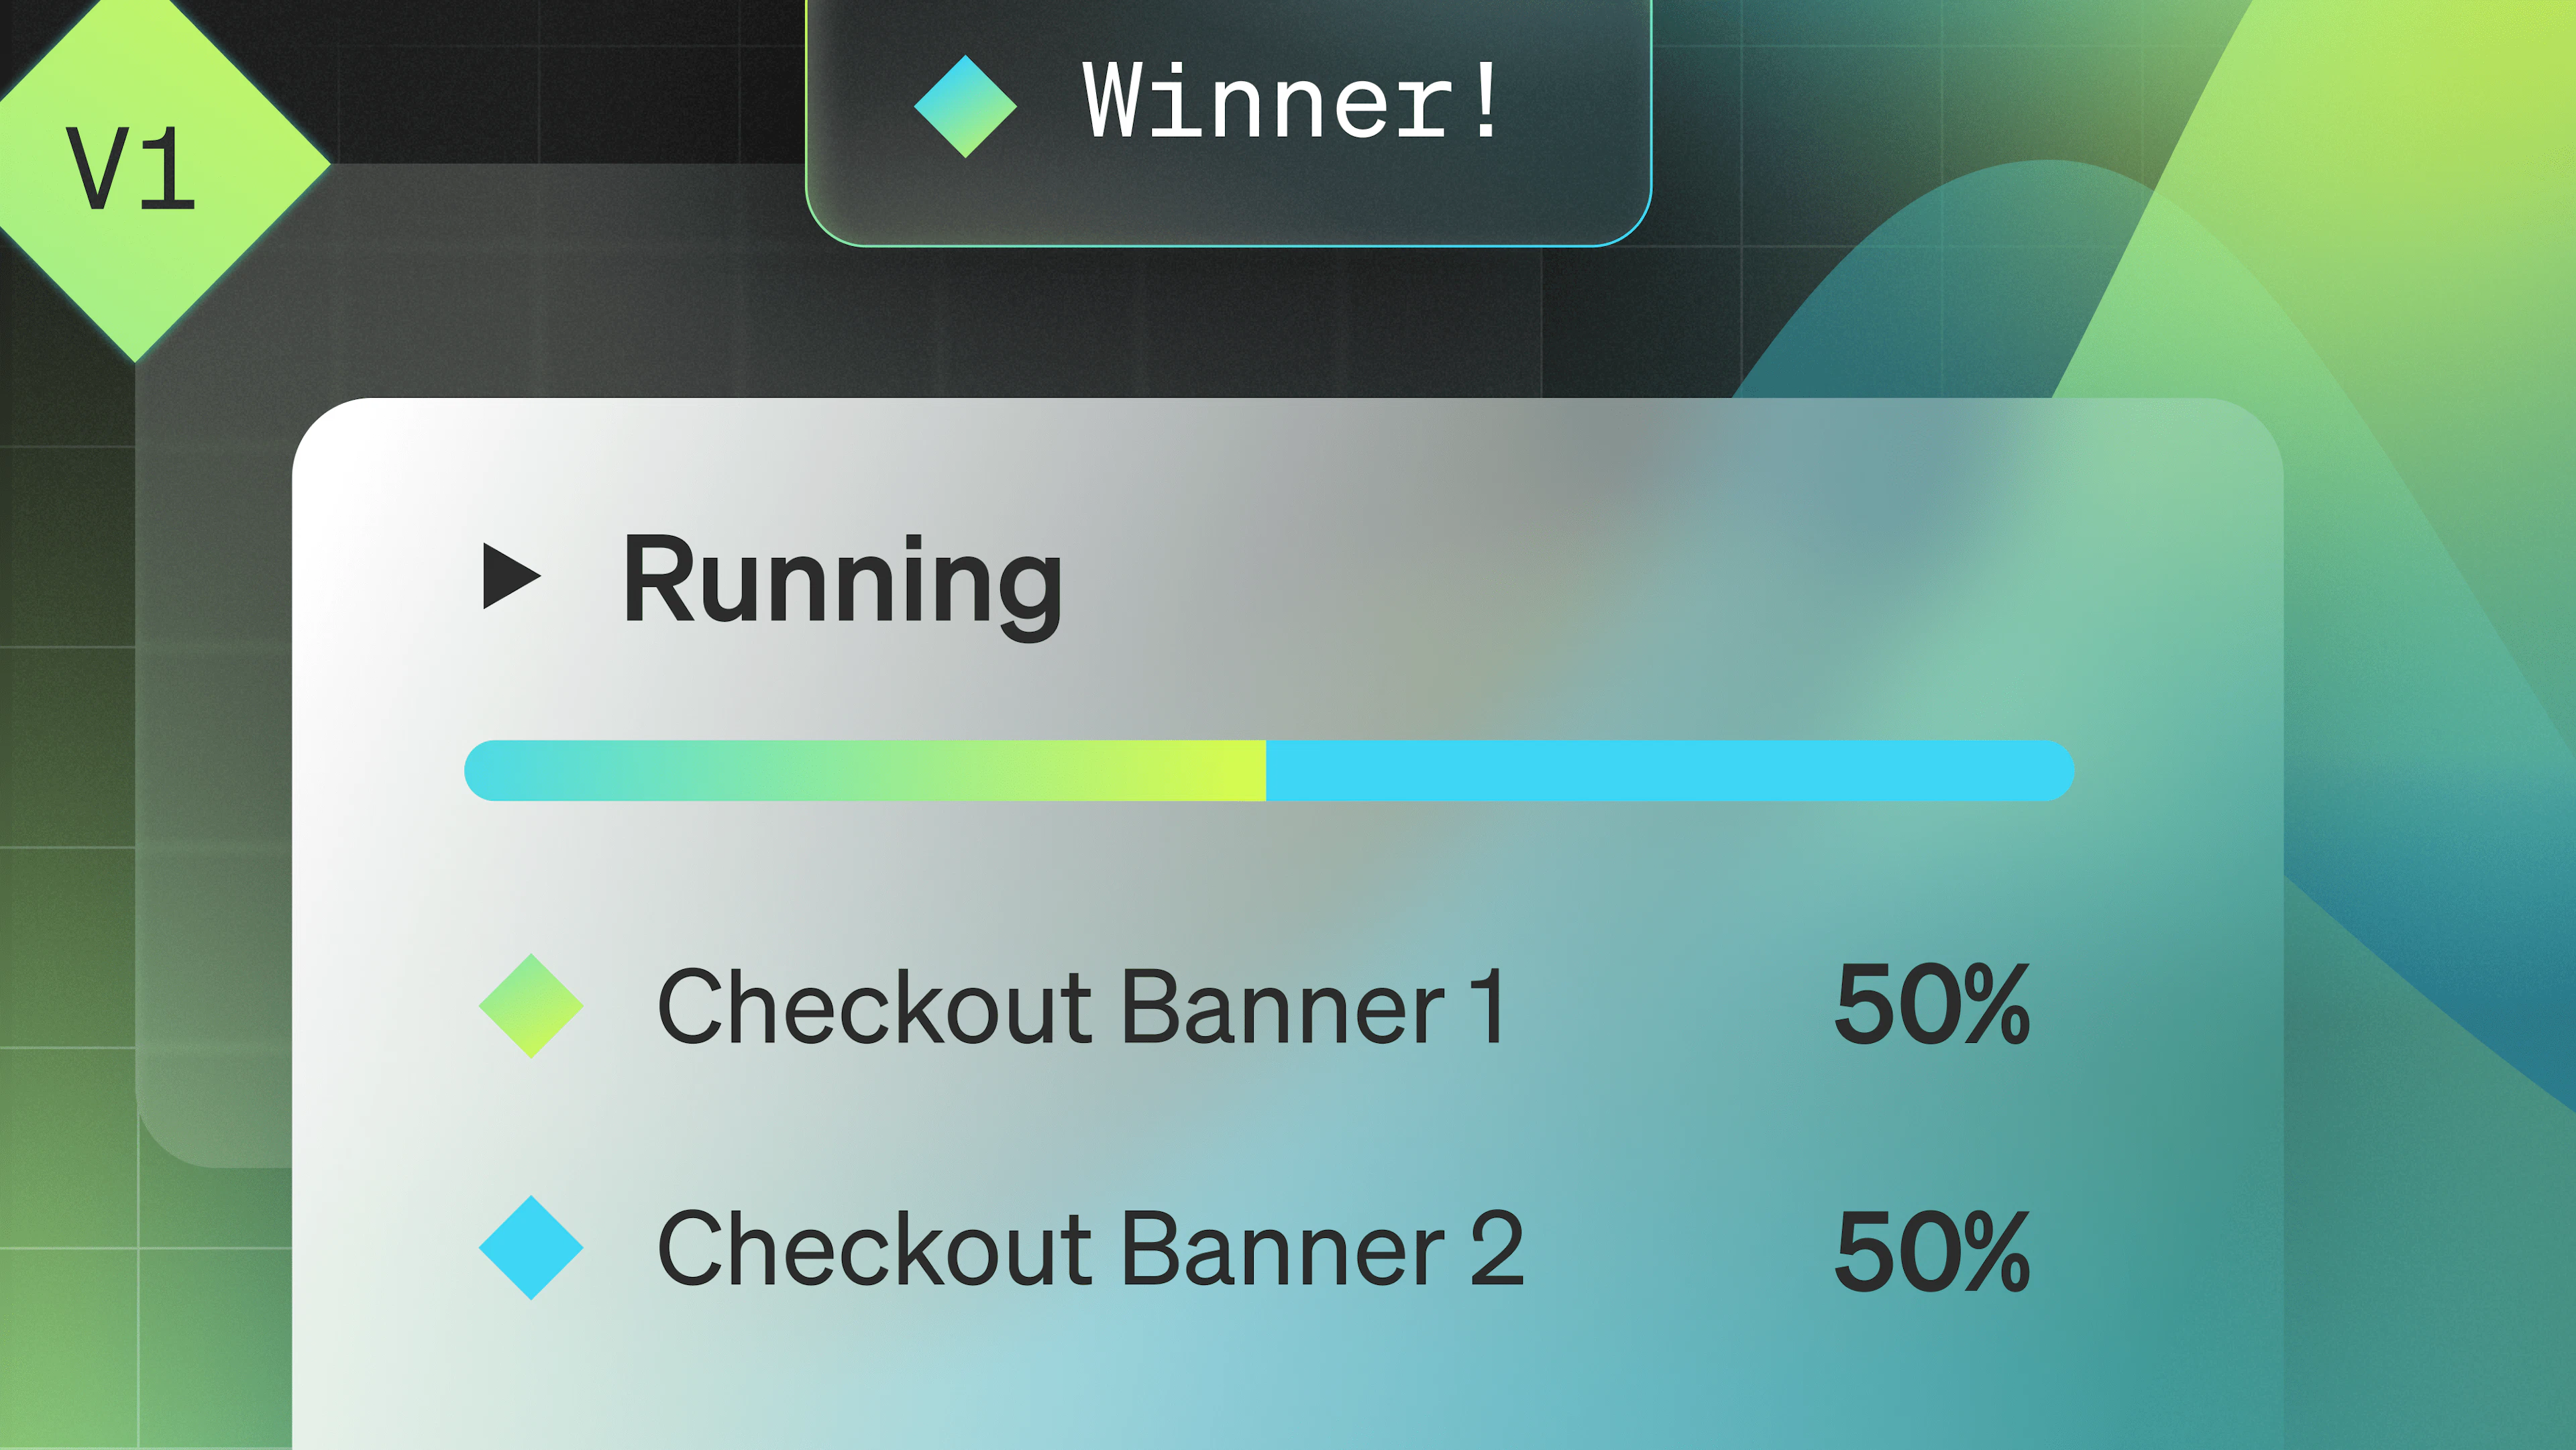
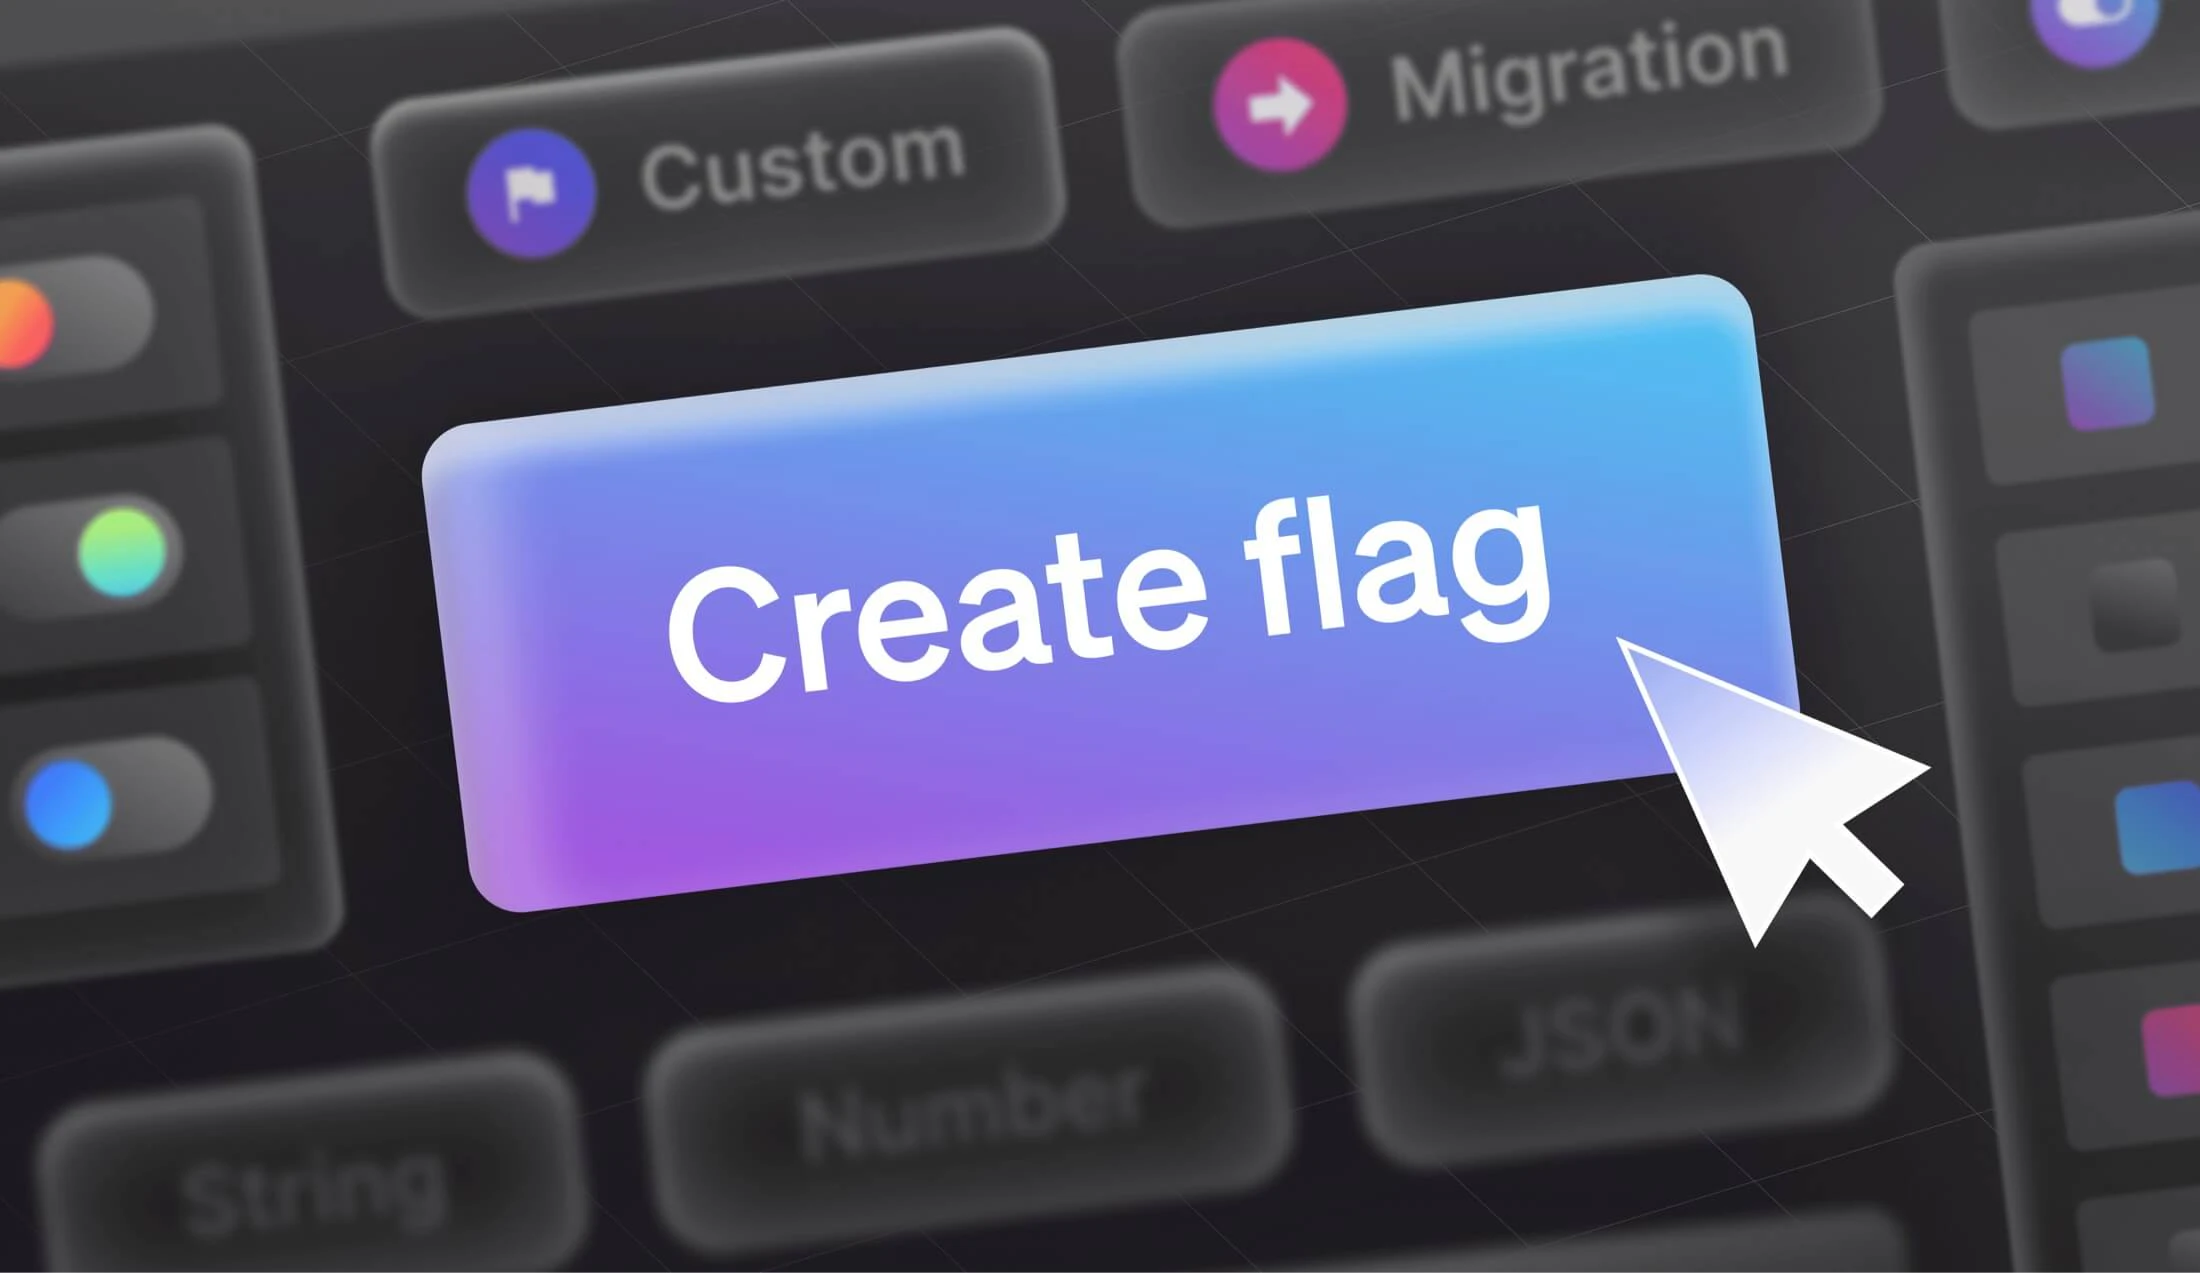
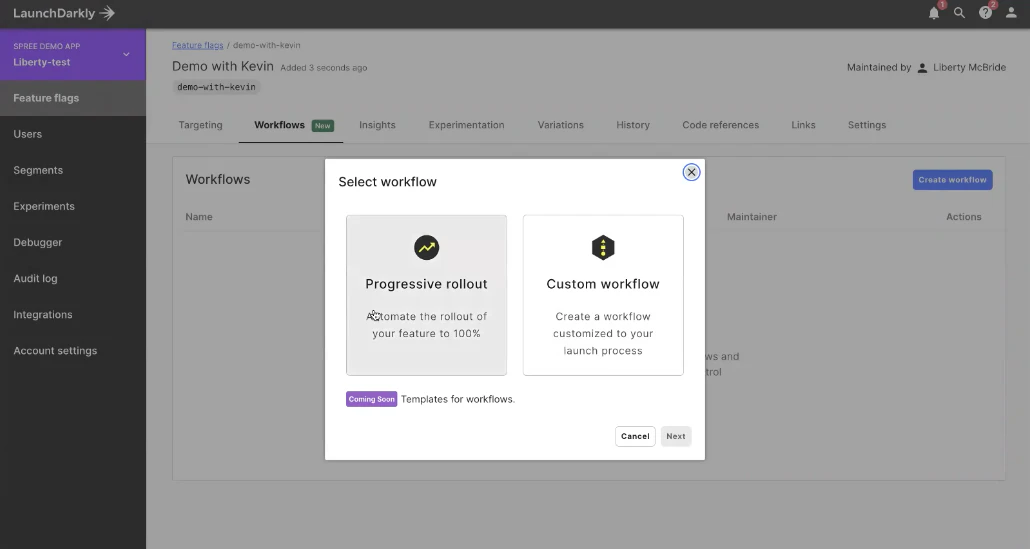
From the LaunchDarkly home interface, navigate to a flag, and click on the Workflows tab. When you click "Create workflow," you'll be given the option to either do a progressive rollout or a custom workflow. If you want to do a progressive rollout to all of your users (we'll talk about targeting groups of users later), you just need to select:
- When the rollout should begin
- Which variation you want to rollout
- The percentage increments of the rollout (10%, 20%, etc.)
- The frequency you want the rollout to progress (say 20% every two days)
From there, LaunchDarkly will scaffold out the steps for the rollout, and you can review all the stages, adjust steps to your preference, and then start the workflow. With this, you can let LaunchDarkly handle your feature release and shift your attention to something else entirely (maybe critiquing movie trailers.)
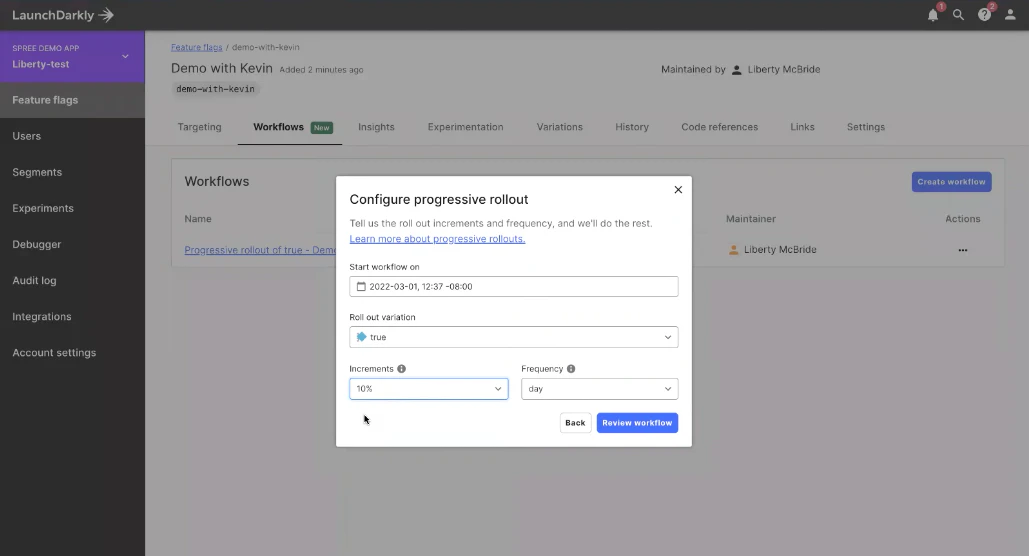
One thing to note is that this method starts your rollout from zero percent of users having received it. So if you already have an existing feature partially rolled out to a certain percentage of users, say maybe 40%, and you select the progressive rollout workflow, it will overwrite any previously-defined rollouts. So you really want to select this option when you're starting a rollout from scratch. If you want to preserve the experiences for currently-targeted users, read the next section to learn more on building a custom workflow.
How to manually perform a percentage rollout in LaunchDarkly
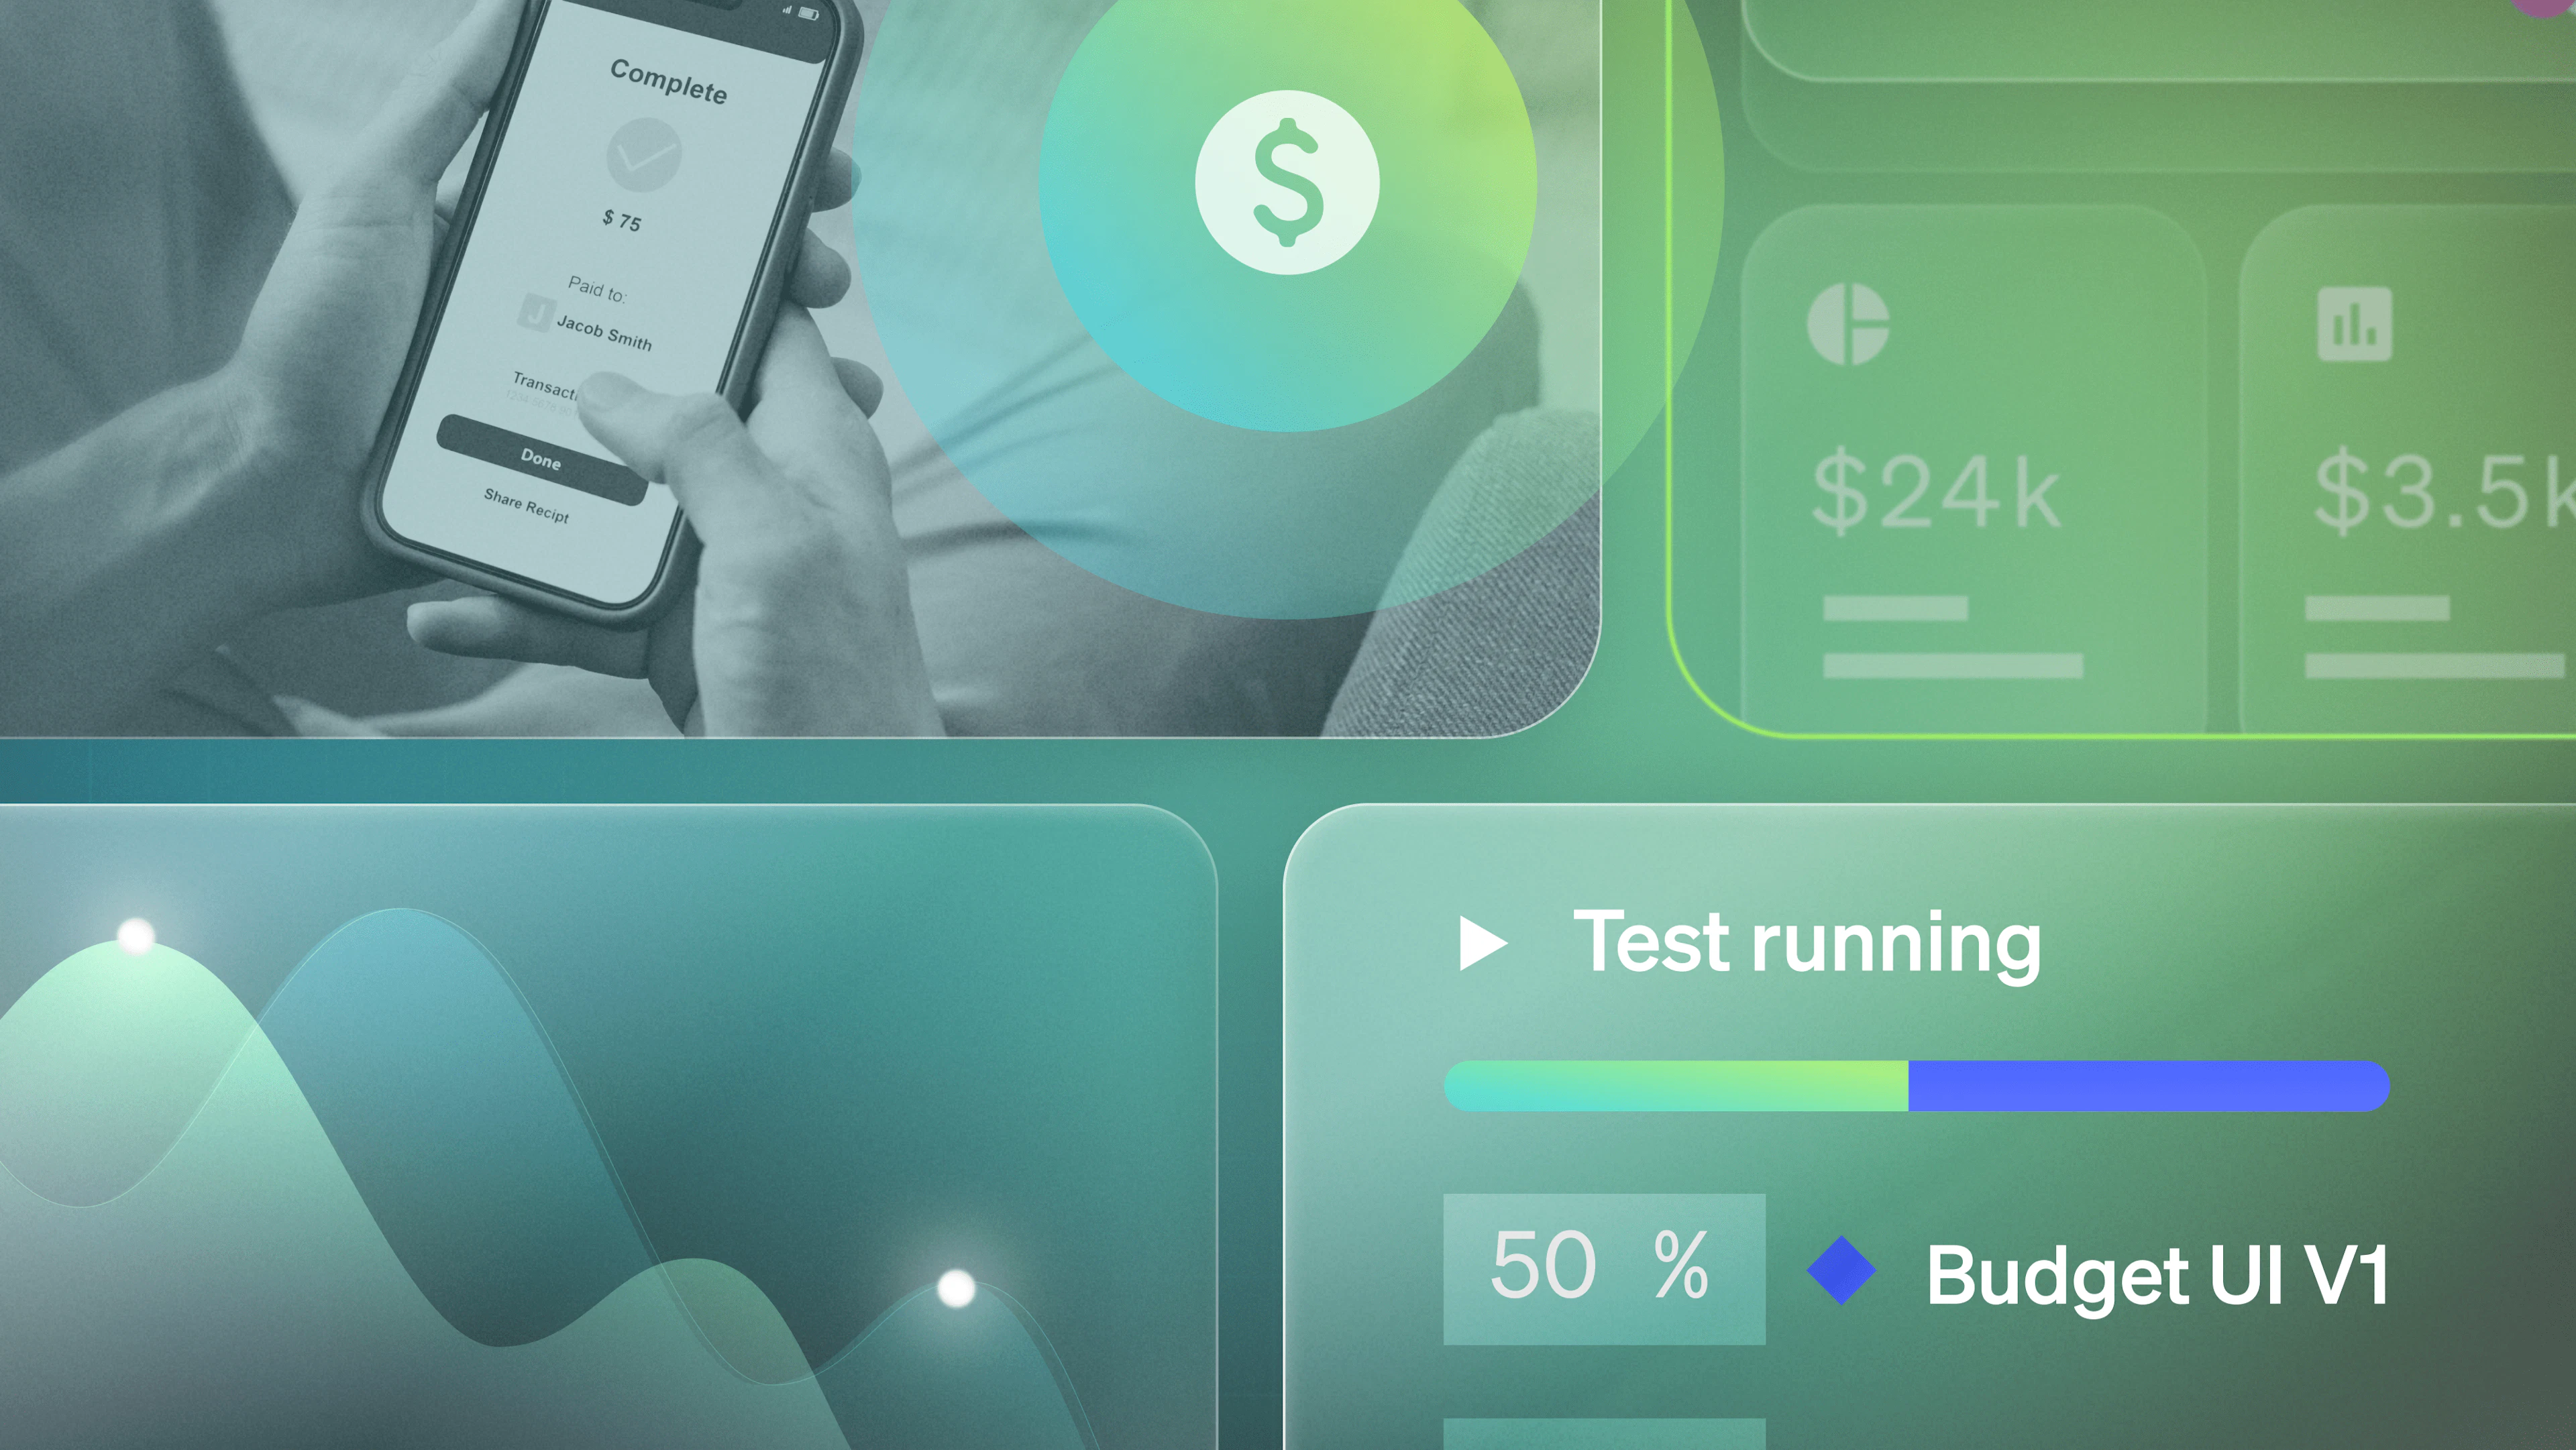
We realize the title of this post is about automating rollouts, but since you're here, maybe you want to target a specific set of users (canary release). In that case, we recommend choosing the custom workflow option. This will open the Workflow Builder, where you can create customized, flexible workflows to fit whatever business processes you follow. You can set up one or multiple approvals, target user segments, and use each stage of the feature release to coordinate on a timeline of your choosing.
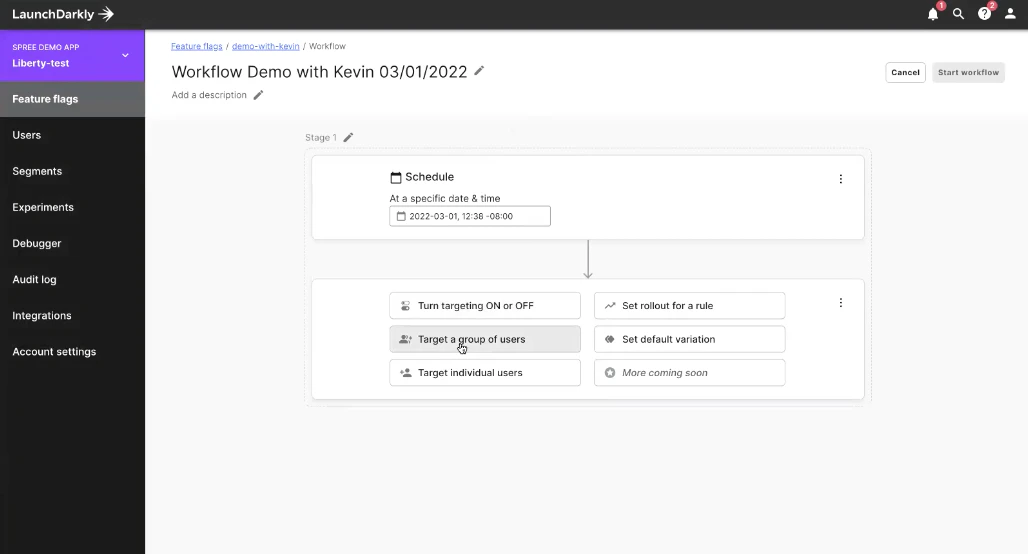
A custom workflow allows you to automate a rollout to a specific group of users instead of all users. This can be really helpful during major architectural changes, or with high-risk features.
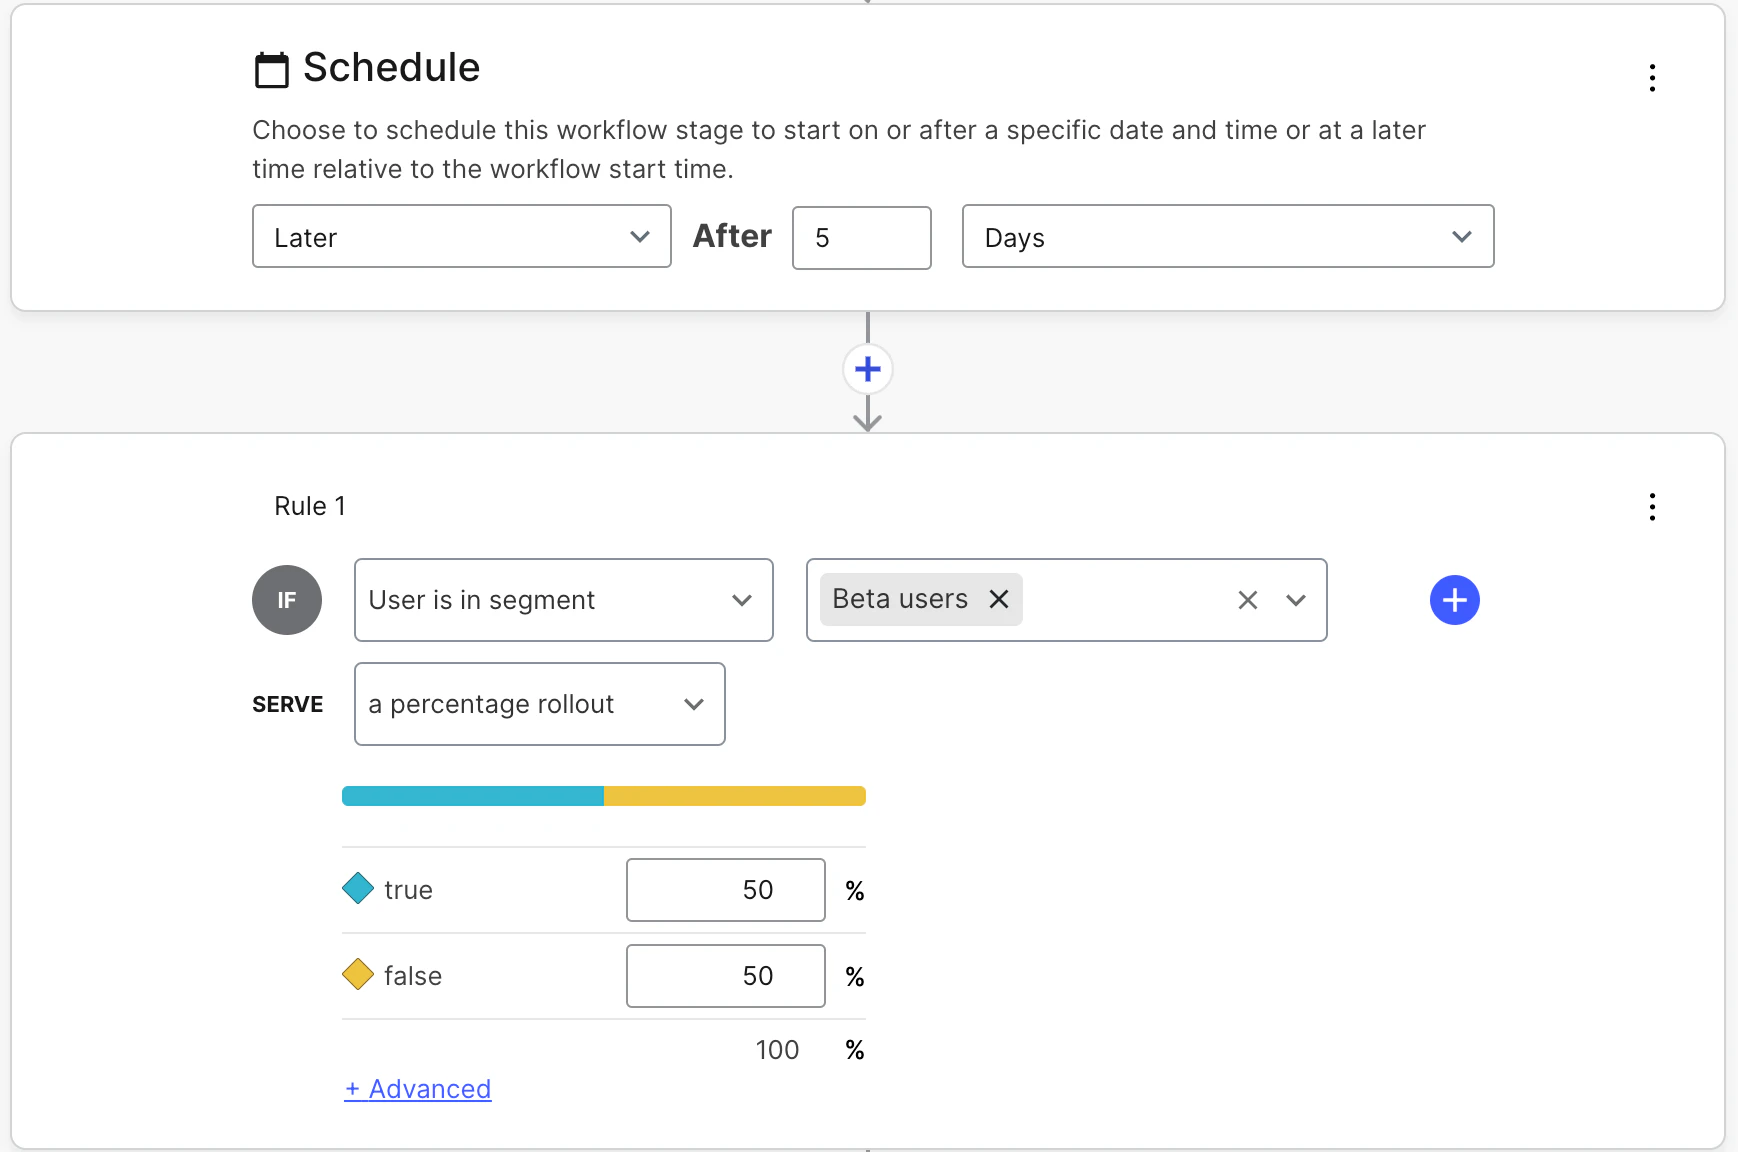
Alternatively, when you click on a flag, you can also manually target users you want to receive the rollout and schedule the release for a future date. We recommend this type of method more for one-off changes as opposed to a full release.
Looking ahead
Very soon, we'll be releasing workflow templates that allow you to build a workflow, save it, and use it again at your discretion. Stay tuned! Until then, dive deeper into this topic in our Docs and here's hoping all your rollouts are 💯.