
Key Takeaways
- Get a step-by-step guide on how to run experiments in LaunchDarkly at an introductory (101) level
- Learn how to experiment on software features and control the associated rollout with feature flags
- Learn best practices for running multiple kinds of experiments, e.g., funnel optimization vs. feature change
Whenever we make any software change, we are experimenting. Will it crash? Will it do what we intend? Will it cause harmful side effects? Will it deliver value? Even an innocent "bug fix" can fail to solve the problem or create more problems. Unfortunately, we often skip over the part of actually measuring the effectiveness of these changes.
With LaunchDarkly, you can create experiments on any software you're developing—mobile apps, websites, automobile software, gaming devices, and more—across any part of the stack. While the experiments may impact different parts of the application and be implemented in slightly different ways, the goal is almost always the same: to determine what delivers the best results to your end users.
LaunchDarkly unites feature management and experimentation in a single platform. This integrates experimentation with the developer workflow, fosters collaboration between product managers and developers, and simplifies the process of launching experiments.
LaunchDarkly users run experiments on many things, from notifications opt-ins and third-party library assessments to new algorithms and server-side changes!
In this guide, you'll learn how to create experiments in LaunchDarkly to uncover the data that matters most to your business.
What exactly is an experiment (you know, technically speaking)?
An experiment helps you better understand the cause and effect of different elements of a user's action. Put simply, it's a way to gain insights into the business impacts of the potential aspects you're changing. LaunchDarkly will monitor events within your software and see how they are affected by a change you are rolling out using a feature flag.

Building your first experiment
Ready to don your lab coats and start experimenting?! Let's begin by figuring out what we will be testing.
In the early days of experimentation, defining what you are testing (the change), how you will measure its impact (the performance metric), and what you think will happen (the hypothesis) is essential. You could set up the experiment technically correct, but if you're measuring the wrong thing, you've signed yourself up for a bad metric mumbo jumbo, where the numbers don't matter.
Let's explore a real-world example. You're working at an e-commerce company and want to see if a different product display page (PDP) influences the number of times something is added to the cart.
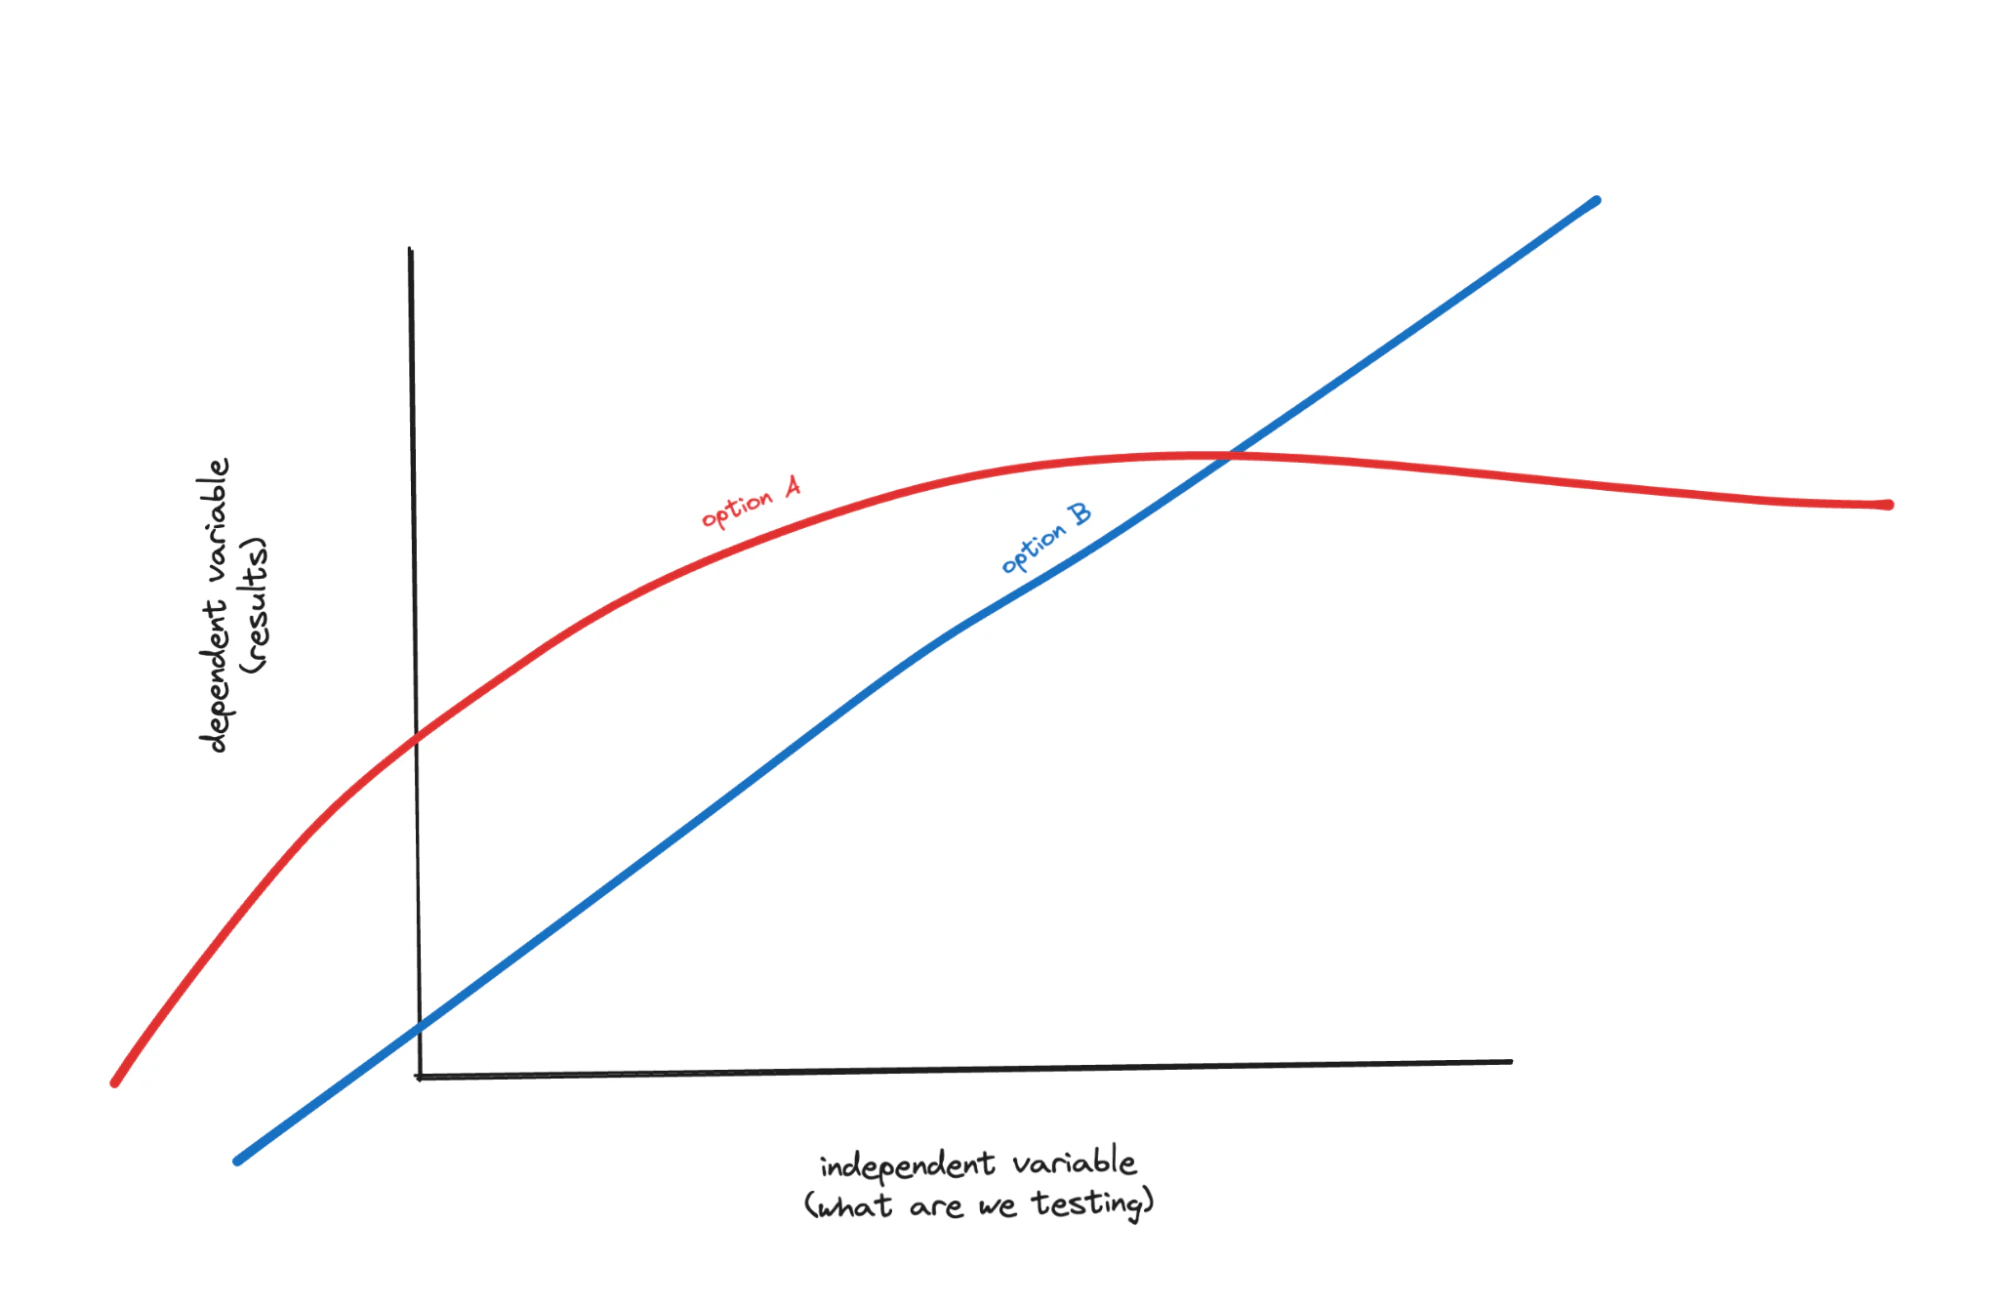
We have our two versions to compare and the metric you'll observe. In the case of our e-commerce example, we could test the impact of two different product display page (PDP) designs compared with the number of add-to-cart clicks. In all experiments, we can consider our y-axis, or dependent variable, as the metric we want to evaluate to determine success. In contrast, our x-axis, or independent variable, is the thing we are testing. In the case of the e-commerce experiment:
- The PDP design is the independent variable (x-axis)
- The Add to Cart is the dependent variable (y-axis)
Pulling what we know from algebra class if we put this in a standard slope formula (y=m(x)+b), an experiment compares two different slopes to identify what is most successful for our results. (If you want to read more details, see here.)
Implementing experiments
As with many things in LaunchDarkly, building an experiment is similar to creating a feature flag. (P.S. Haven't made a feature flag yet? That's okay, too; we're going step by step—no prior LaunchDarkly experience needed 😉)
You've identified what you want to test (your PDP page). You've got a hypothesis in mind (PDP page A will have a higher add-to-cart click rate than PDP page B); now it's time to execute that.
Here are a few prerequisites:
- Ensure you have a LaunchDarkly account and use one of the many valid SDKs.
- Ensure that your application assigns each context kind a unique identifier (context key). In our example, the context kind is probably "visitor" or "session," not "user," because many visitors to e-commerce sites never log in.
- Decide which change to use for your first experiment.
Keep your hypothesis in mind
One common mistake when setting up your experiment is forgetting your hypothesis. When setting up the experiment, it's important to remember what you want to test (and what action you'll take because of the test). That's why the first step for creating an experiment in LaunchDarkly is to add your hypothesis.
---
💡Setting your flag up to track events
For LaunchDarkly to know that some unique context (visitor, user, etc.) has been exposed to the experiment, the SDK needs to send an "impression" or "trigger" event. This event facilitates a trigger (button click, navigate to a new page, click link), which establishes a point in time after which any metric event for a particular context can be correlated back to. Make sure your trigger event is relevant to the initial hypothesis.
❗Heads up! If you're using the client.allFlags method within the JavaScript SDK, configure the SDK with the option sendEventsOnlyForVariation: true so that allFlags doesn't trigger impressions for every flag.
---
Once you've got your SDKs set up, configured, and installed, let's dive into our project's code to see what this looks like from that perspective. Here's a snippet of code that could be used for a front-end-based experiment. In this example, we can see how we're testing between two different cart styles.
Using the LDClient.track is where we can track user interactions. In this example, we're looking to follow the "Checkout Click" event.
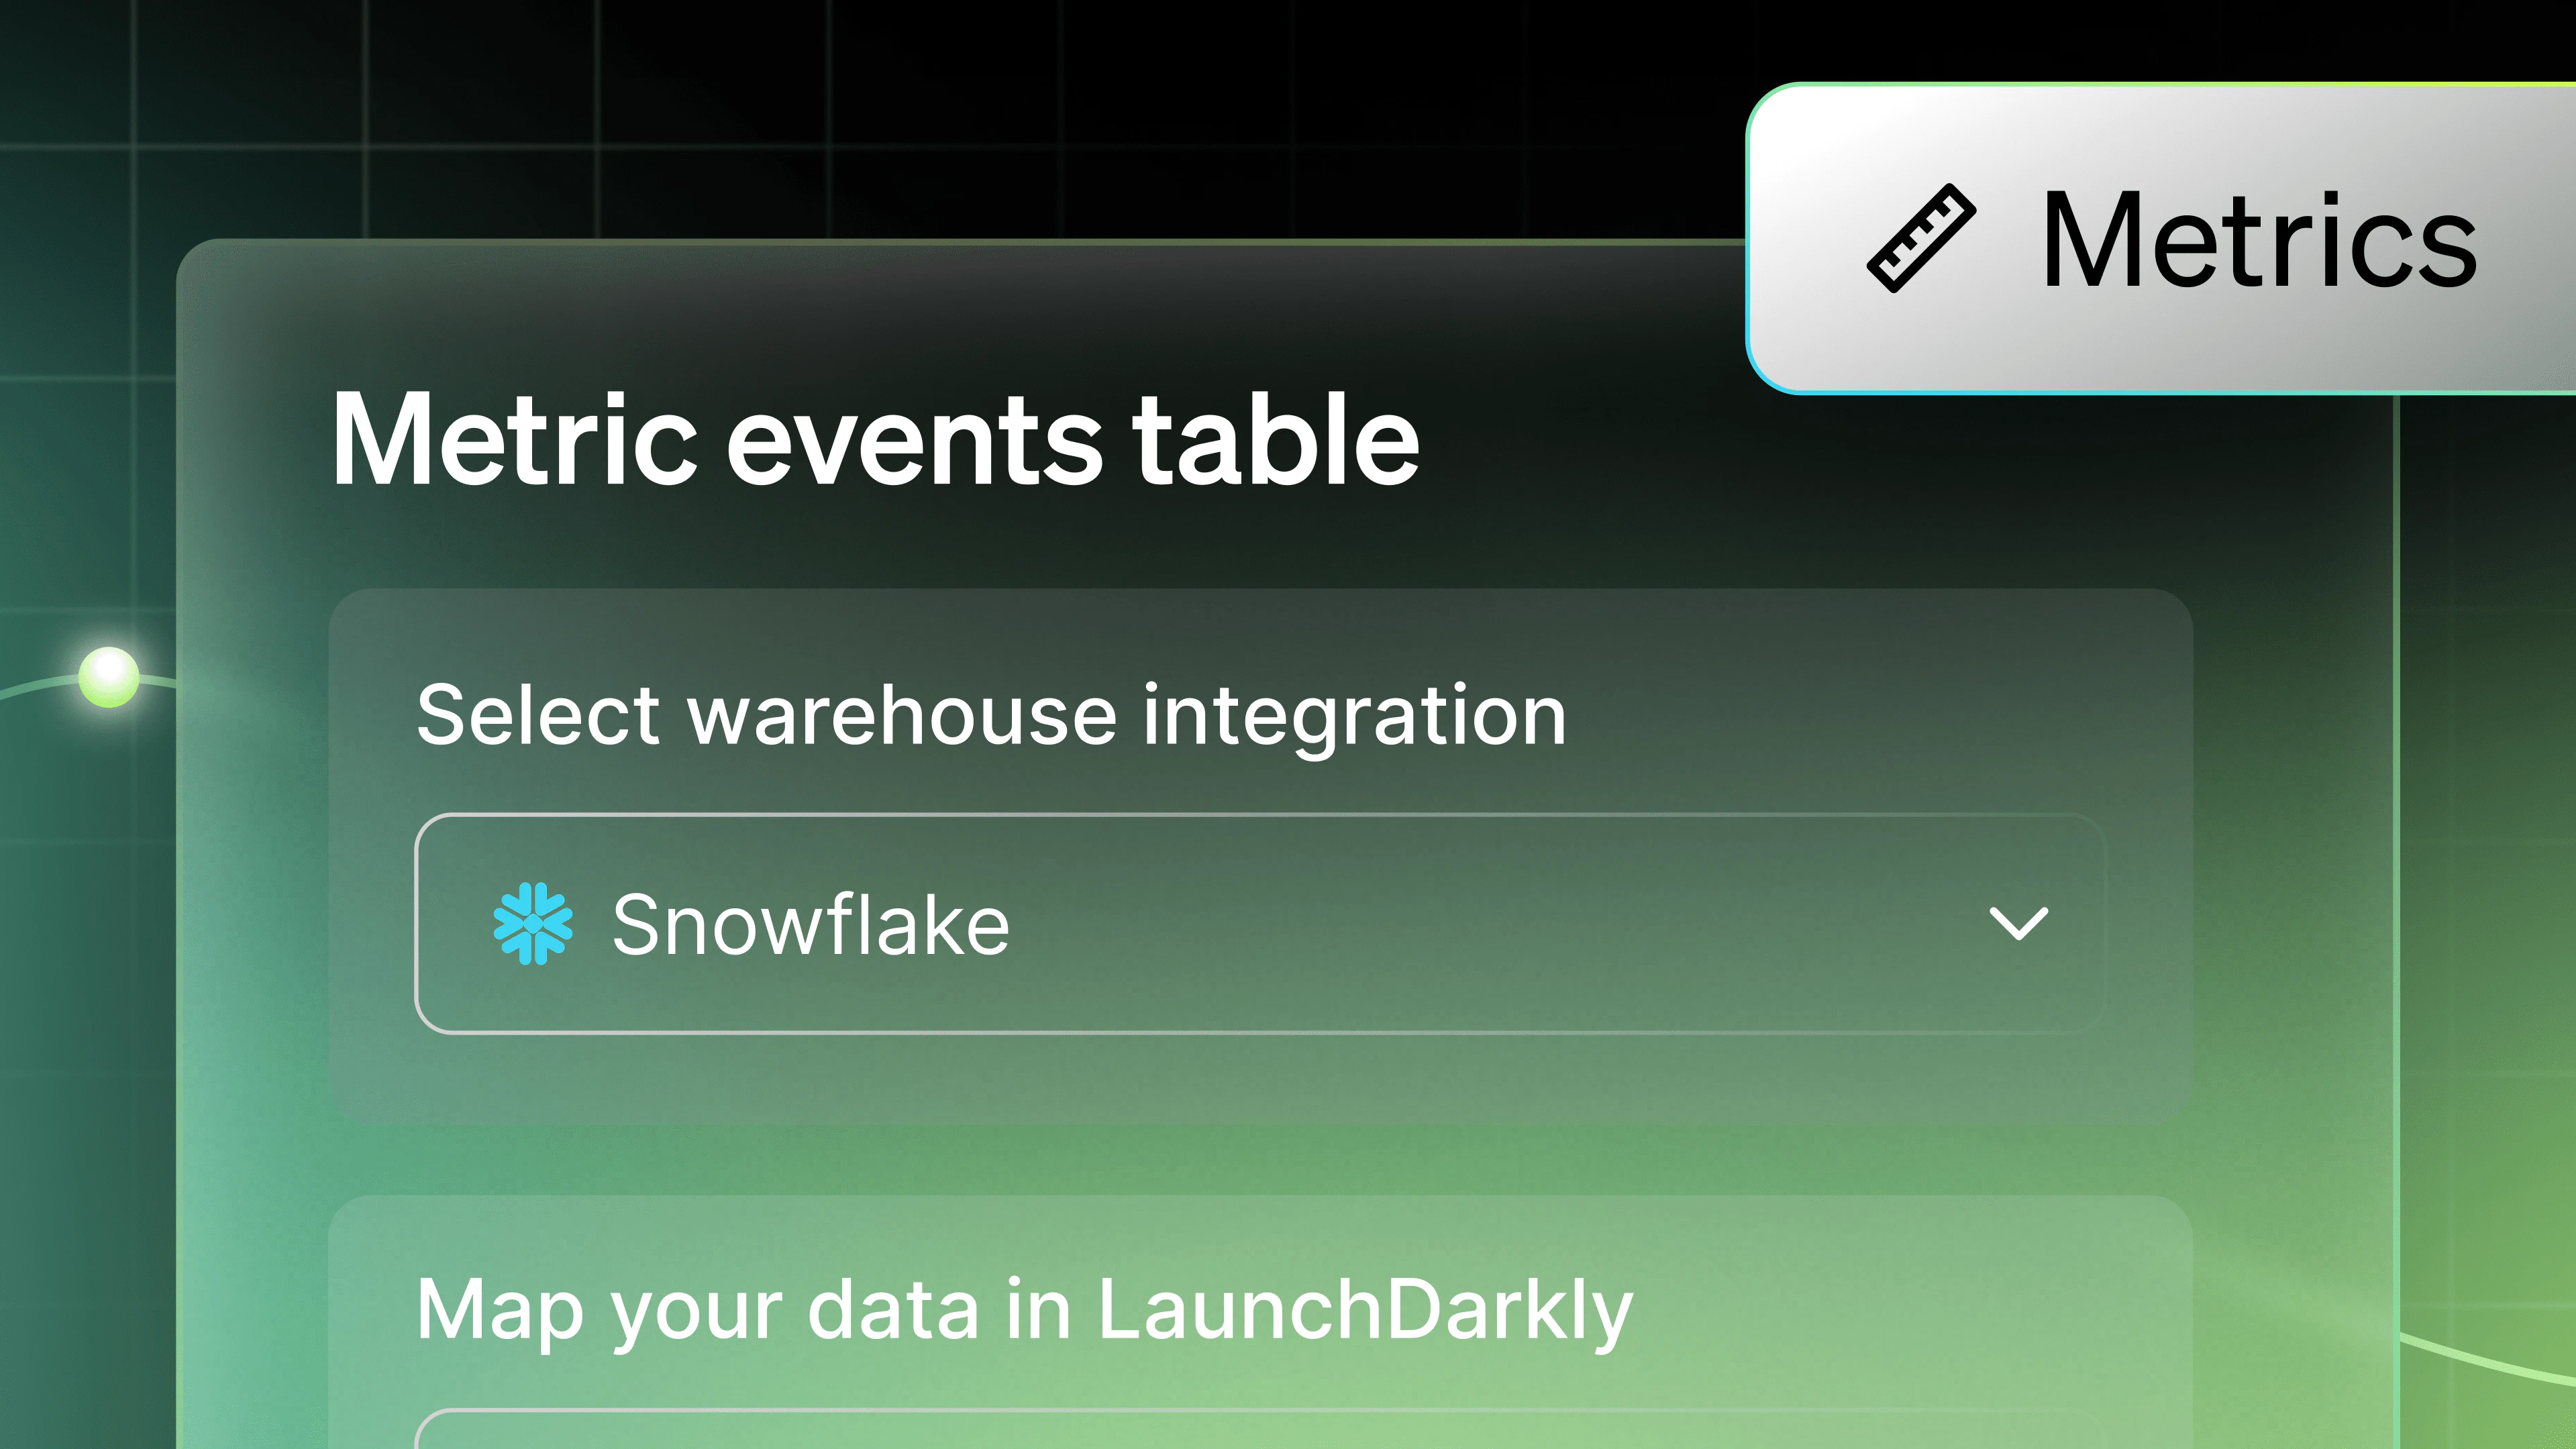
Create a metric
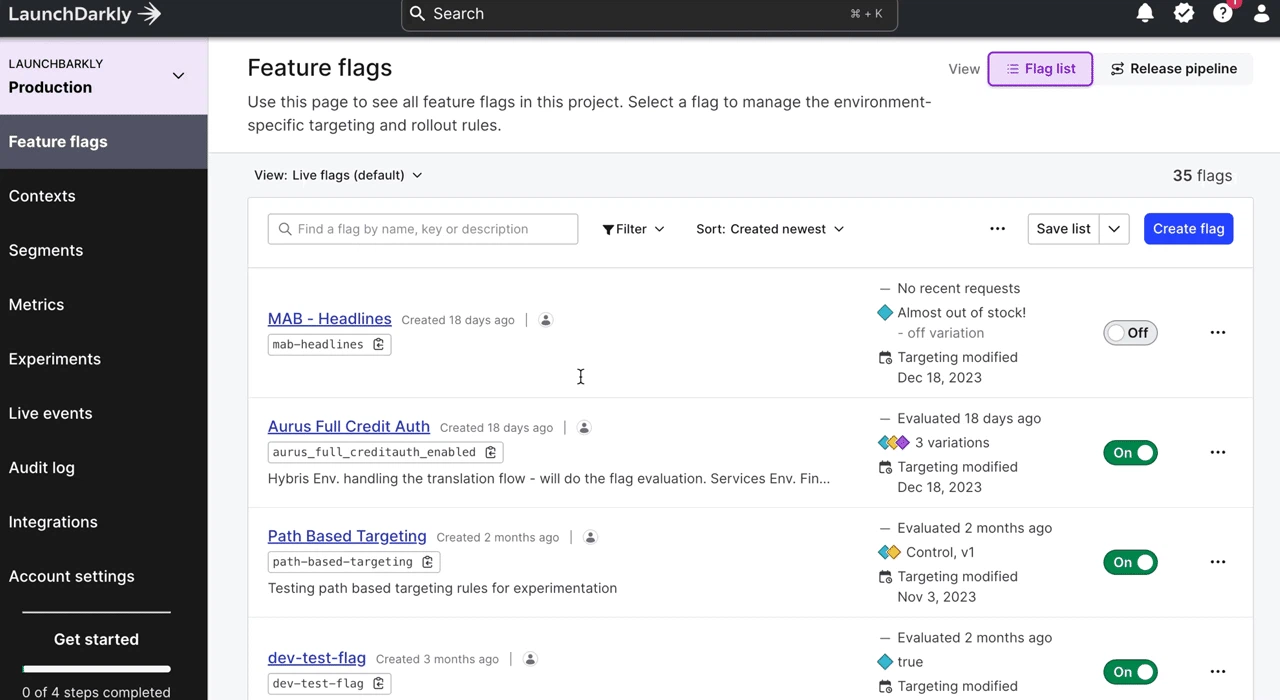
Navigate to the "Metrics" tab within LaunchDarkly, and click "Create metric."
In our example, our metric will be "add to cart", a click metric. Additionally, because we've already set up a feature flag, we can use the custom event settings and insert the appropriate event key.
<<<❓Curious to learn more about metrics? Check out our docs! >>>
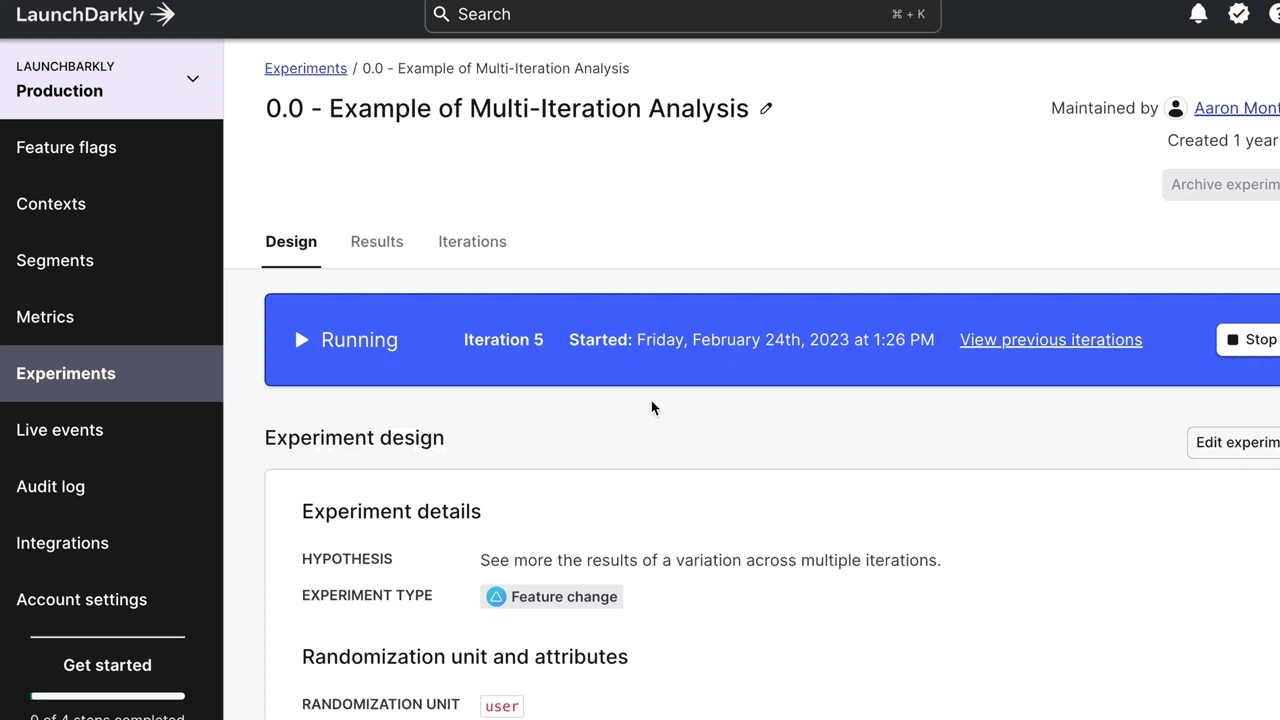
Navigate to the "Experiments" tab within LaunchDarkly's application and click "Create experiment".

You'll first start by outlining the details of your experiment. No need to fret—you've already done the heavy lifting.
Give your experiment a name, and add in your hypothesis from there. Think of the hypothesis as a way of reminding you, and anyone else who looks at this experiment in the future, of what you were thinking at the time.
Then, select your experiment type. Most experiments will fall under the category "Feature change".
Funnel Experiments vs. Feature Change experiments
While most experiments you run will likely be Feature Change experiments, LaunchDarkly also has the option for you to create Funnel Experiments. Funnel experiments are great for testing things with a series of steps where all of the steps happen sequentially, if they happen at all; user sign-up or checkout flows are a great example of this.
In a Funnel Experiment, you will use multiple metrics, one at each step, to determine how much more or less experiment traffic reaches each funnel step. The flag you are testing will introduce a change somewhere in that sequence of steps so you can see the effect of the change on any metrics that occur after the change.
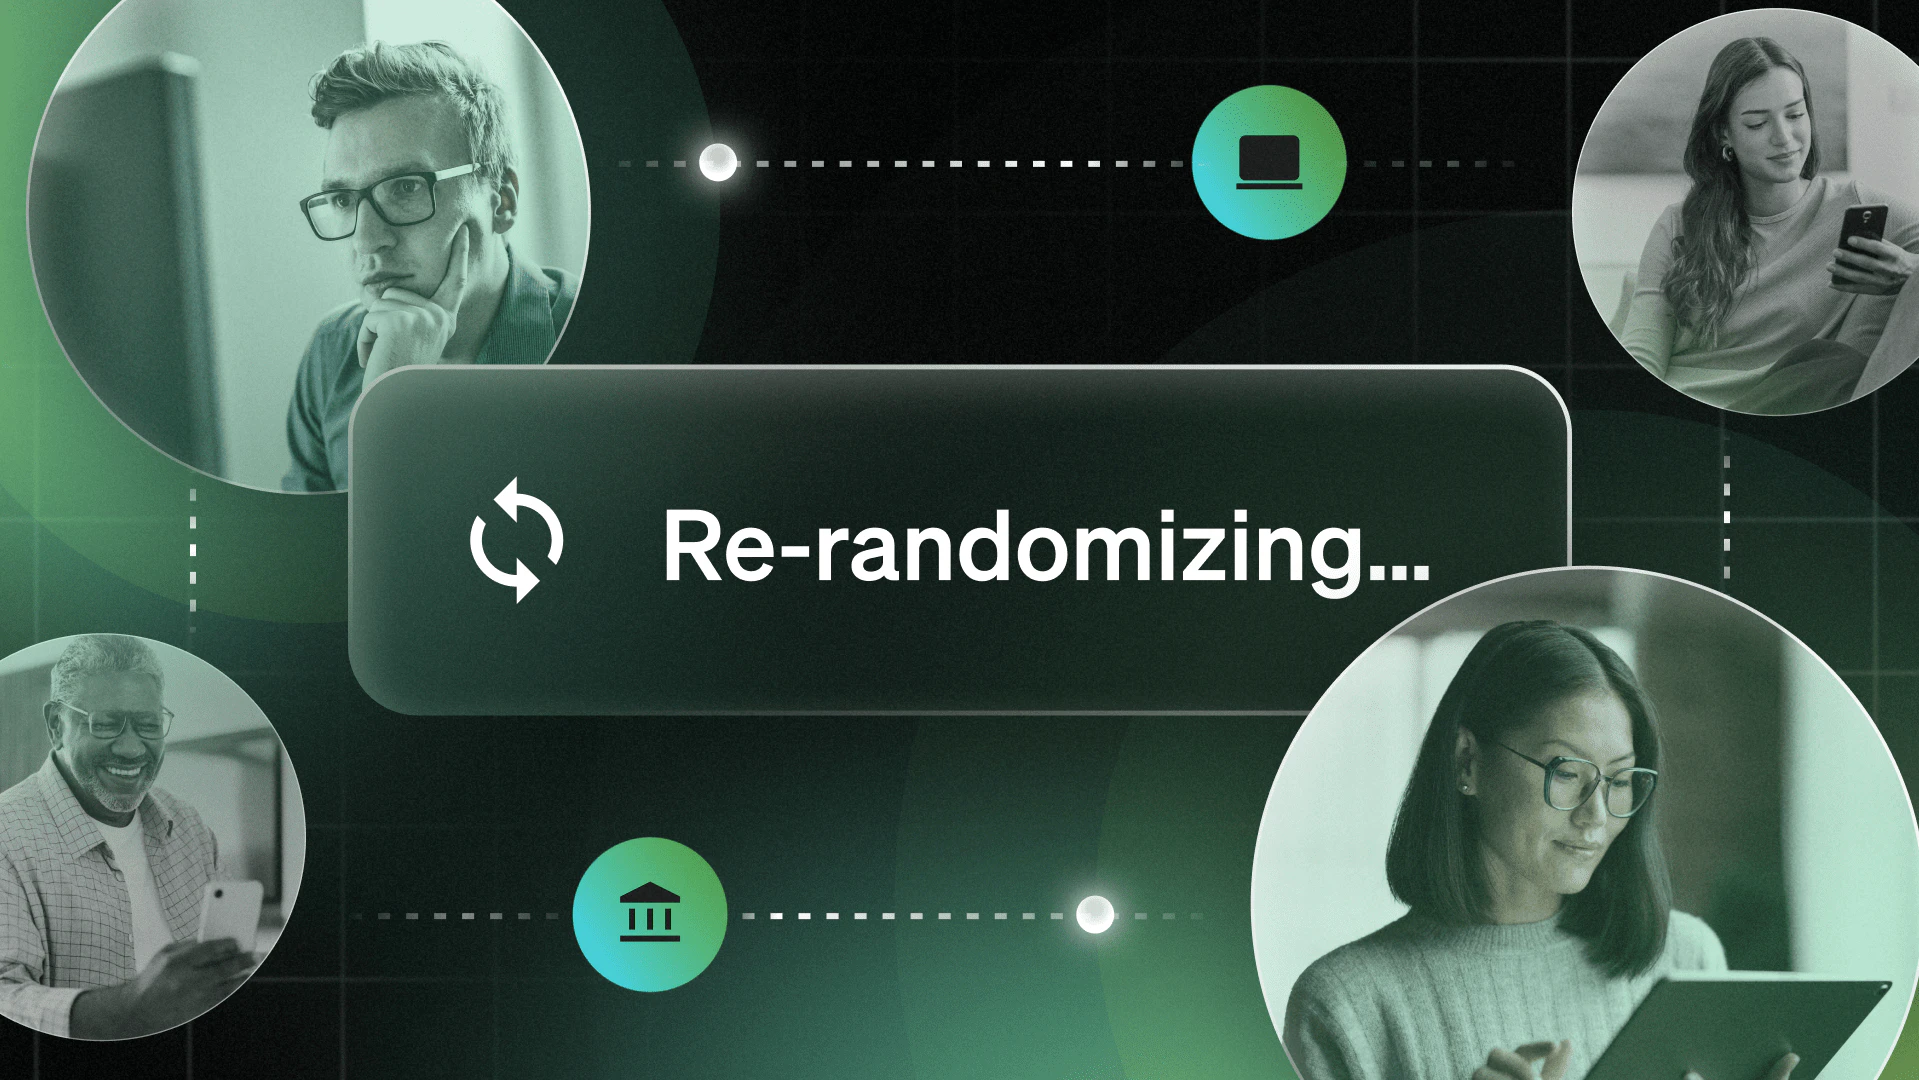
Randomization units
Next, select your randomization unit and attributes. Think of the randomization unit as a data type your LaunchDarkly experiment draws upon when assigning traffic to each feature variation.
For most experiments, the randomization unit will be "guests," "sessions," or "requests." However, getting more specific with a randomization unit like "zip code" could also qualify. Here are a few examples of randomization units (italicized):
- Sessions were more likely to click “add to cart” in option A instead of option B.
- Requests were serviced faster with algorithm A instead of algorithm B.
- Zip code 12345 responded better to regional promotion A over regional promotion B.
- Mobile users were more likely to complete a workflow on mobile layout A than on mobile layout B.
Regarding attributes, these are the secondary properties you want to segment your results in. These are often set up when you define your contexts within the SDK. It is not required to have them, but it is always nice to have them when conducting experiments to evaluate results by a particular segment.
Sample attributes could be:
- Location
- Device type
- Plan
Select metrics to add to the experiment
Next, you’ll select what metrics you want added to the experiment. Refer back to the metrics we set up earlier, and you can add them here. If you didn’t create a metric previously, this step has a button to create metrics.
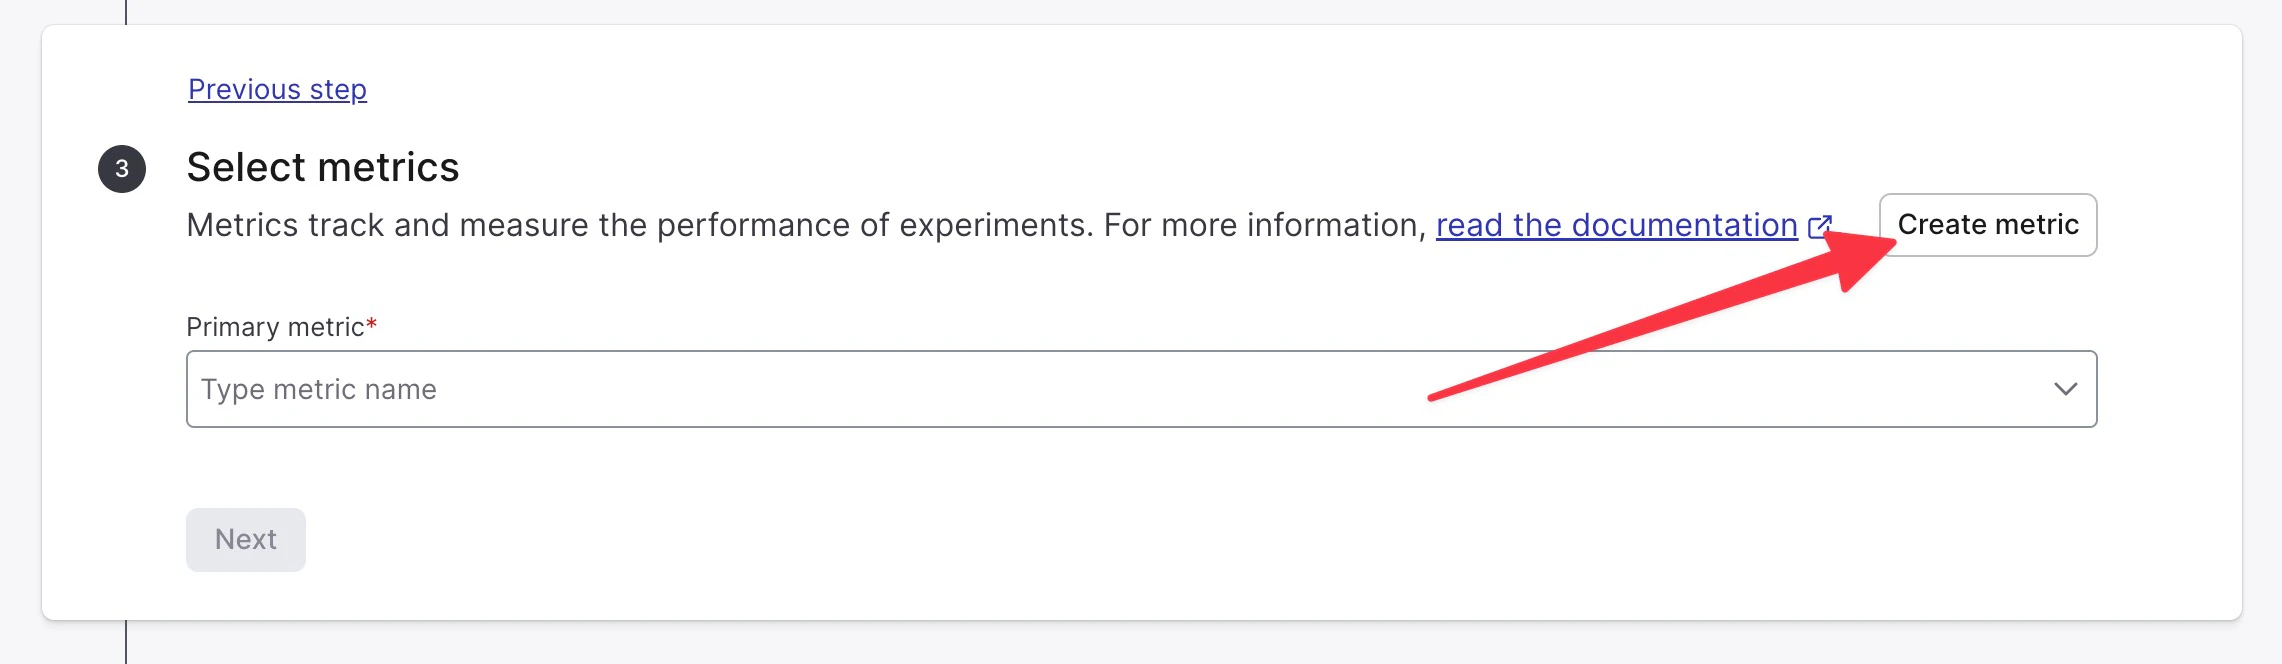
Your primary metric refers back to the hypothesis. In our example, this is the number of add-to-cart clicks. LaunchDarkly also lets you attach a secondary metric. A secondary metric can inform you more about your experiments or act as a safety net if something goes wrong.
In our example, we could set up a secondary metric of checkout completion rate. We could set up the most amazing add-to-cart flow, but the checkout never completes, leaving many abandoned carts.
Choose flag variations
Select the flags you’d like to run this experiment on. Consistent naming can help you keep things organized when working with many different flags within the same workspace.
Set audience
In this step, you’ll determine what audience you want to be part of your experiment. Our internal experiments expert (and Experimentation Specialist at LaunchDarkly), Aaron Montana, often recommends starting with 10% of your audience—5% true and 5% false, for a baseline. That way, if you discover your experiment was less than successful, you’re not impacting your entire audience.
Testing to make sure it’s working
How do we know that our events are registering correctly? Creating an audience or segment of internal users and watching them flow in is a great starting point! Using Segment Builder, create a segment of your internal audience or team you’d like to test it. One popular tip? Set a segment by domain name.
Now monitor that segment within the Experiments tab in the LaunchDarkly app.
Understanding your experiments
You can find the results from an experiment in the Results tab. This tab will tell you all about the different variations in performance in the experiment.
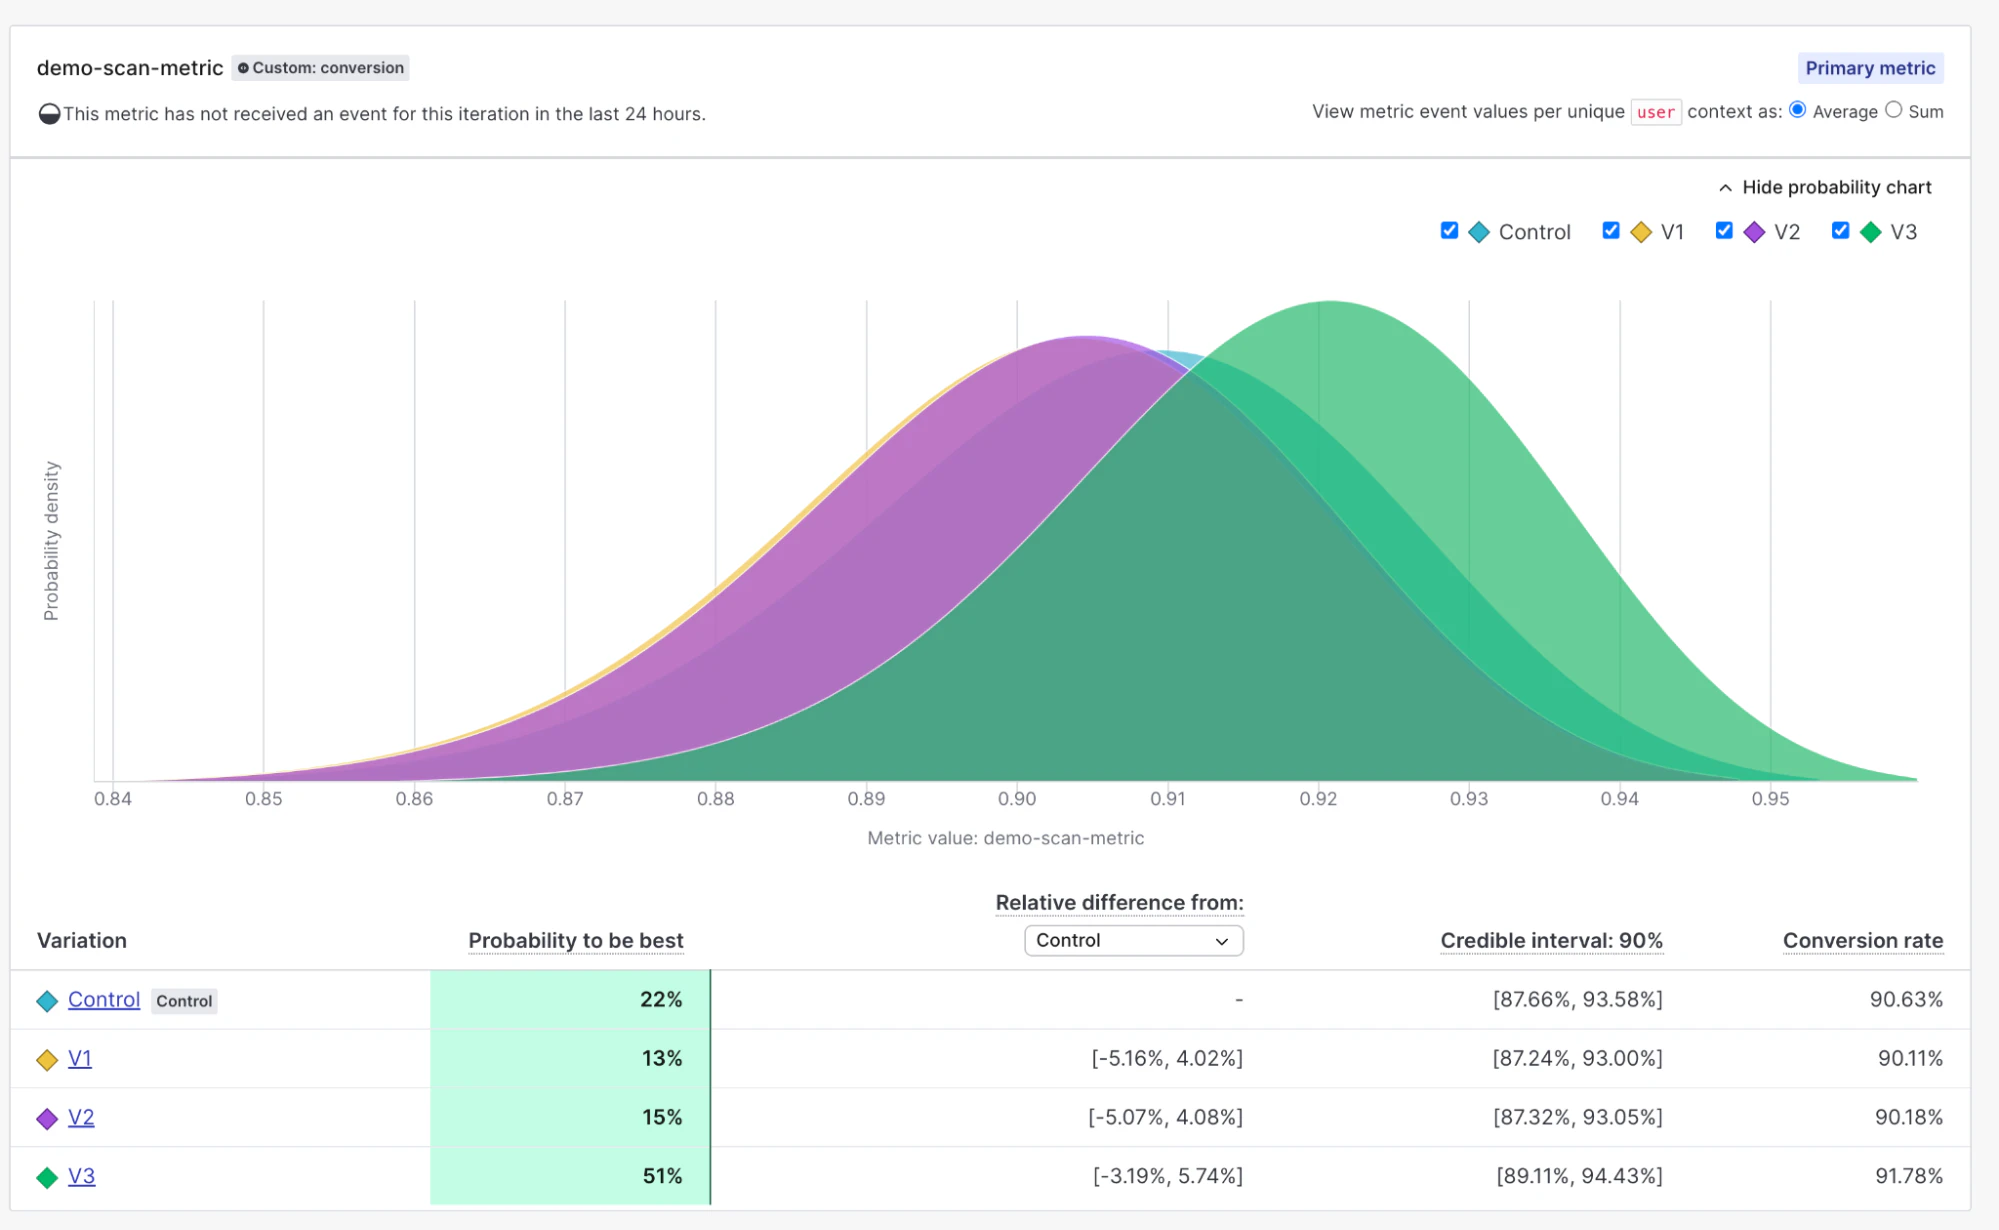
Within the Results tab, you’ll notice that you can segment various results, cross-sections of your audience, check the sample ratio or size, or even the overall probability chart and results table.
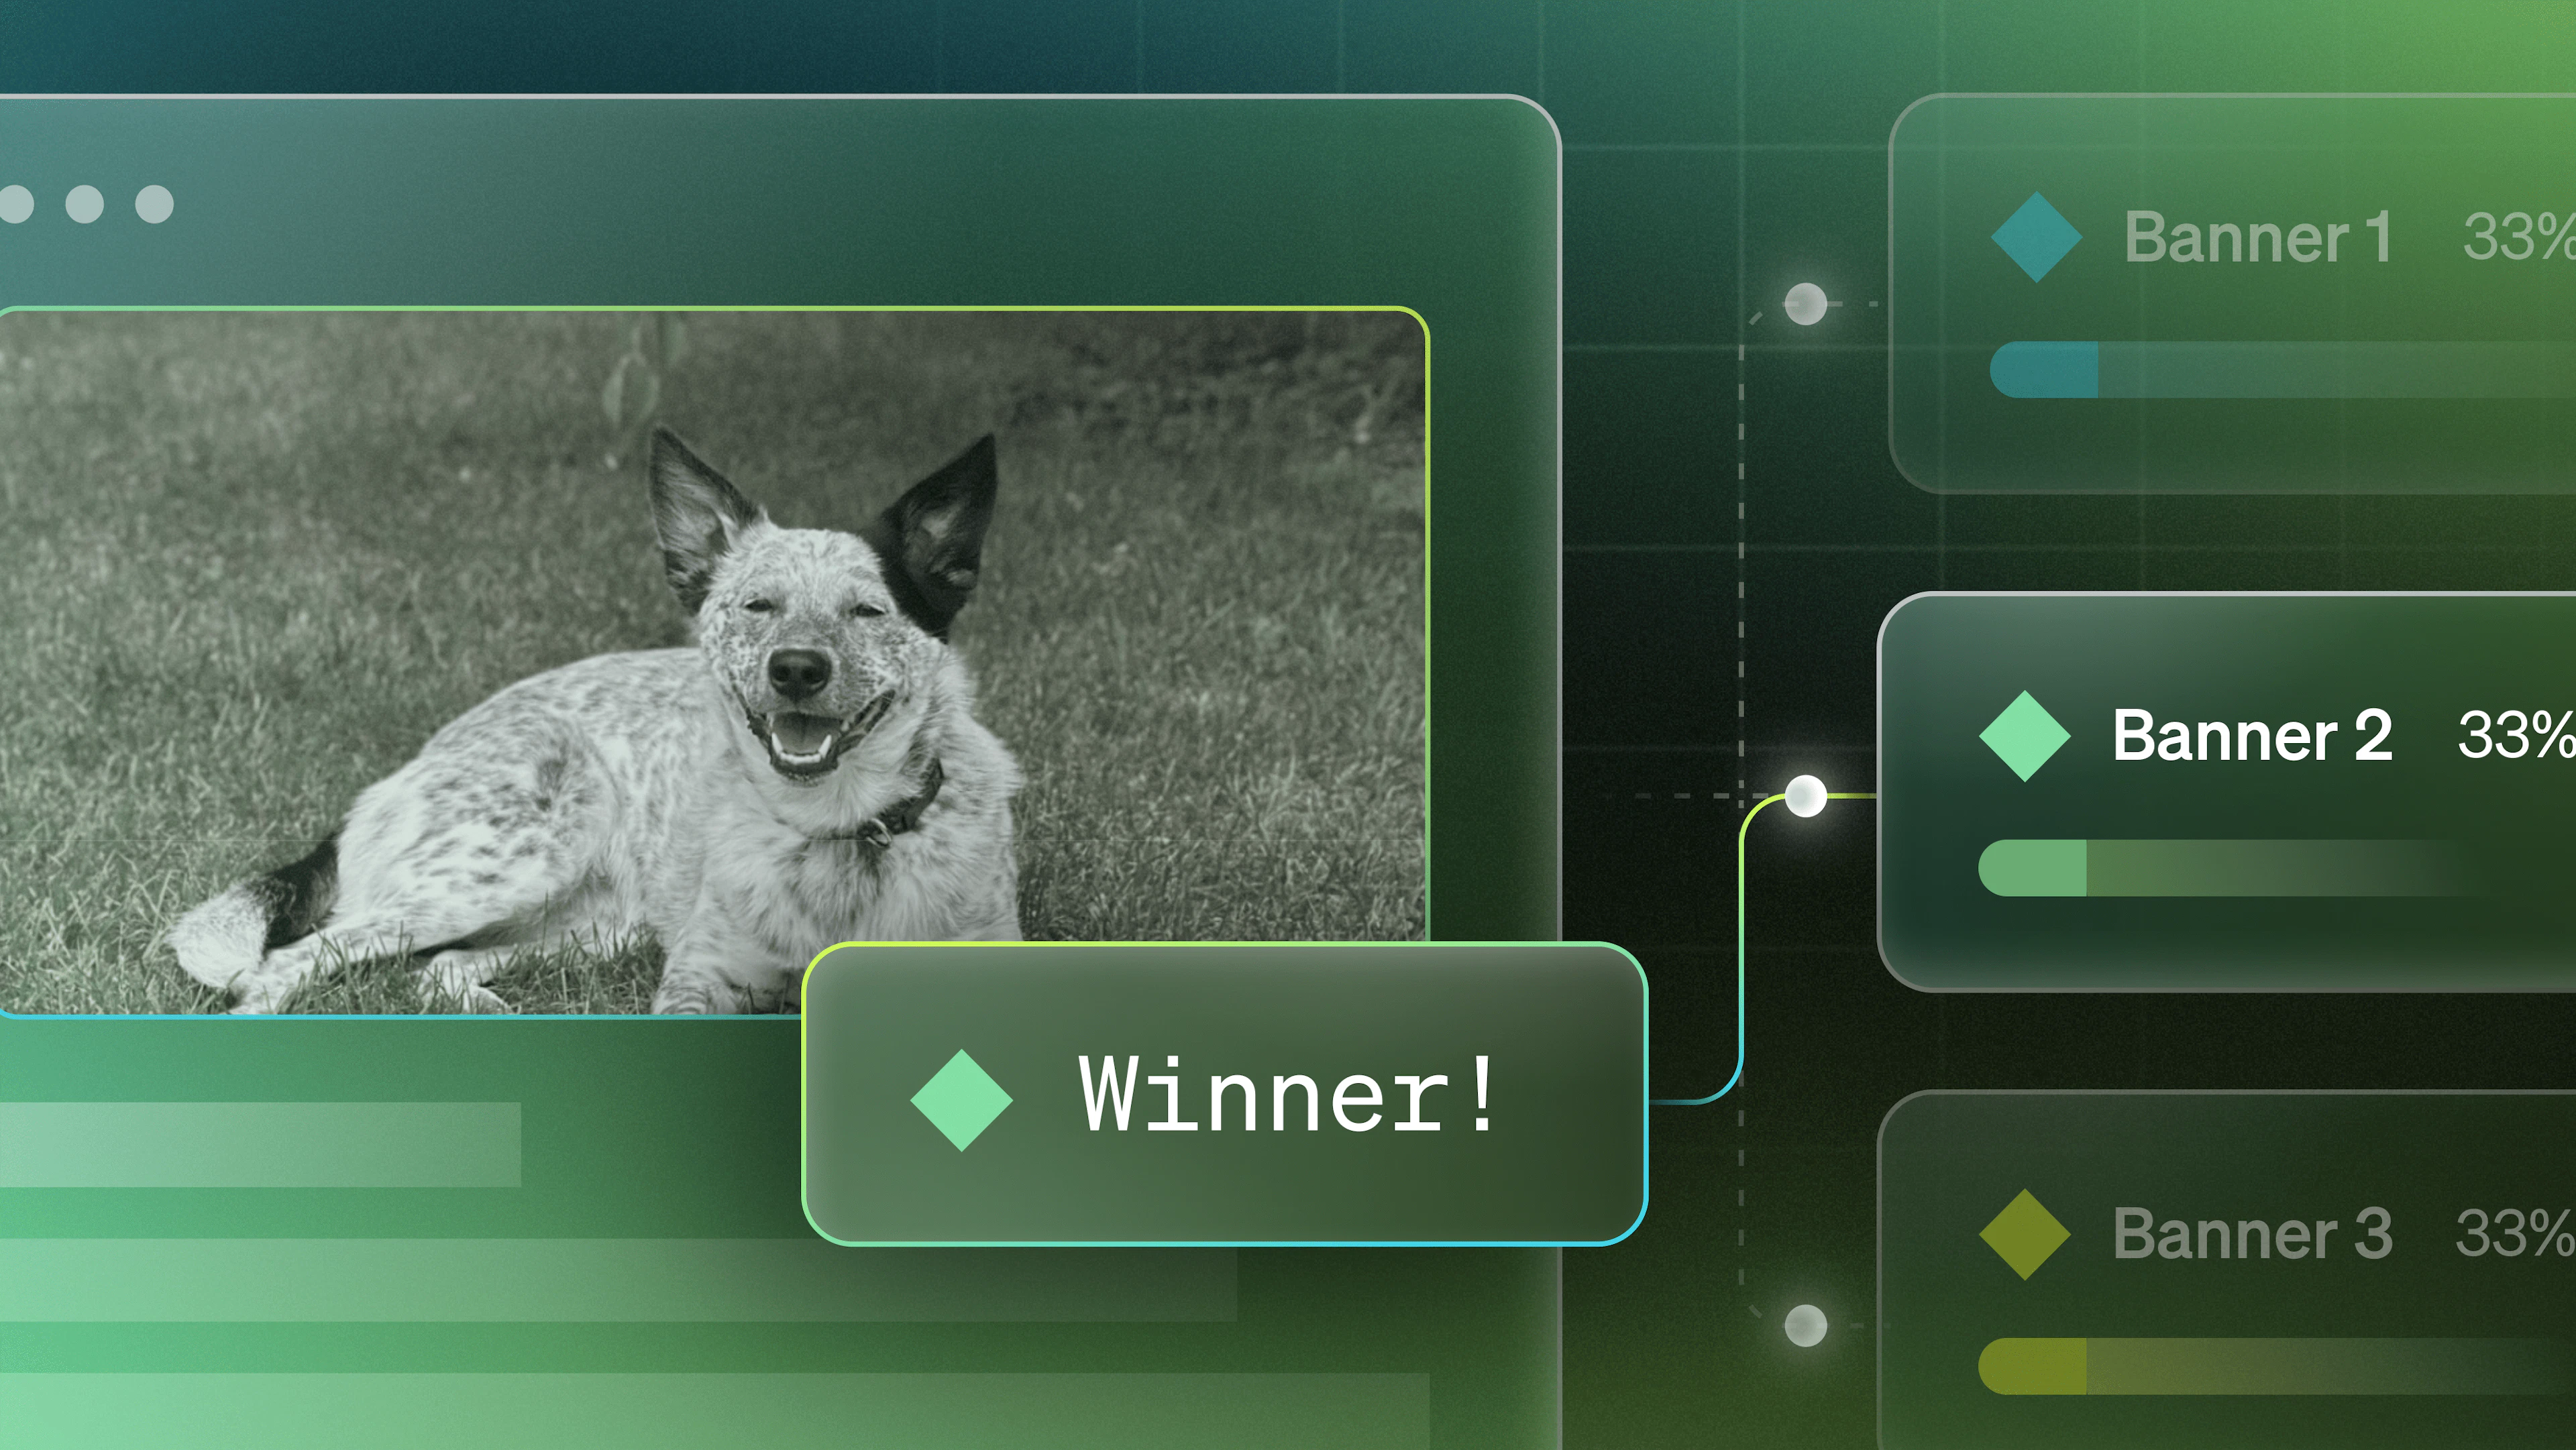
You can see the results within the Results tab at any point during the experiment. However, when an experiment has run its predetermined course, or if enough contexts have encountered your experiment to confidently determine the winning variation, you can easily move from experimentation to implementation.
Ship the winning variation by navigating to the Results tab or selecting Ship it. You’ll notice a dialog box appears to prompt you to ship the winning variation.
Congratulations on conducting your first experiment!
Now that you’ve successfully run your first experiment and possibly even shipped a new variation with confidence, go ahead and give yourself a pat on the back, champ.
With experimentation and feature release all within the same platform, it’s never been easier to offer continuous improvements for your users. Whether updating crucial back-end infrastructure (revising a new algorithm, refactoring for performance or quality, providing new data, etc) or showing off new front-end features to delight your users (new interfaces, landing pages, etc.), data-driven innovation is always at your fingertips.
Take it to the next level
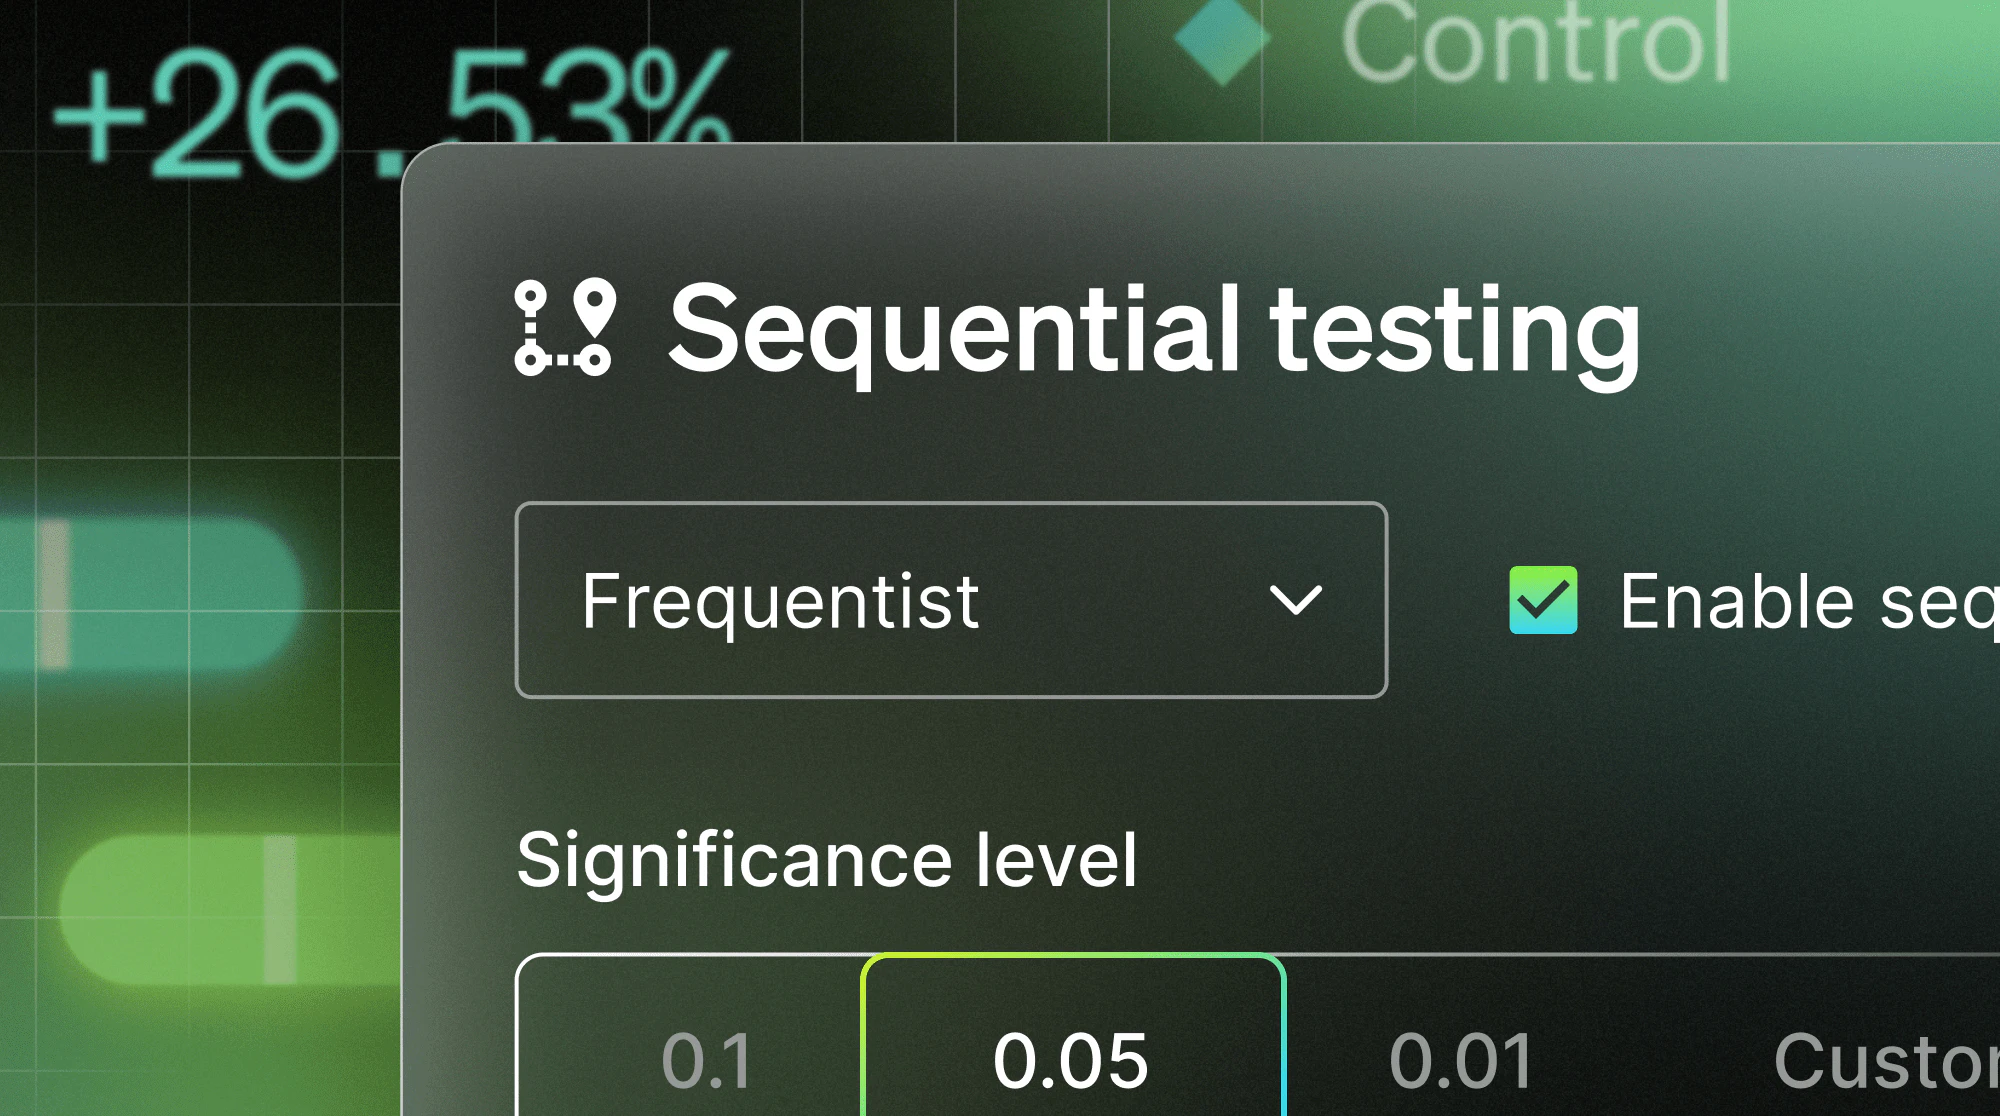
While this guide focused on how to get started with your first experiment, we’ve just scratched the surface. LaunchDarkly’s experimentation offering can be used to conduct funnel experiments, enable multiple rounds of iterations on experiments, or even tackle segmented feature releases at the end of your experiment.
This is just the beginning of where the possibilities lie. Stay tuned for more updates about experimentation, and check out our documentation and the LaunchDarkly Academy for how to make the most of these tools for you!
Happy experimenting!