


Let’s explore how to set up, run, and analyze an A/B experiment in LaunchDarkly. This tutorial pairs well with our guide to experimentation or funnel experiments, but zero prior experience with LaunchDarkly or product experimentation is required to start this tutorial.
Setting up the Example Experimentation App, Galaxy Marketplace
In this tutorial, we'll use a pre-built Next.js application to show off how to integrate LaunchDarkly experiments into an application.
This project’s configuration includes all requirements; however, you will need to have NPM installed on your machine.
Run `npm -v` to verify if it’s installed. If not, follow these instructions to install it on your machine.
From within your terminal window, clone the Galaxy Marketplace Example App from LaunchDarkly Labs.
git clone https://github.com/launchdarkly-labs/Galaxy-Marketplace-Example-App.git Copied!
Navigate to the project’s directory in the Galaxy-Marketplace-Example-App folder by using the command.
cd Galaxy-Marketplace-Example-App/ Copied!
In that directory, install the Galaxy Marketplace app locally by running `npm install` on your terminal.
Within the same directory, run the application by running `npm run dev` This will start the Next.JS app.
When successful, the following should appear in your terminal.
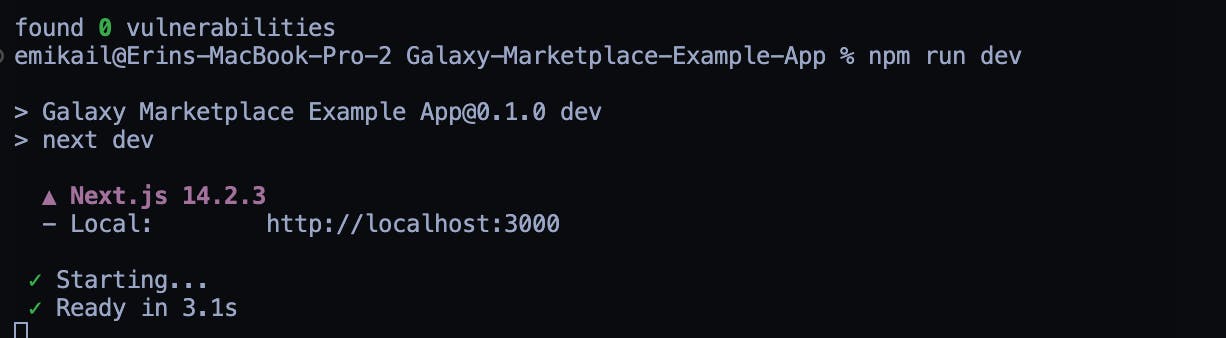
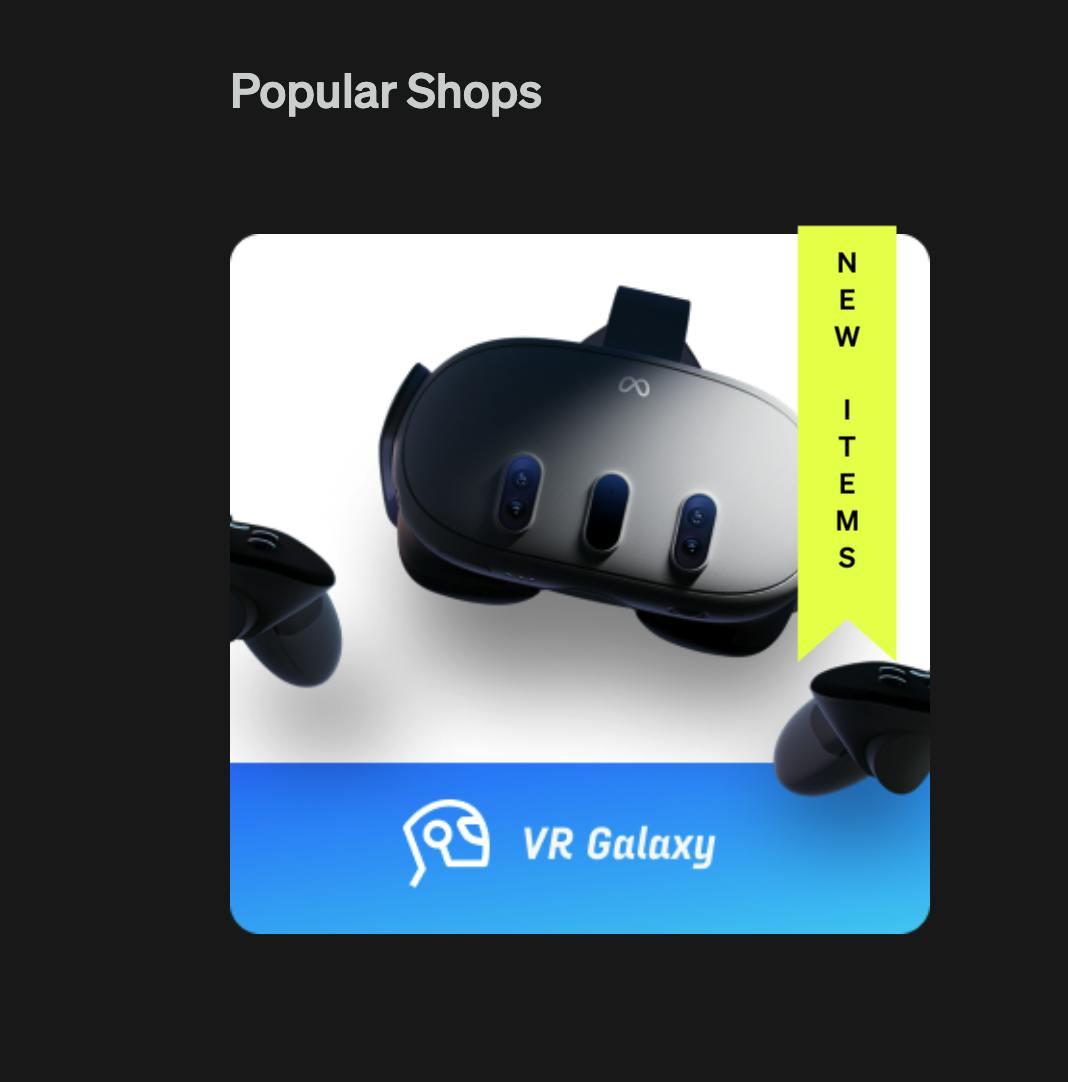
If you navigate to http://localhost:3000, you will see the Galaxy Marketplace pictured below.
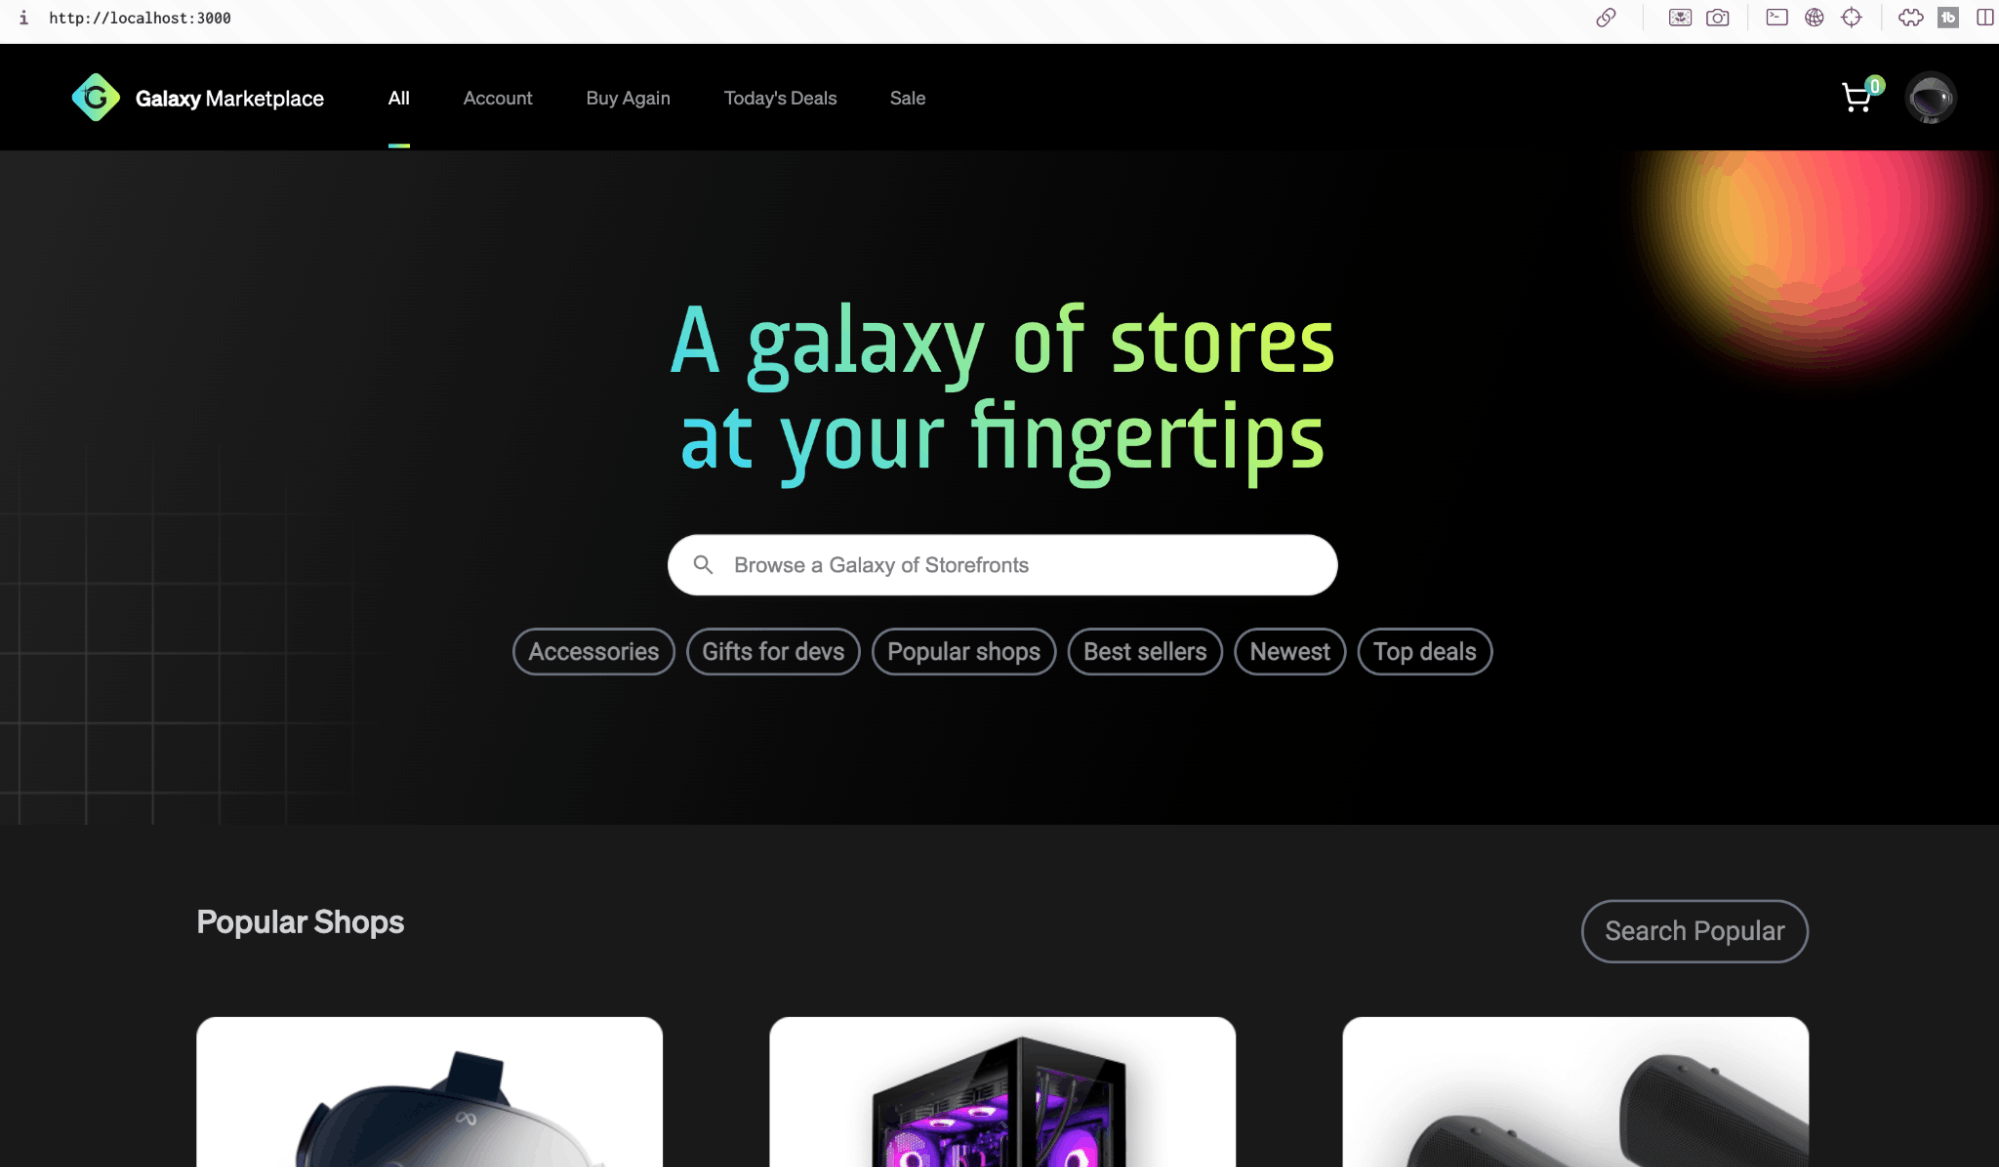
We’ll now need to connect this environment to our LaunchDarkly application.
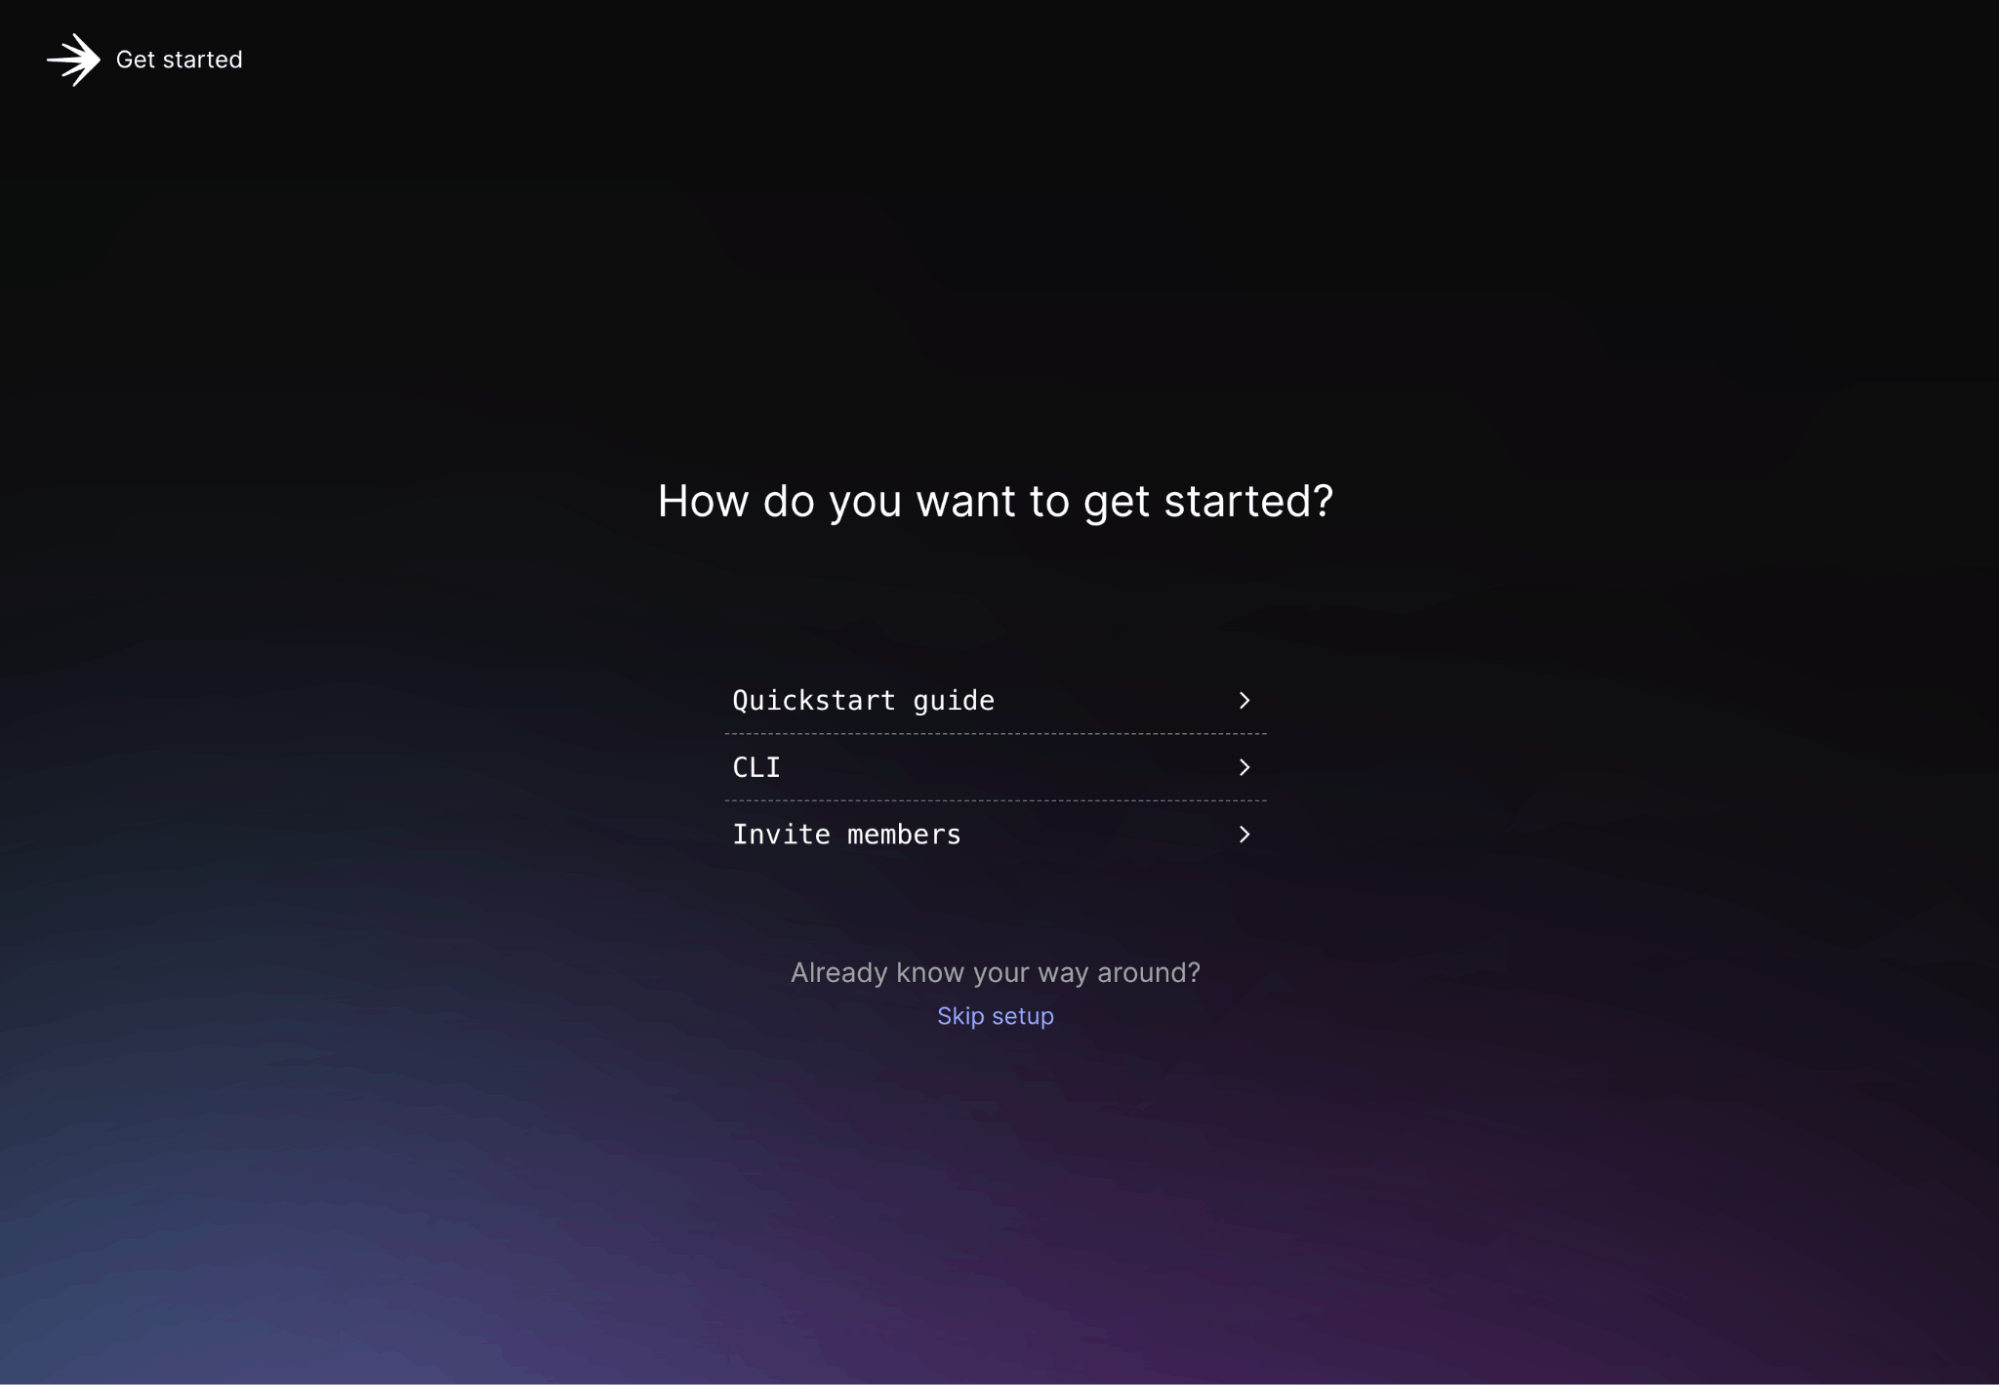
Navigate to launchdarkly.com and click the "Free Trial" button to create a new account with our free Developer plan, or sign in to your existing account.
After completing the sign up process, you’ll encounter this screen. For the sake of our tutorial, press “Skip Setup”.
You’ll then be put into a new project, titled launchdarkly.
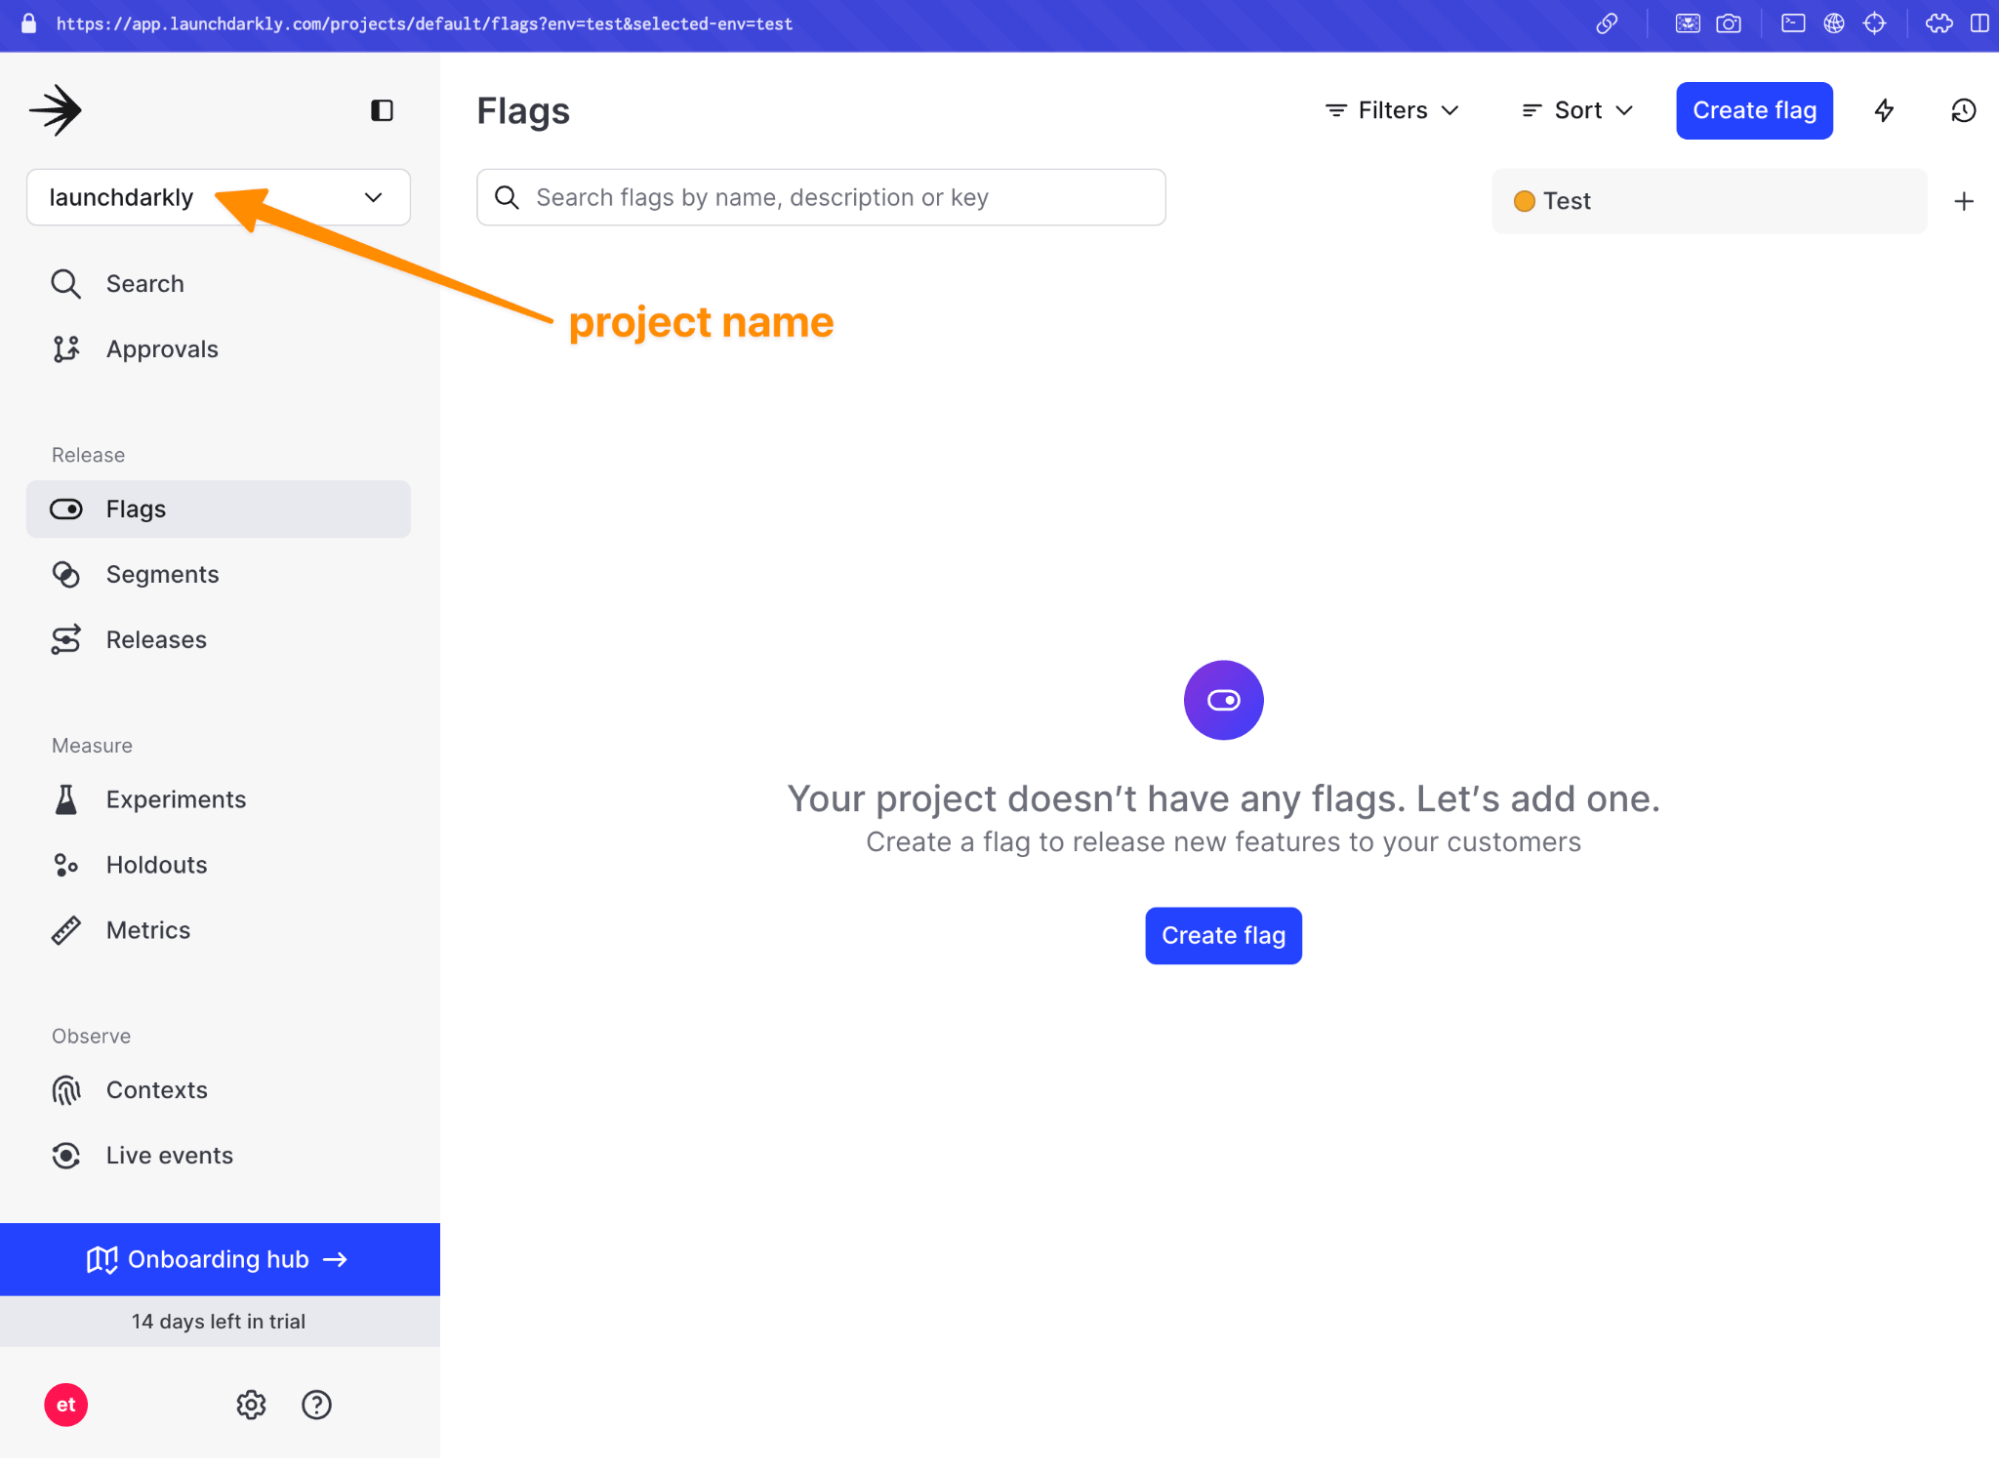
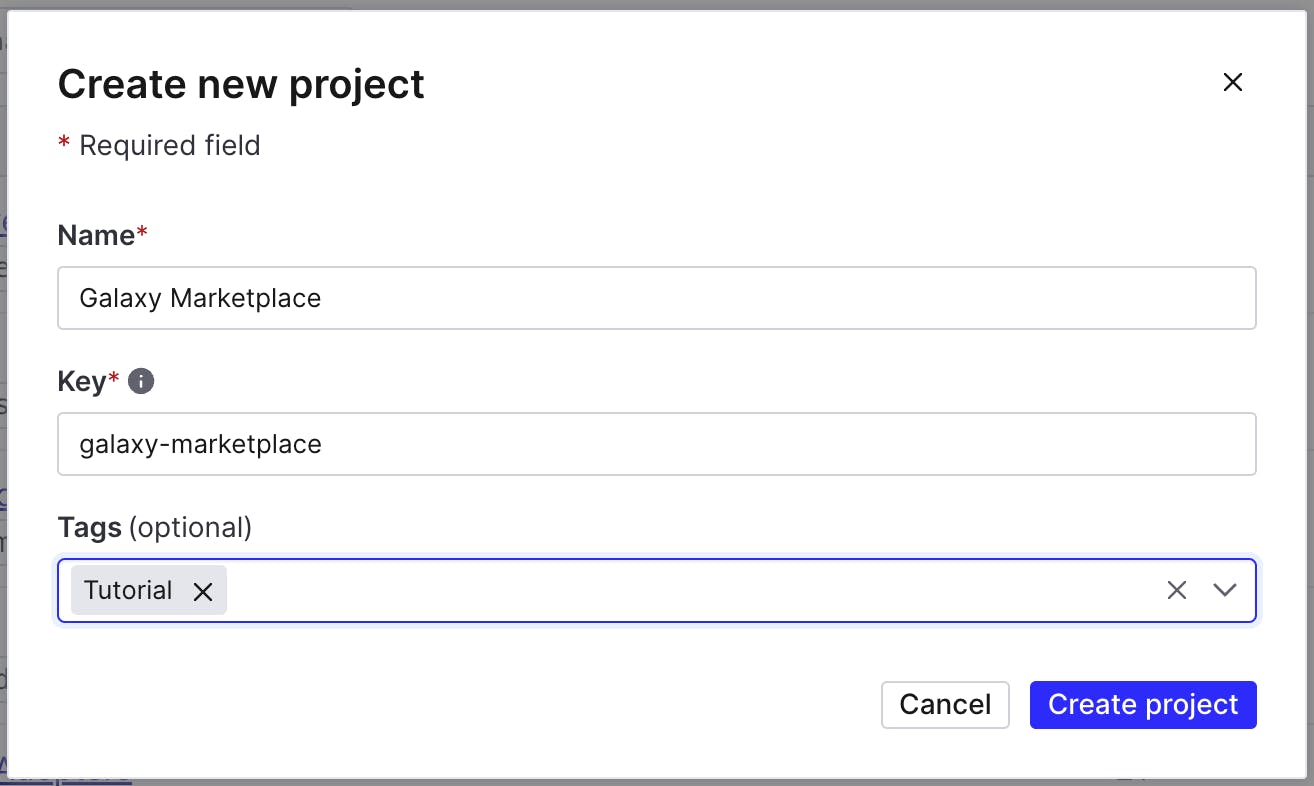
If you’re starting from an existing LaunchDarkly account, you can create a new project by navigating to the organizations settings tab, and creating a new project.
Name the project something you will remember, for example: Galaxy Marketplace.
Your project key will automatically populate.
Now that the project has been created, we must integrate the relevant keys into our application.
By default, you’ll be presented with two environments and two sets of keys — Production and Test.
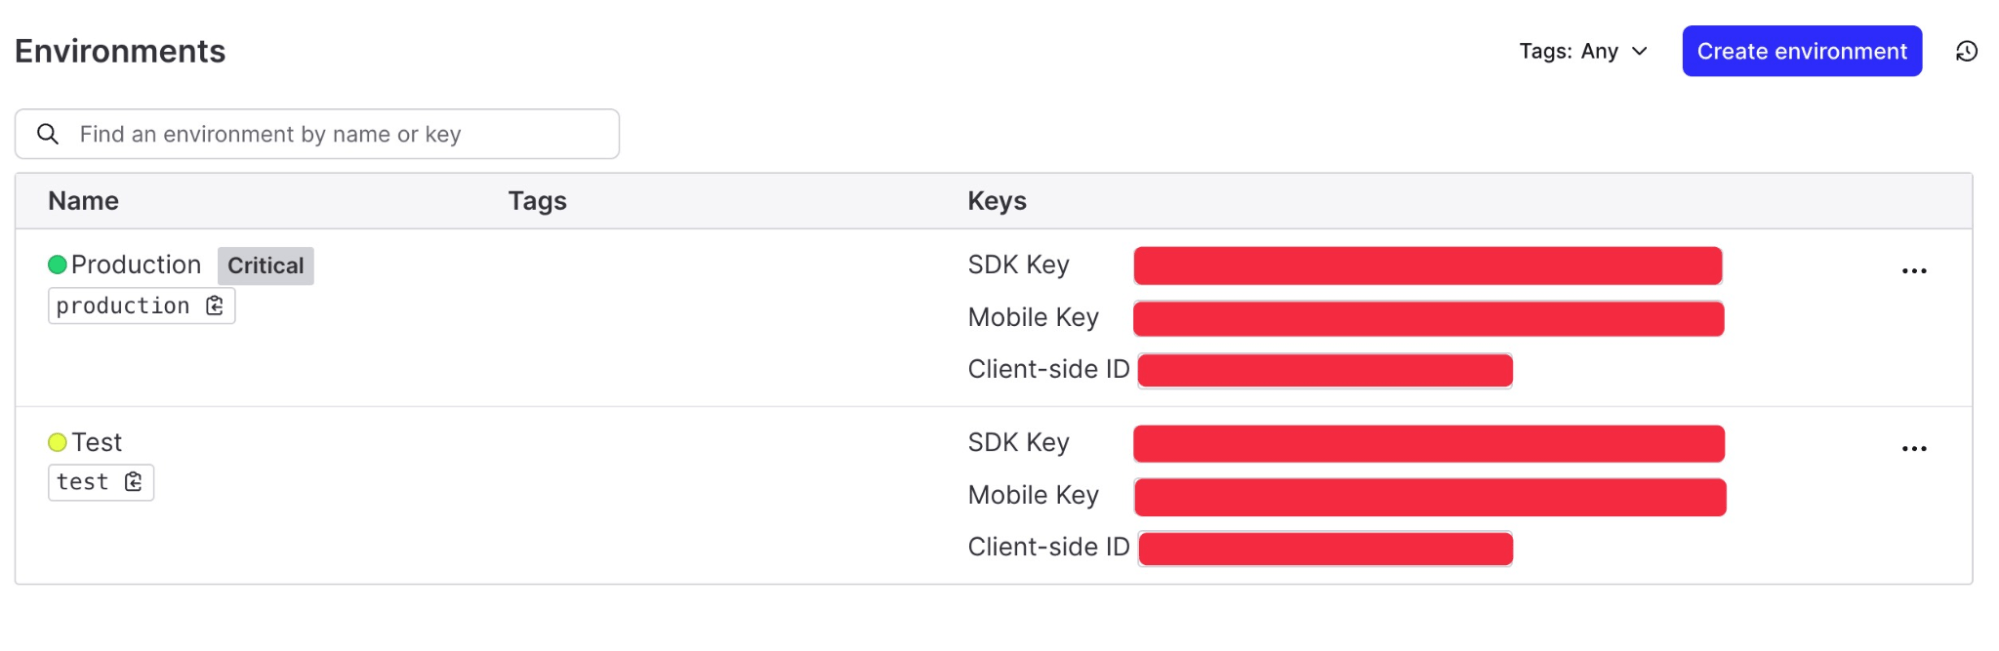
Copy the Production SDK Key, then navigate to the application’s `.env.example` file.
First, rename the file to `.env`, then paste the SDK key in the respective LD_SDK_KEY place. Subsequently, repeat the process for the `NEXT_PUBLIC_LD_CLIENT_KEY`.

Setting up your feature flag
LaunchDarkly has already been installed within this application, and the marketplace application’s code already has the flags in place. We’ll need to add the flags to our LaunchDarkly application.
First, navigate to the flags tab within your LaunchDarkly application and click Create flag.
Our first flag will turn on a new store banner highlighting a sale within the Galaxy Marketplace application.
Create a feature flag with the following details. Pay close attention and ensure you’re copying the key strictly as it is provided.
Feature flag details
Name: Featured Store Headers
Key: storeHeaders
Description: Headers to drive engagement on stores
Custom Flag
Type: boolean
Variation 1:
- Name: Available
- Value: true
Variation 2:
- Name: Unavailable
- Value: false
Client-side SDK (checked)
Test the flag is working in your environment by turning the flag on.
You should notice a yellow store banner appear.
Setting up the experiment
Before any decisions or metrics are established, it’s important to take a page from our 6th-grade science books and ask: What is the hypothesis?
In this scenario, you’re working on an ecommerce site (Galaxy Marketplace, to be exact!) and seeking to understand how to increase the number of clicks on the product store.
We can create a hypothesis around this which would look something like the following:
Does a promotional banner increase the number of clicks on the shop click-through?
Now that we’ve established our hypothesis — it’s time to put it to the test.
Connecting feature changes to business impact
We’ve set up a feature flag, established a hypothesis, and now we’re ready to see what impact flipping that feature flag on should include.
Let’s connect our feature flag to a metric which measures audience behavior affected by flags. Metrics can measure behaviors like tracking customer access to a URL, how long it takes to load a page, average cart value, and more.
For this experiment — we’ll use average cart value as our metric for success.
Navigate to Metrics Tab: Head over to the metrics tab in LaunchDarkly to see all existing metrics.
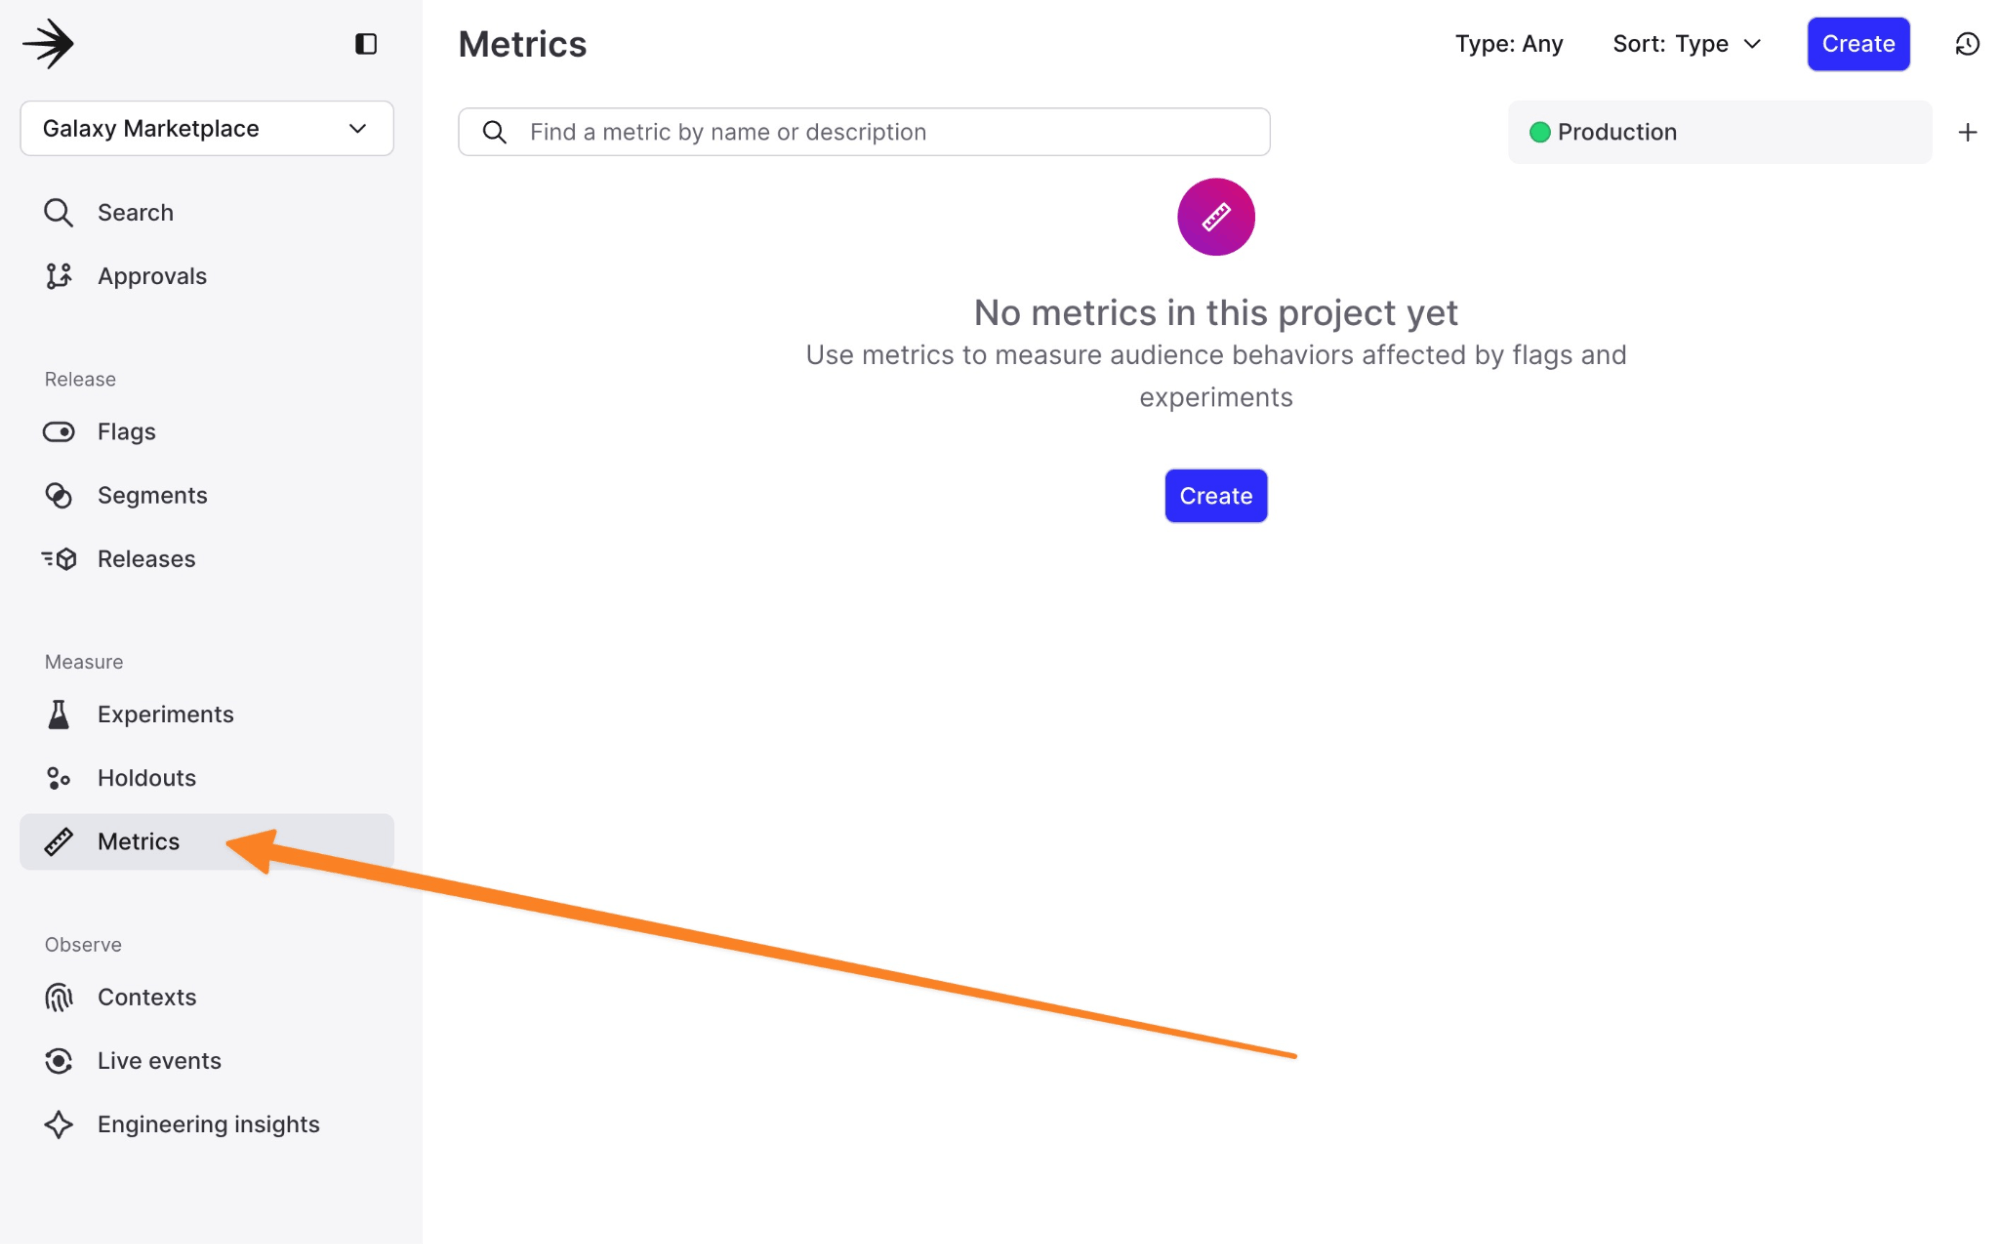
Create a Metric: Click on the option to create a new metric. Define its event kind (custom conversion, click, or page view) and set an event key for tracking.
Be sure not to forget the event key — we’ll be referencing it within our project’s code!
Each metric will include the following.
- Set Success Criteria: For numeric metrics, define what success looks like. Is it a higher number or a lower one? It will be higher today, and we want to see how many more people did the following action.
- Define your Event Key: This unique identifier will track specific user actions.
- Configure Measurement: Configure how the metric is measured. Choose the analysis method; note, for funnel experiments, this must be set to “mean.”
Tracking events in your application.
LaunchDarkly uses events within your application to create metrics. From a development perspective, this looks like a `.track` event call to log specific user actions or events within the application.
Running a `.track` event call allows you to better understand user behavior by pulling context into LaunchDarkly.
In the existing codebase, this is the `.track` call that pulls in data from the application and begins to affiliate it with the “store-accessed” key.
async function storeOpened() {
   LDClient?.track("store-accessed", LDClient.getContext(), 1);
 }
Creating your experiment
The Experiments tab displays all experiments in your environment. This is where we’ll build and review existing experiments.
Let's now build out our experiment.
- Navigate to the Experiments Tab: Go to the Experiments section in LaunchDarkly.
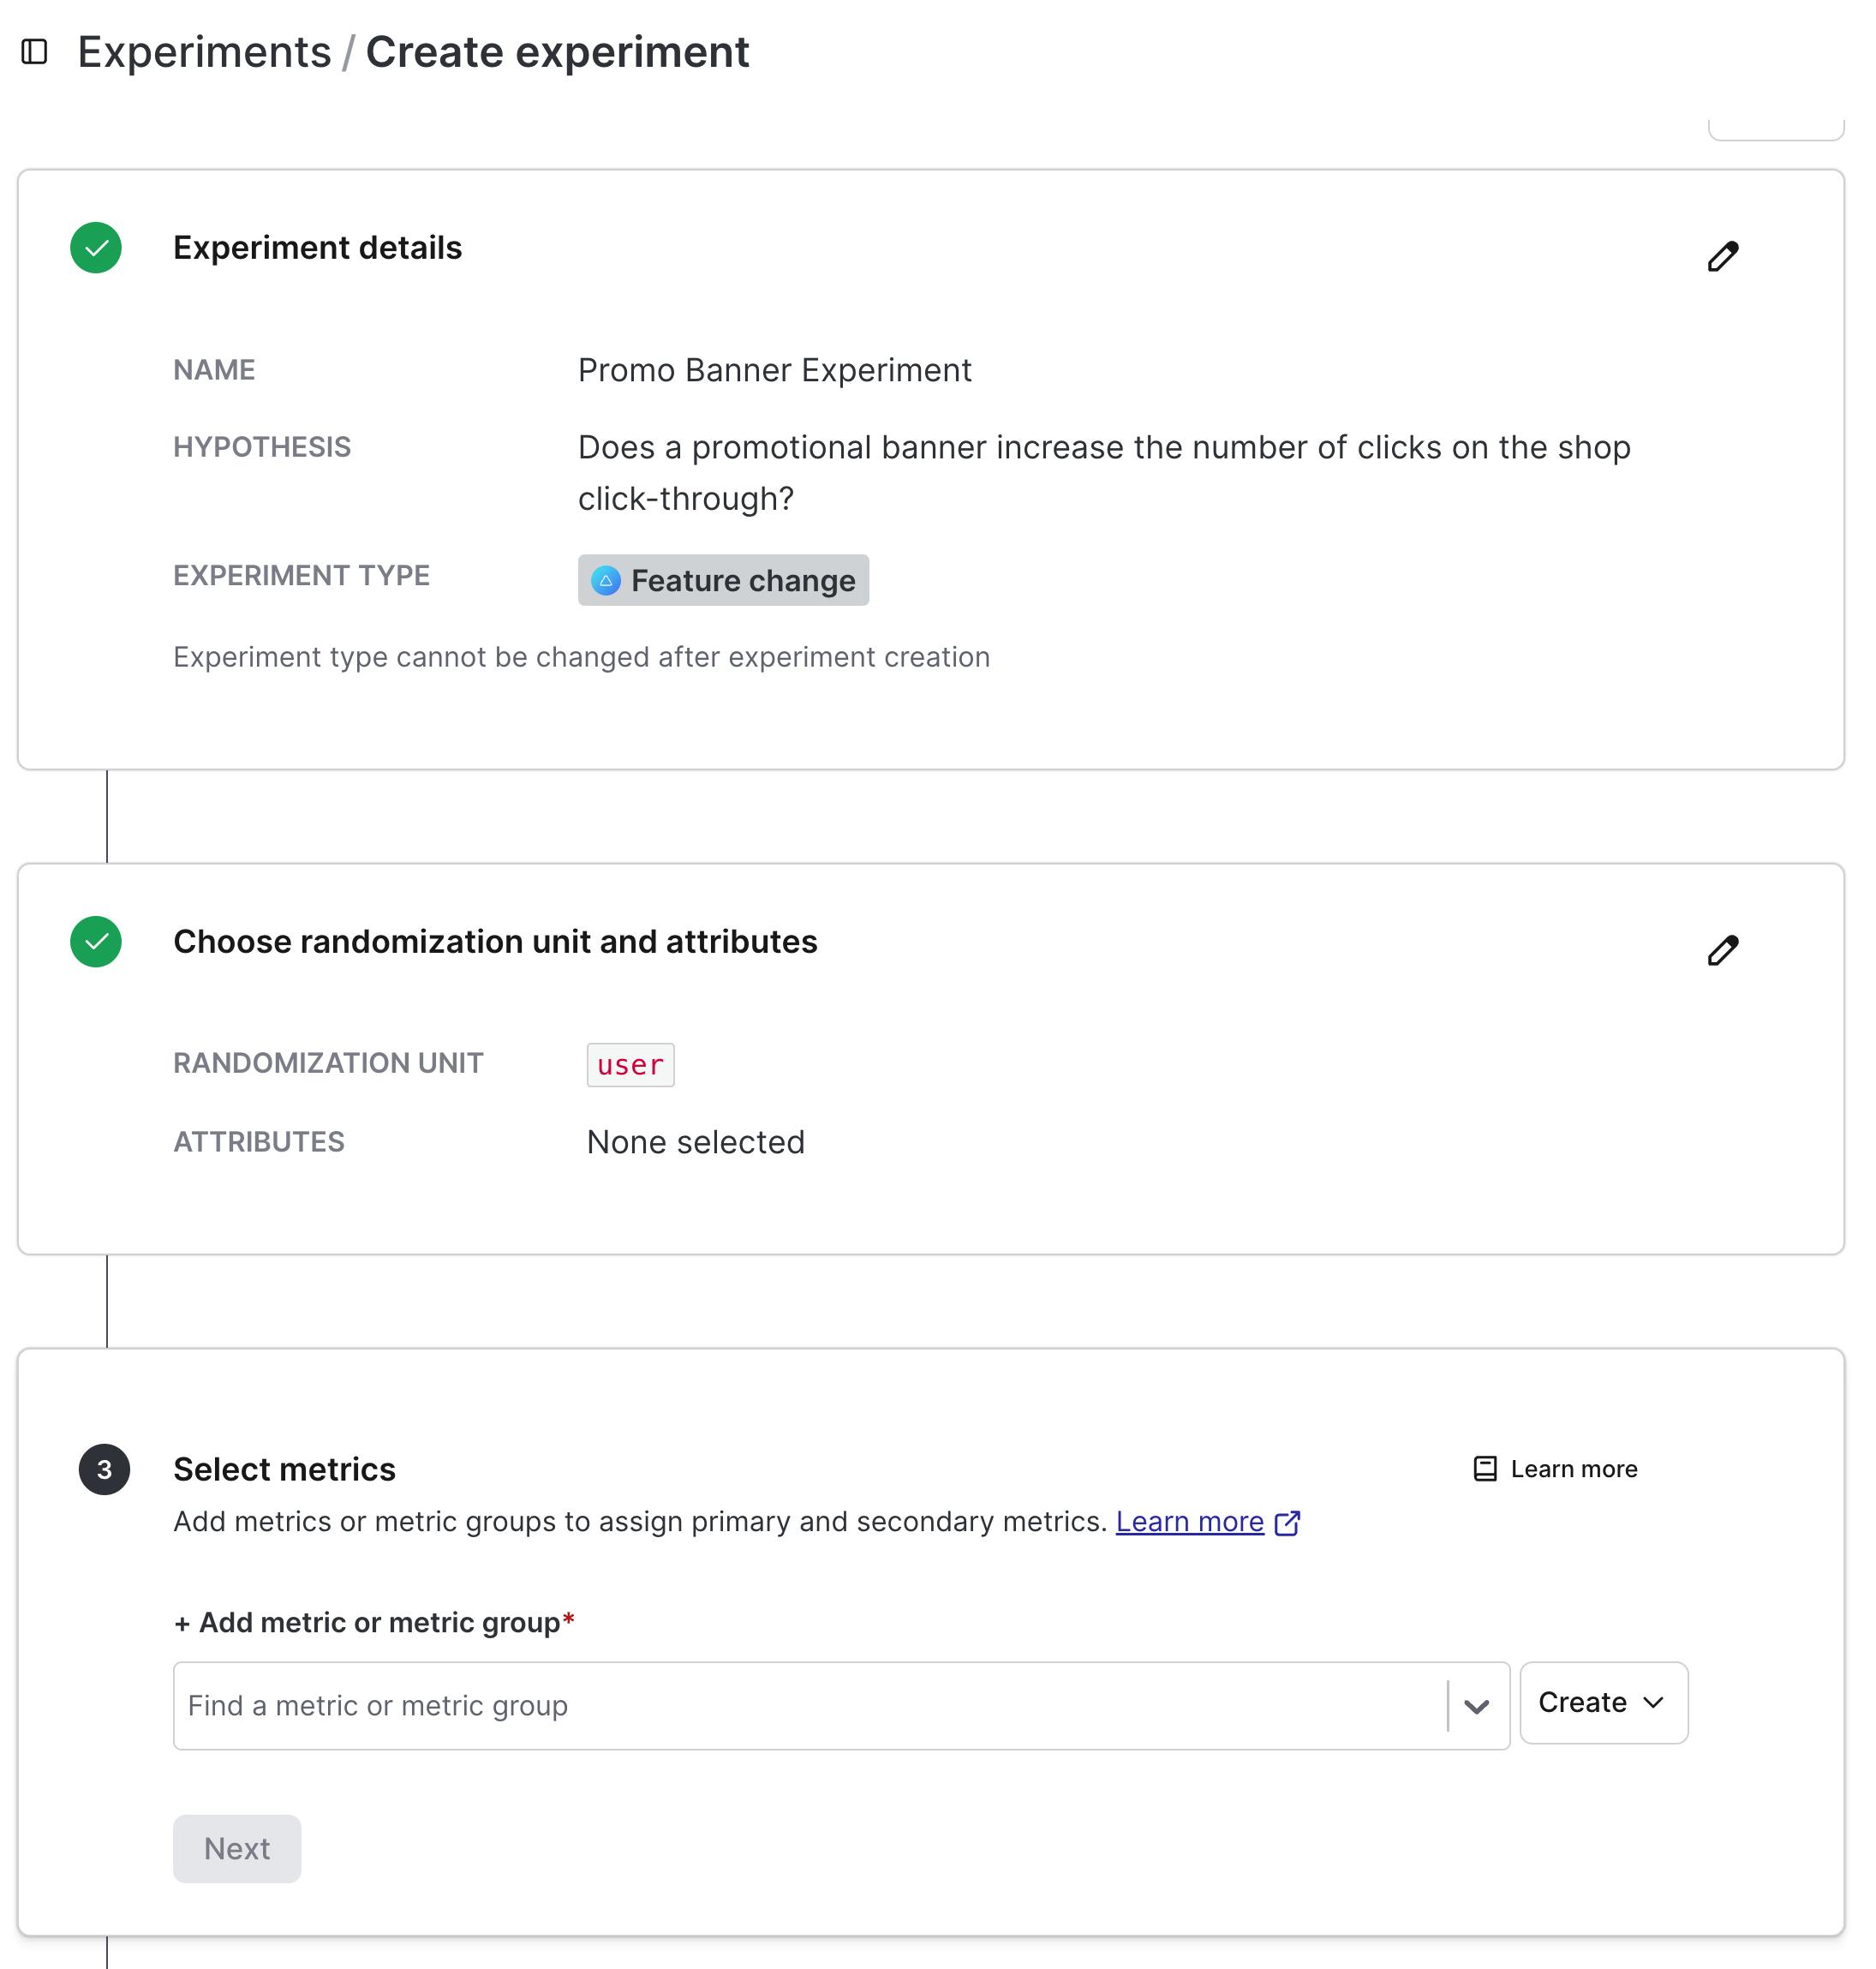
- Create an Experiment: Click ‘Create Experiment.
A dialogue box will appear, and you’ll be given the option to choose what type of experiment or your experiment key is and what metric you would like to track for this AB experiment.
Connect the metric created in the previous step to tie this experiment to the data needed for testing our hypothesis.
Reviewing Experiment Data
Once your experiment has concluded, it’s time to dive into the data. In LaunchDarkly, navigate to the Experiments Tab where your experiment is listed, then click on Results.
- View Metrics: Look at the metrics you linked to your feature flag. These metrics provide the data needed to evaluate the performance of each variation.
- Compare Variations: Compare the performance metrics of the different variations.
Check out our docs for a full deep dive into our experiment data.
As you evaluate success — here are things to keep into consideration.
- Conversion Rate: The percentage of users who completed the desired action (e.g., clicking a button, making a purchase)
- Click-Through Rate (CTR): The percentage of users who clicked on a specific element, such as a CTA button.
- Engagement metrics measure user interactions, such as time spent on a page or the number of pages visited.
- Bounce Rate: The percentage of users who leave the site after viewing only one page.
Analyzing the Data
Analyzing the data and determine what is the better-performing variation.
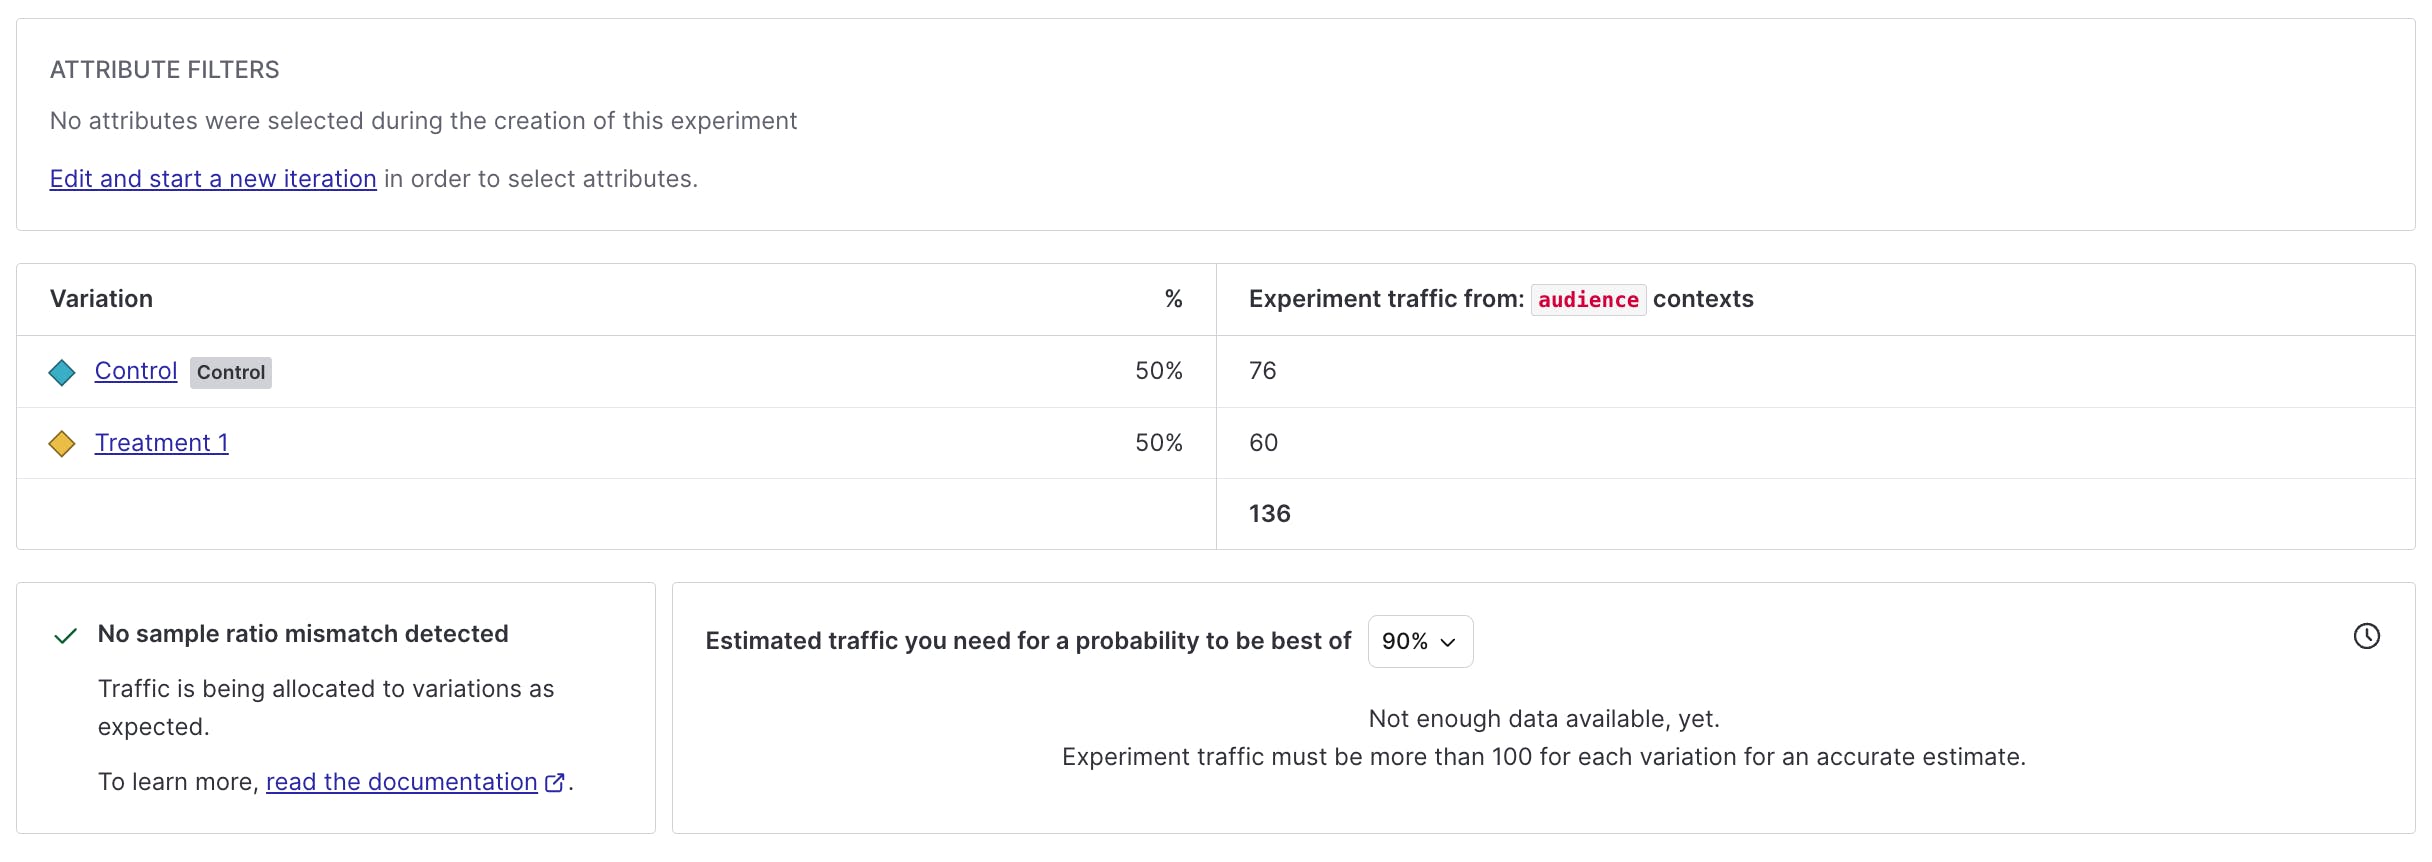
- Statistical Significance: Ensure results are statistically significant, indicating the observed effect is likely not due to chance. LaunchDarkly provides tools to assess this.
- Performance Comparison: Compare key metrics for each variation and identify significant differences supporting your hypothesis.
- Contextual Factors: Consider external influences like seasonality or concurrent marketing campaigns.
After analyzing the data, take time to draw conclusions.
- Confirm or Refute Hypothesis: Determine if the data supports your hypothesis. Identify the banner with the highest conversion rate.
- Identify Winning Variation: Identify which variation performed better based on metrics.
- Document Findings: Document insights and findings for future reference and team sharing.
Based on those conclusions, decide your next steps. You could either...
- Roll Out Winning Variation: If one variation outperformed, update the feature flag to serve it to all users.
- Iterate and Improve: If results are inconclusive, plan further experiments to refine variations and metrics.
- Communicate Results: Share results and decisions with your team to ensure alignment on changes and their rationale.
Implementing Changes in LaunchDarkly
To implement changes based on your experiment results in LaunchDarkly.
- Update Feature Flag: Modify the feature flag settings to reflect the winning variation. In this scenario, it may be that the winning variation is the `Final Hours` banner. In this situation, we could update the feature flag to show the `Final Hours` banner on all items.
- Adjust Targeting Rules: Update the targeting rules to include all users or specific user segments as needed.
- Monitor Post-Launch: After rolling out the change, monitor key metrics to ensure the desired outcomes are achieved and there are no unforeseen issues.
Congratulations, you’ve successfully run your first A/B experiment!
Congratulations—you set up your first A/B experiment in LaunchDarkly using the Galaxy Marketplace example application.
A/B tests are just the start of your experimentation rollout. They’re your trusty magnifying glass for changes, allowing you to zoom in on the best option for the end user. And with new features such as experiment holdouts, mutually exclusive experiments, and more, you’ll be able to test your wildest ideas with ease.
If you have any questions, comments, or curiosities about this tutorial, please contact me in the LaunchDarkly Discord or via email at emikail@launchdarkly.com! I’d love to help.
In the meantime, set flipping a coin aside and confidently implement new ideas.
Like what you read?
Get a demo