

Change individual member roles
To change an individual member’s roles, first find the member:- Click the gear icon in the left sidebar to view Organization settings.
- Click Members. The Members list appears.
- Find the account member you wish to give a role.
- Click that account member’s name. The member’s Access tab opens.
- In the “Assigned directly” table, click Assign access. The “Assign access” dialog appears.
- Choose a role from the dropdown.
-
(Optional) If the role includes a role attribute, enter a value for the attribute and click Enter. For example, if the role includes a role scope with a role attribute of
developerProjectKeys, enter a project key in the Resources field: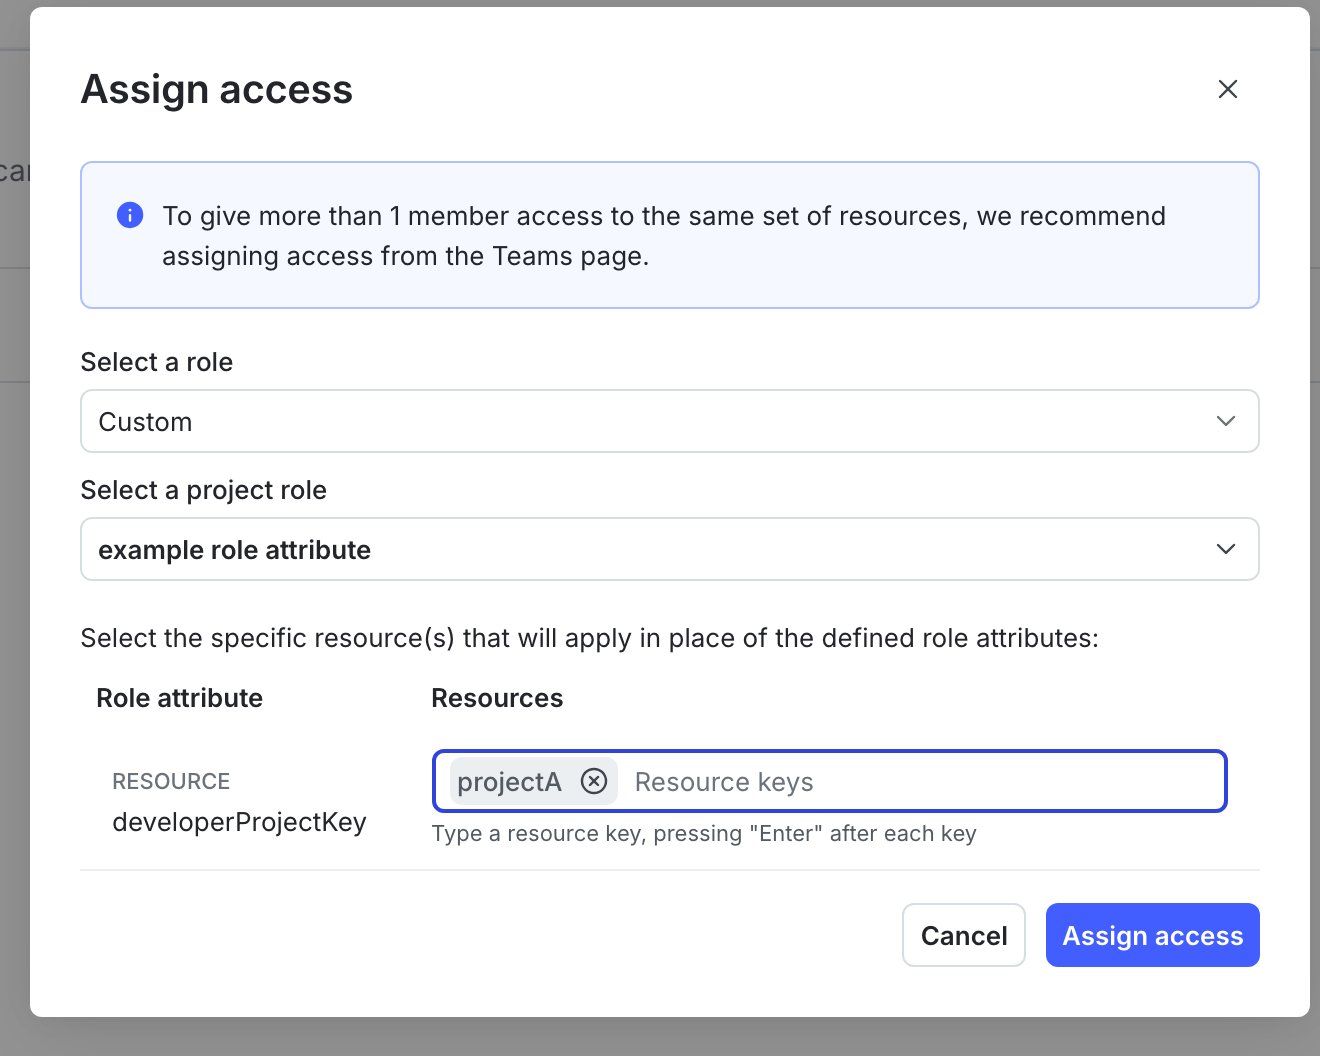
A member's "Assign access" dialog, with a role attribute and resource specified for the role being assigned to this member.
- Click Assign access. You are returned to the Access tab.
- In the “Assigned directly” table, find the role that you want to change.
- Click the three-dot overflow menu next to that role.
- Select Edit access. The “Assign access” dialog appears.
-
Select a different role for the member, or update the existing role:
- Choose a different role from the dropdown.
-
If an existing role includes a role attribute, you can update the value for that role attribute without changing the role. For example, if the role includes a role scope with a role attribute of
developerProjectKeys, you can enter a new project key in the Resources field and click Enter to change the key. Or you can click the x to remove an existing project key:A member's "Assign access" dialog, with a role attribute and resource specified for the role being assigned to this member.
- Click Assign access. The member’s access is updated.

You can also use the REST API: Modify an account member
Change multiple members’ roles
Changing multiple members’ roles is an Admin-only featureThis feature is only accessible if you have a LaunchDarkly Admin organization role, or an Admin or Owner base role, or another role that allows the
updateCustomRole action. To learn more, read About member roles and Member actions.- Click the gear icon in the left sidebar to view Organization settings.
- Click Members. The Members list appears.
- Select the checkbox to the left of a member’s name to choose that member. Select all members whose roles you wish to edit. Alternatively, if you wish to select all the members, click the checkbox next to the “Name” column in the table.
- Next to the Export CSV button, another button appears that says Edit N members, where N is the number of members that you selected:

The "Edit N members" button.
- Click the Edit N members button and select the “Edit member roles” option. A dialog appears.
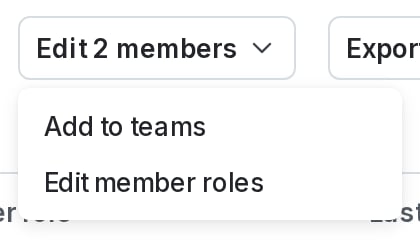
The "Edit member roles" option
- Select one of the roles and click Replace role. LaunchDarkly attempts to replace any of the roles on the members that you selected to the new roles. Roles that have been assigned at the team level do not change.