This guide shows how to connect an OpenAI-powered application to LaunchDarkly AgentControl. OpenAI models are widely adopted for chat completions, function calling, and structured outputs. By the end, you will be able to manage your model configuration and prompts outside of your application code, and track metrics automatically.
AgentControl supports two modes:
instructions string. Use it when your runtime or framework expects a goal/instructions input for a structured workflow. Agent mode changes the configuration shape from messages to instructions. Your application maps these instructions into your provider or framework’s native input.Both modes support tool calling. This guide walks through completion mode as the main path, with an optional agent config section. To learn more about when to use each mode, read When to use completion mode vs agent mode.
This guide provides examples in both Python and Node.js (TypeScript).
If you’re new to AgentControl, start with the Quickstart and return to this guide when you are ready for a more detailed example.
To learn more about AgentControl-specific SDKs, read AI SDKs. For Python-specific details, read the Python AI SDK reference.
To complete this guide, you need the following:
Before you begin, review these key concepts.
An AgentControl config is a LaunchDarkly resource that controls how your application uses large language models. Each AgentControl config contains one or more variations. Each variation specifies:
You can update these settings in LaunchDarkly at any time without changing your application code.
A context represents the end user interacting with your application. LaunchDarkly uses context attributes to:
{{ ldctx.* }} placeholders in your prompts with context attribute valuesOther placeholders, such as {{ topic }}, are populated from the variables argument you pass at runtime.
When you retrieve an AgentControl config, call createTracker() (Node.js) or create_tracker() (Python) on the returned object to mint a tracker. The tracker records metrics from your OpenAI calls, including:
These metrics appear on the AI Insights dashboard in LaunchDarkly.
Install the LaunchDarkly AI SDK and the OpenAI SDK in your application. AgentControl is supported by LaunchDarkly server-side SDKs only. The Node.js examples in this guide use the server-side Node.js AI SDK.
Here is how to install the required packages:
Create a .env file in your project root to store your API keys:
Add .env to your .gitignore to keep credentials out of version control.
Initialize both the LaunchDarkly client and the OpenAI client. Store your API keys in environment variables.
Here is the initialization code:
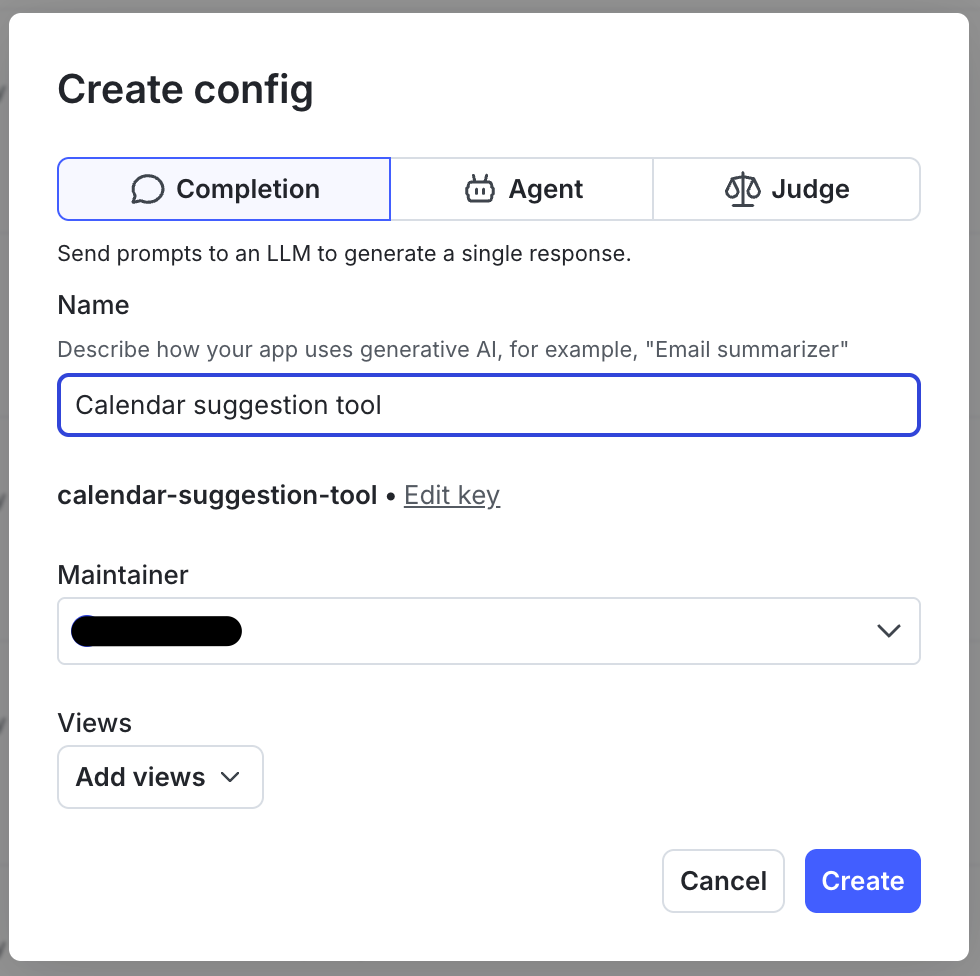
Create an AgentControl config in the LaunchDarkly UI to store your OpenAI model settings and prompts.
If you have the LaunchDarkly MCP server or agent skills configured, prompt your coding assistant to create the AgentControl config for you. For example:
“Create a completion mode AgentControl config called ‘OpenAI assistant’ with a ‘GPT-4o’ variation using the gpt-4o model, temperature 0.7, max_tokens 1024, and the system message: ‘You are a helpful assistant. Answer questions about {{topic}}.’ Enable targeting.”
To create the AgentControl config:
To create a variation:
gpt-4o OpenAI model.temperature to 0.7 and max_tokens to 1024.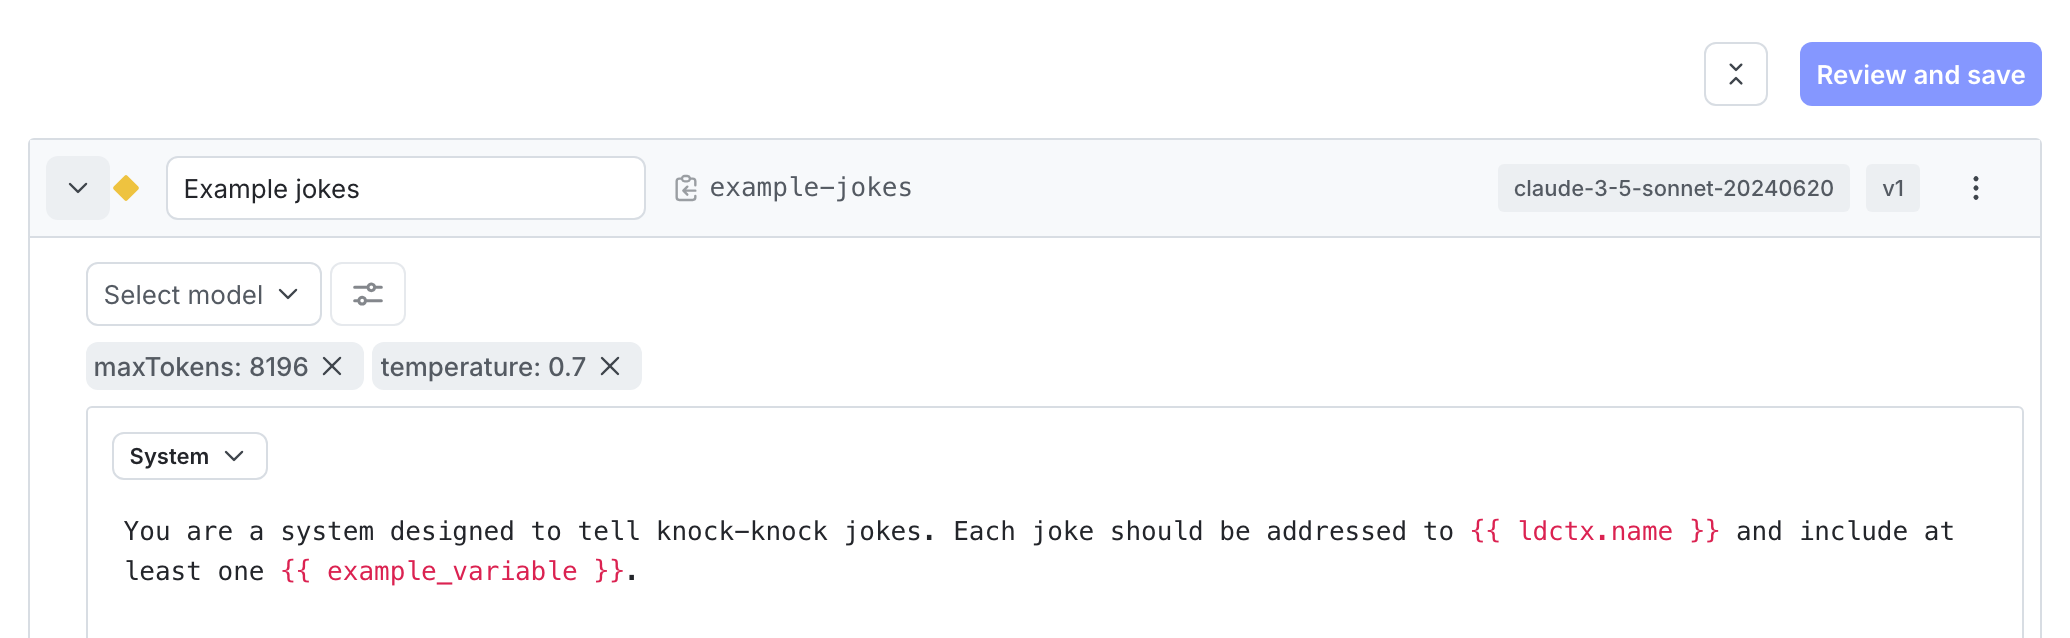
To enable targeting:
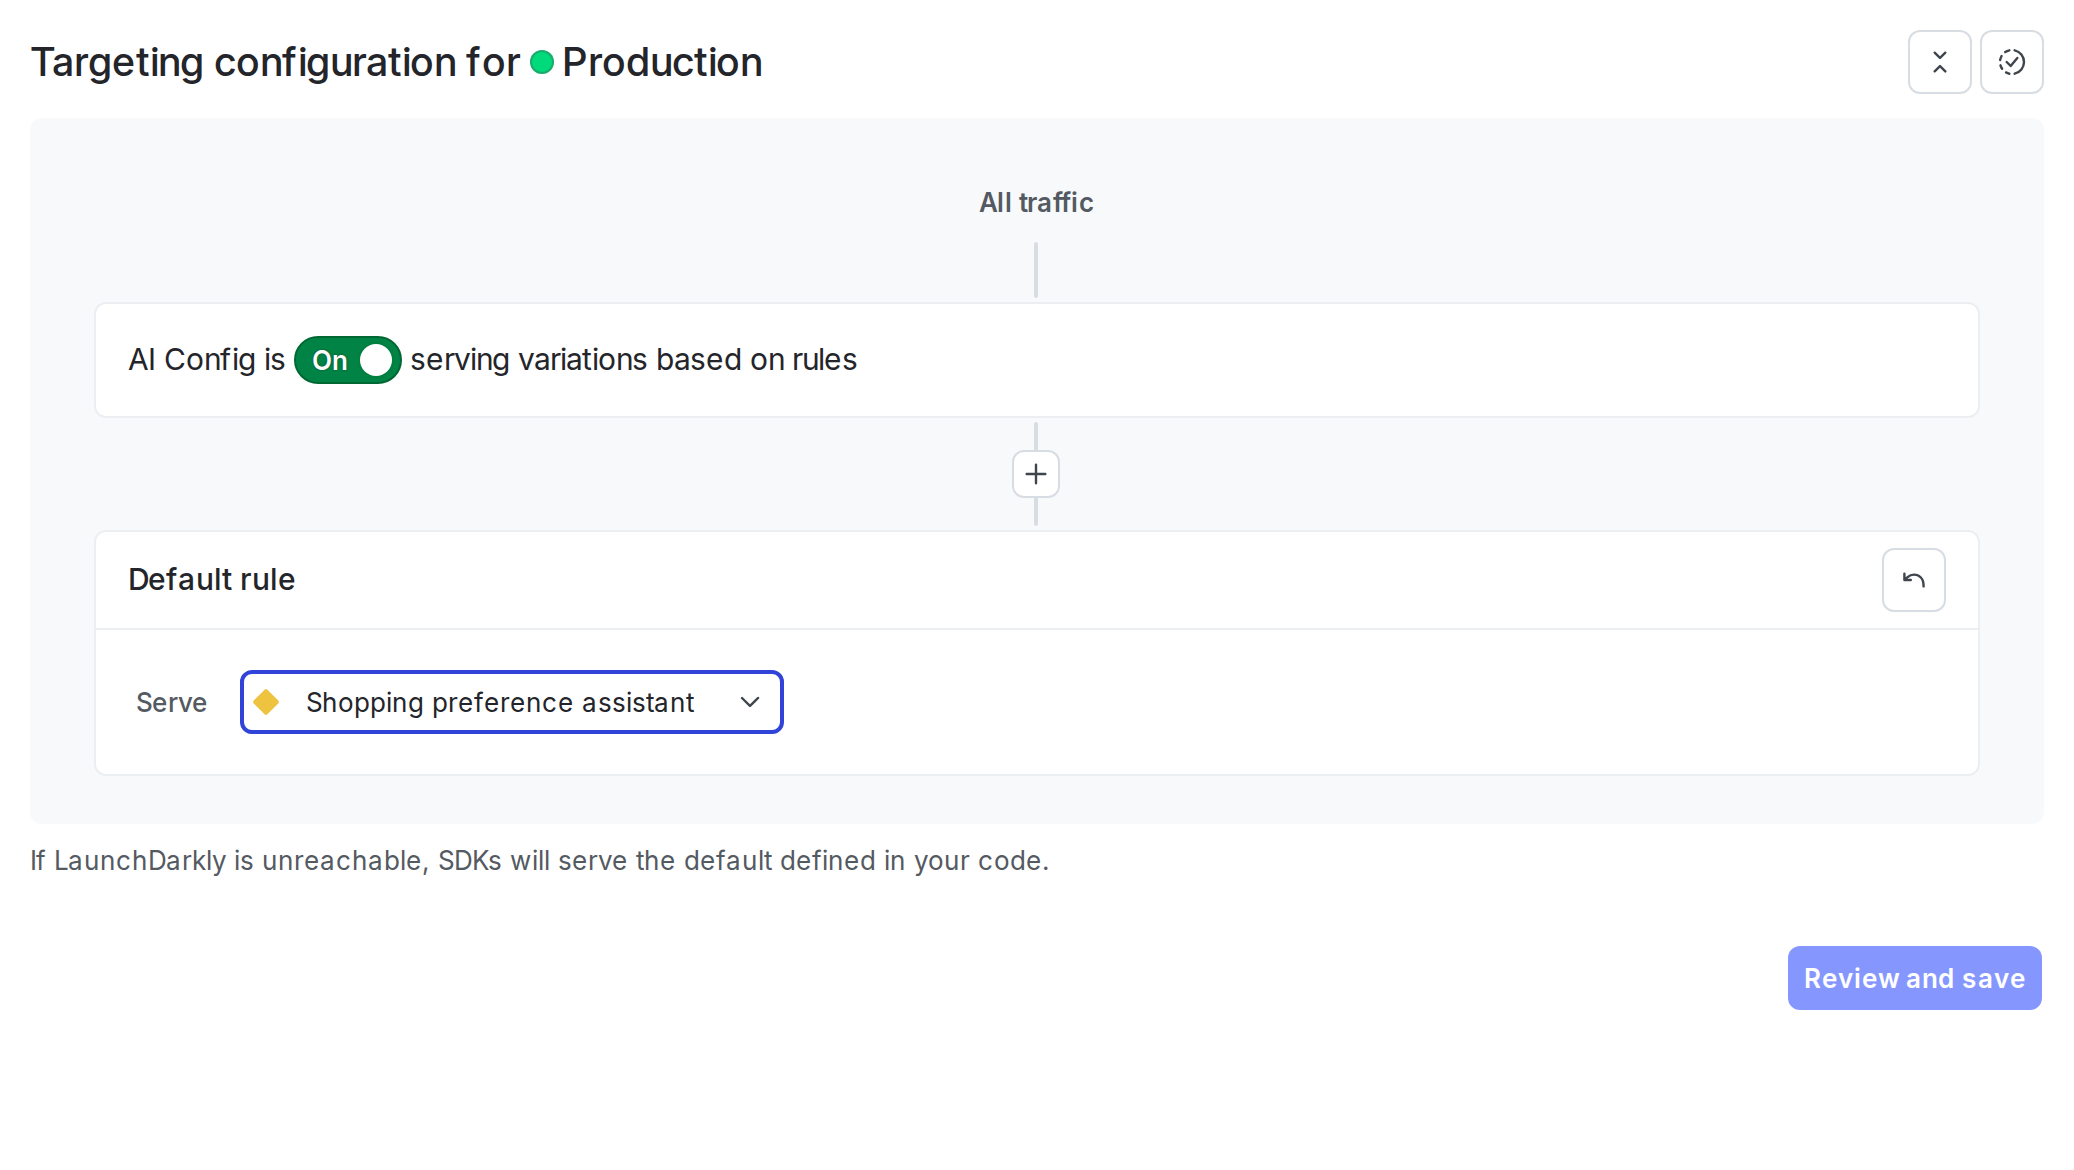
Retrieve the AgentControl config from LaunchDarkly by calling the completion config function. Pass a context that represents the current user. A fallback configuration is optional — if LaunchDarkly is unreachable and no fallback is provided, the config returns with enabled: false.
Here is how to get the AgentControl config:
Check the enabled property and handle the disabled case in your application. If you want your application to serve a specific model and prompt when LaunchDarkly is unreachable, pass an AICompletionConfigDefault (Python) or a plain config object (TypeScript) as the third argument — see the commented fallback example above.
For production use:
OpenAI’s Chat Completions API expects messages in an array, including system-role messages. Unlike Anthropic, there is no separate top-level system parameter. Instead, the system prompt is a message with role: "system" in the messages array. Use the generic track_metrics_of (Python) or trackMetricsOf (Node.js) helper with get_ai_metrics_from_response (Python) or getAIMetricsFromResponse (Node.js) from the launchdarkly-server-sdk-ai-openai / @launchdarkly/server-sdk-ai-openai package. The helper records duration, success/error, and token usage automatically.
This guide uses OpenAI’s Chat Completions API for completion mode (this step) and the Responses API for agent mode (Step 6). The track_metrics_of / trackMetricsOf tracker takes a response-to-metrics converter: get_ai_metrics_from_response / getAIMetricsFromResponse for Chat Completions, and a custom responses_metrics / responsesMetrics converter for the Responses API shape (response.output[] / response.usage.*_tokens).
LaunchDarkly variations store OpenAI-native parameter names (max_completion_tokens, temperature, top_p, and so on), so they pass directly to the SDK. You do need to drop tools from params before spreading them — attached tools pass through on the top-level tools argument, and leaving them in params would duplicate the argument. Define a small helper for that:
Then call OpenAI with the config:
The track_metrics_of (Python) and trackMetricsOf (Node.js) helpers expect a complete response object. If your application uses streaming responses, use the lower-level track_duration, track_tokens, track_success, and track_error methods to record metrics manually. To learn more, read Monitor AgentControl configs.
Agent-mode AgentControl configs return a single instructions string instead of a message list, and they let you attach reusable tools from the LaunchDarkly tools library. This step uses OpenAI’s Responses API for agent mode. The Responses API is OpenAI’s agent-oriented surface and accepts LaunchDarkly’s flat {type, name, description, parameters} tool shape directly — no per-call conversion. It also manages conversation state server-side through previous_response_id, so each turn only sends the new input (the initial user message, or the tool outputs from the previous turn).
First, define the tool in LaunchDarkly so the AgentControl config variation can reference it:
get_order_status as the key.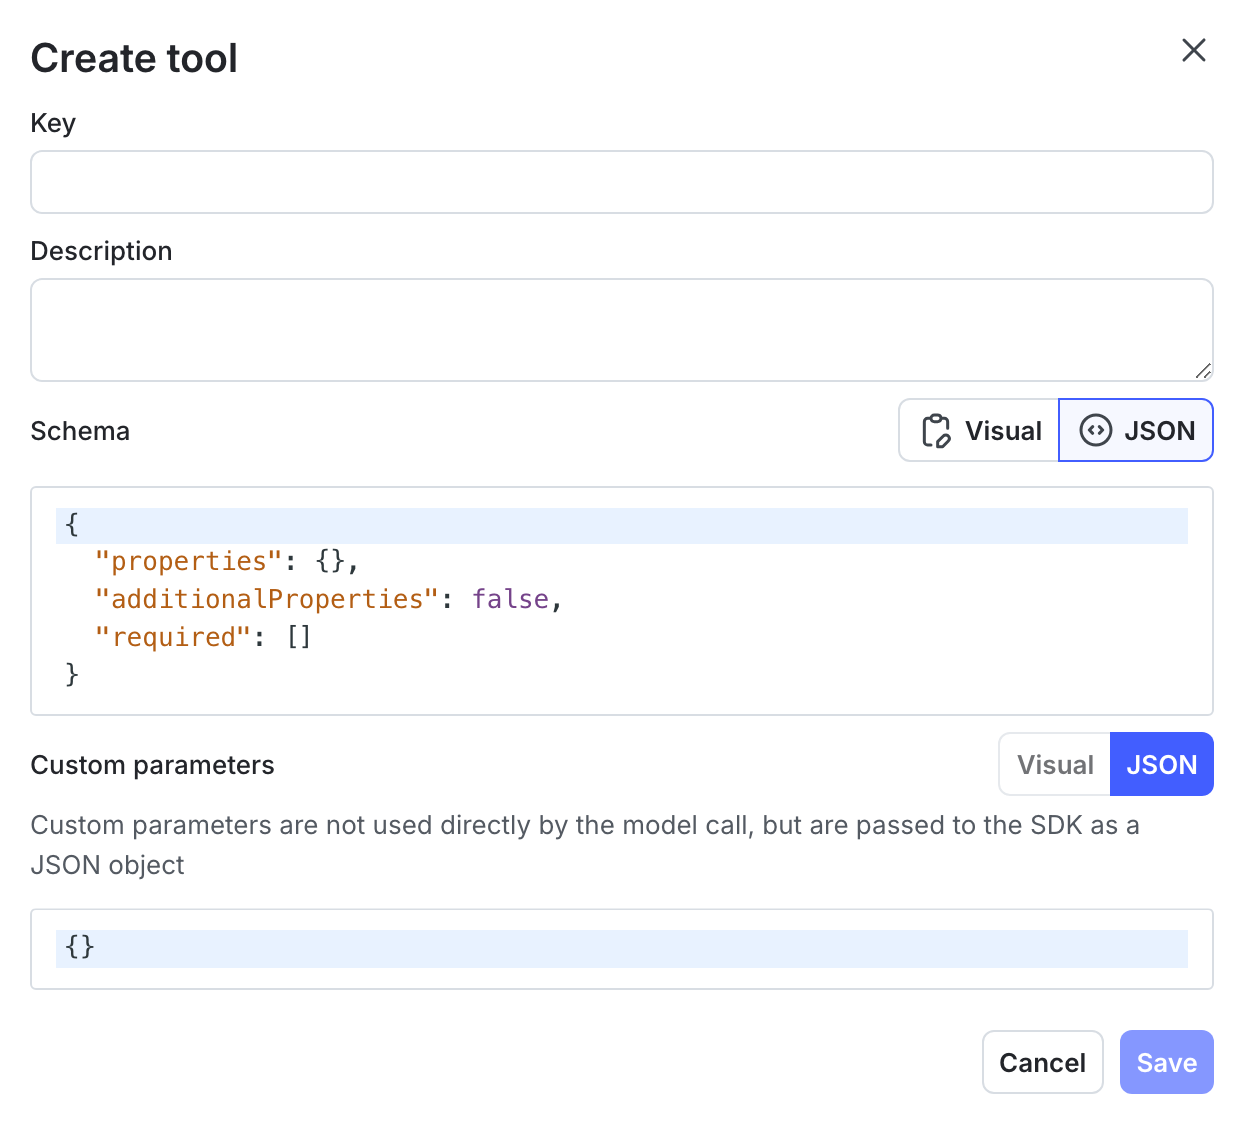
gpt-4o.max_tokens to 1024.get_order_status.
To learn more about managing tools, read Tools in AgentControl.
Use agent_config() instead of completion_config(). The SDK returns attached tools under parameters.tools in LaunchDarkly’s flat shape, so convert them to OpenAI’s nested {type: 'function', function: {name, description, parameters}} shape before passing them on the tools= argument. Tool handler functions stay in your application code. LaunchDarkly stores the schema, while your application owns the behavior.
Because the Responses API has a different response shape than Chat Completions, use tracker.track_metrics_of (Python) / tracker.trackMetricsOf (TypeScript) with a provider-specific converter function. The converter receives the raw API response and returns an LDAIMetrics object; the tracker handles duration and success/error itself.
In completion mode, you can attach judges to variations in the LaunchDarkly UI for automatic evaluation. In agent mode, invoke judges programmatically through the AI SDK.
To learn more, read When to use completion mode vs agent mode and Agents.
Use the LaunchDarkly UI to monitor how your applications are performing across all AgentControl configs and for individual configs.
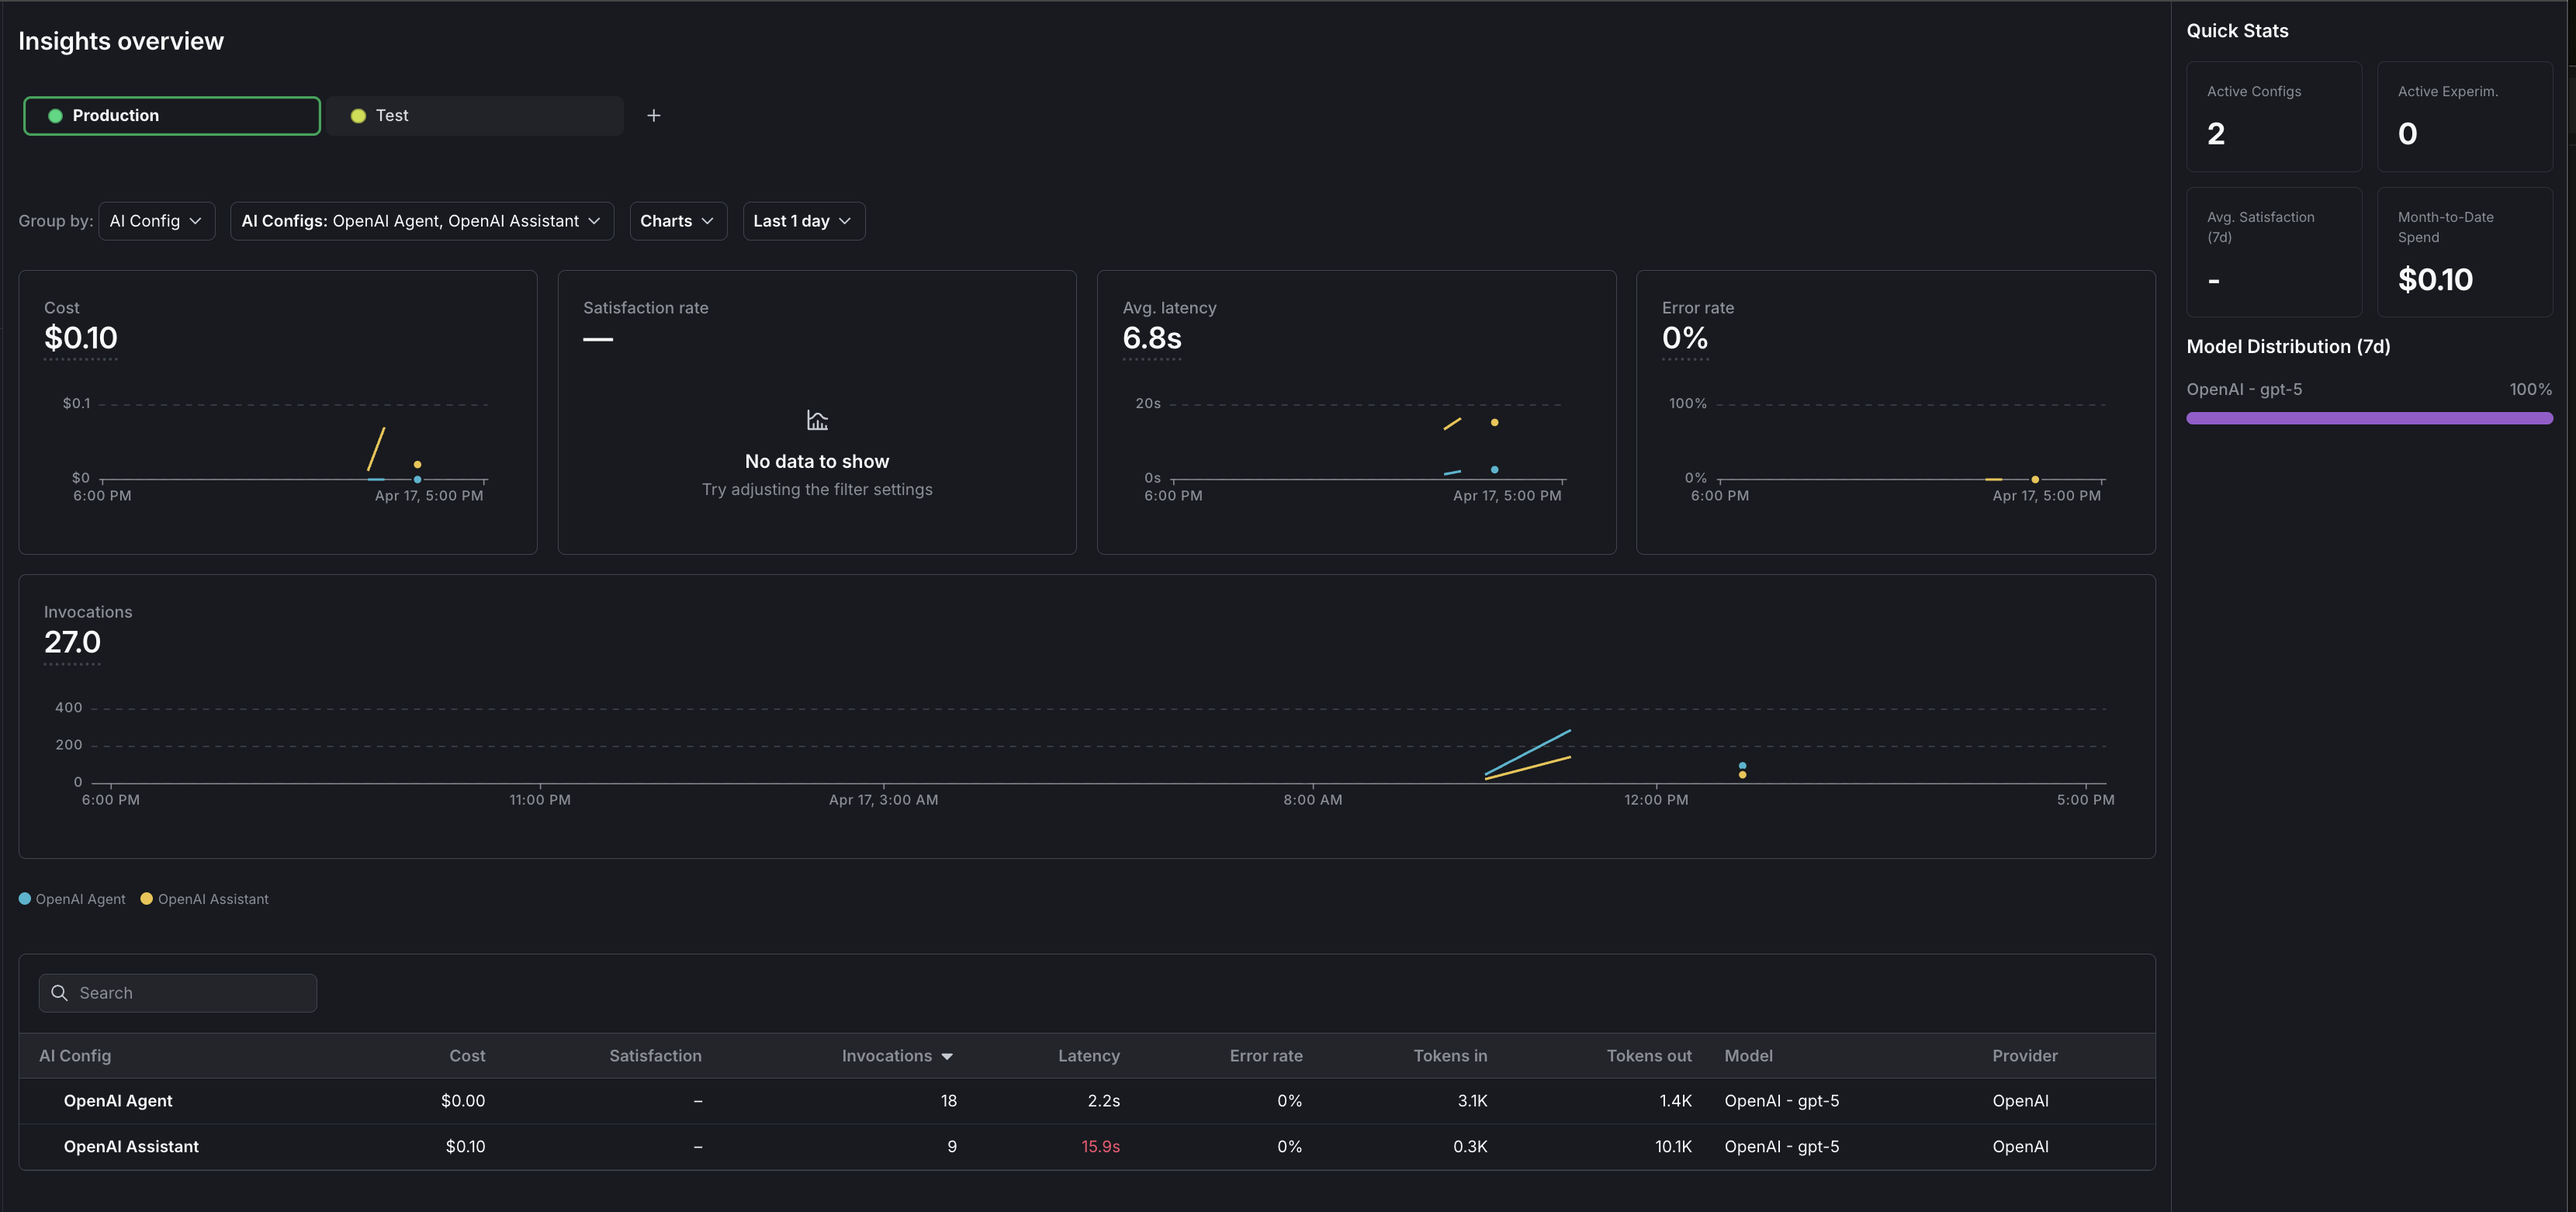
To view aggregated metrics across all your AgentControl configs, navigate to Insights in the left navigation under the AI section. The Insights overview page displays cost, latency, error rate, invocation counts, and model distribution across your organization. To learn more, read AI Insights.
To view metrics for a specific AgentControl config:
The dashboard displays the following metrics:
Metrics update approximately every minute. Use these metrics to compare variations and optimize your prompts. To learn more, read Monitor AgentControl configs.
The AI SDKs emit OpenTelemetry-compatible spans for each generation call. You can forward these spans to your existing observability stack for deeper analysis. To learn more, read Observability and LLM observability.
Always flush events before closing the LaunchDarkly client when your application shuts down — trailing events are at risk of being lost otherwise, in short-lived scripts and long-running services alike.
Here is how to flush events and close the client:
Here is a complete working example that combines all the steps.
After you have the basic integration working, you can extend it with:
For more AgentControl guides, read the other guides in the AgentControl guides section.
If metrics do not appear on the AI Insights dashboard:
tracker.track_metrics_of() (Python) or tracker.trackMetricsOf() (Node.js) with the correct metrics converter.flush() before closing the client, especially for short-lived scripts.If the LaunchDarkly SDK fails to initialize:
If you always receive the fallback configuration:
If you receive OpenAI API errors:
In this guide, you connected an OpenAI-powered application to LaunchDarkly AgentControl. You can now: