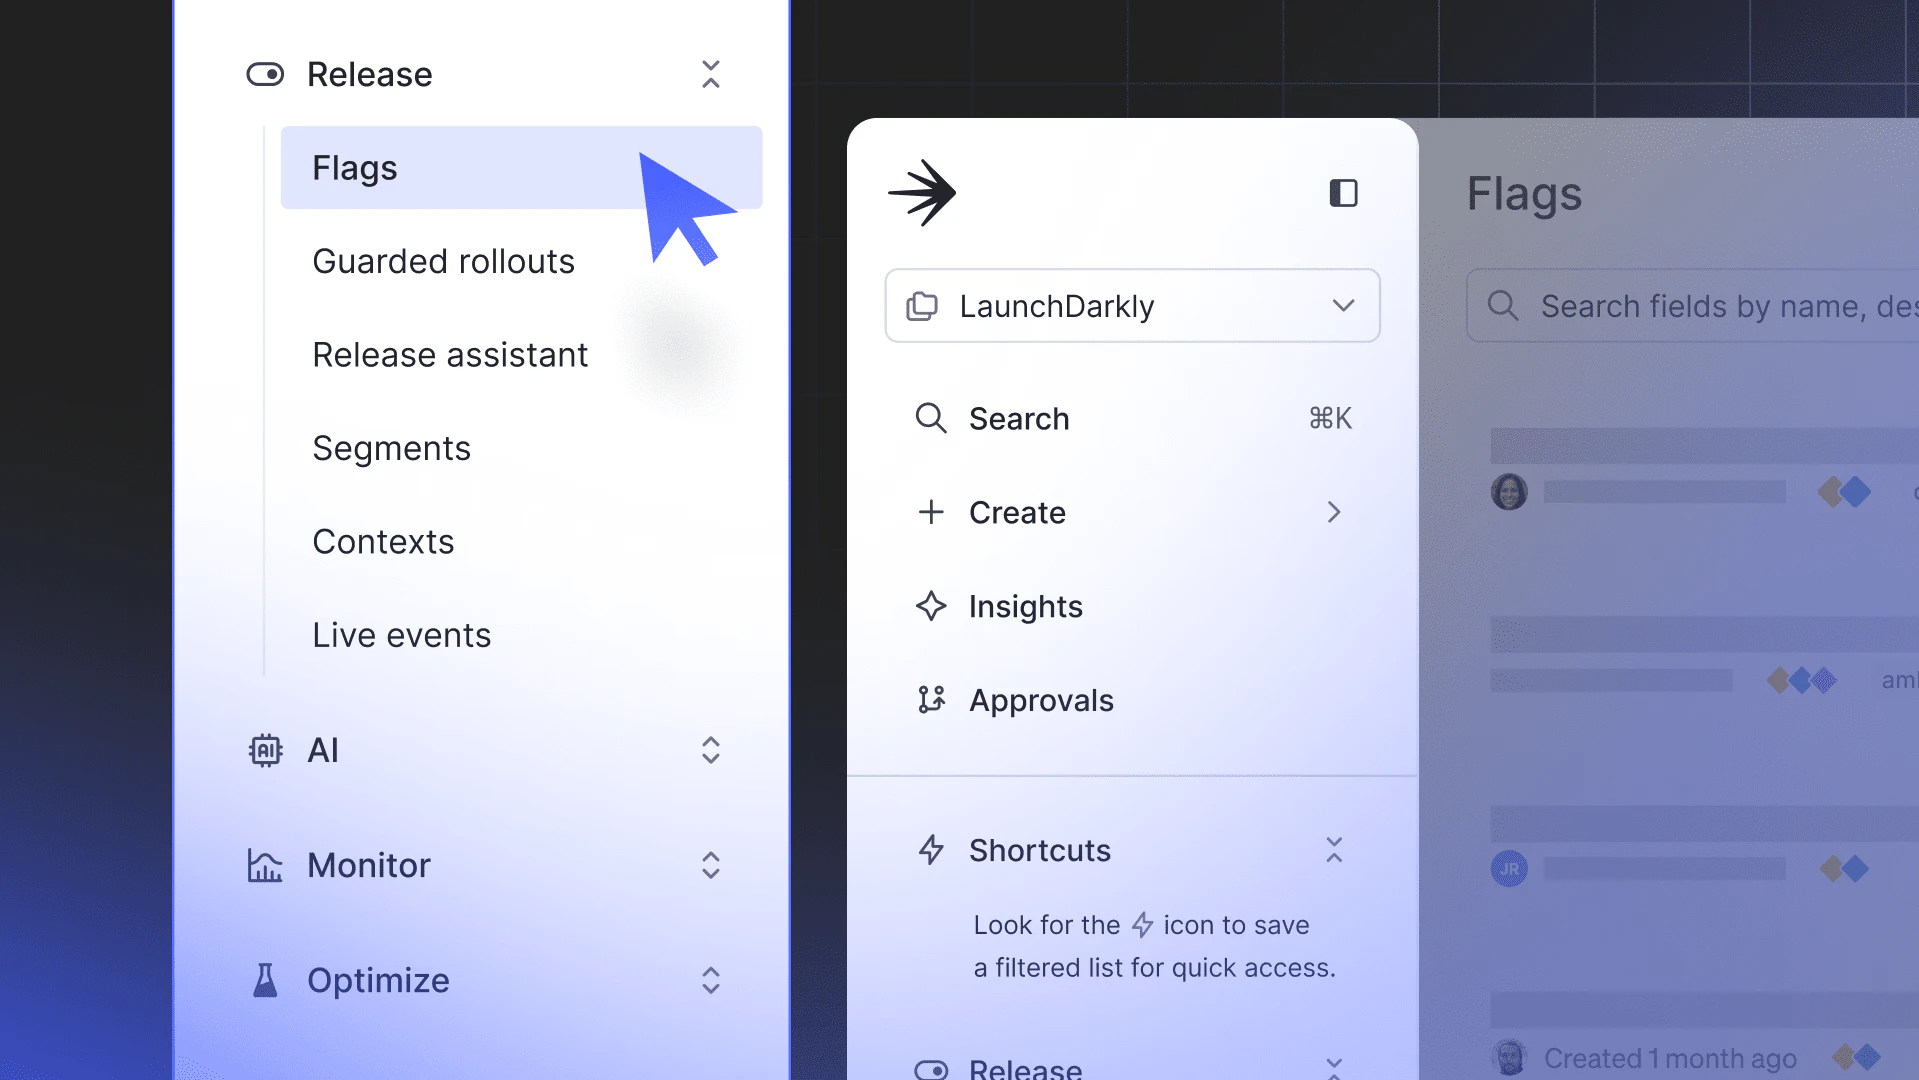
We're happy to announce we're launching the ability to completely control view access at the project-level across an organization. This introduces the ability to limit visibility of feature flags and all other project information, on a per-user basis.
You can now restrict project visibility in LaunchDarkly, effectively creating private projects:
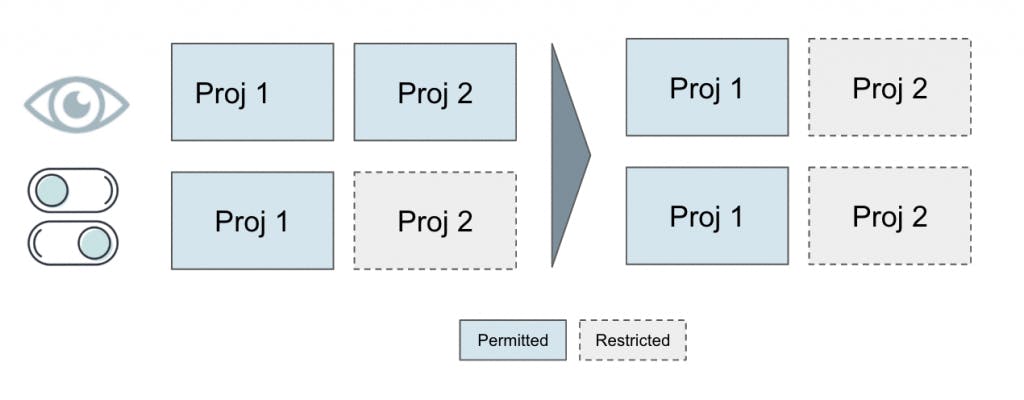
We often receive this request from users at large organizations. Going forward, account administrators can manage which LaunchDarkly resources team members have access to. A single user or team can have a combination of read permissions on some projects, write permissions on some projects, and completely restricted access to all other projects, effectively creating private projects.
View Restrictions works at the project and extends to all resources in that project, including flags and their properties, dashboard views, the audit log, and the API.
How Might This Be Useful for Me?
Manage the Dashboard
Depending on your needs, you can now manage what content a team member sees in the flag dashboard. You have control over what projects to hide and show in the dashboard, which streamlines your workflow when you have a large number of flags.
Create Private Projects
If your organization has multiple projects you want to keep unique to specific teams, you can now do that by using the custom role policy editor. Before, you could lock down projects to prevent accidental feature flag toggling across teams, but now you can hide them entirely.
Security Restrictions
For security reasons, this feature also allows you to wall off view access to any confidential or high-risk projects.
How Do I Use This Feature?
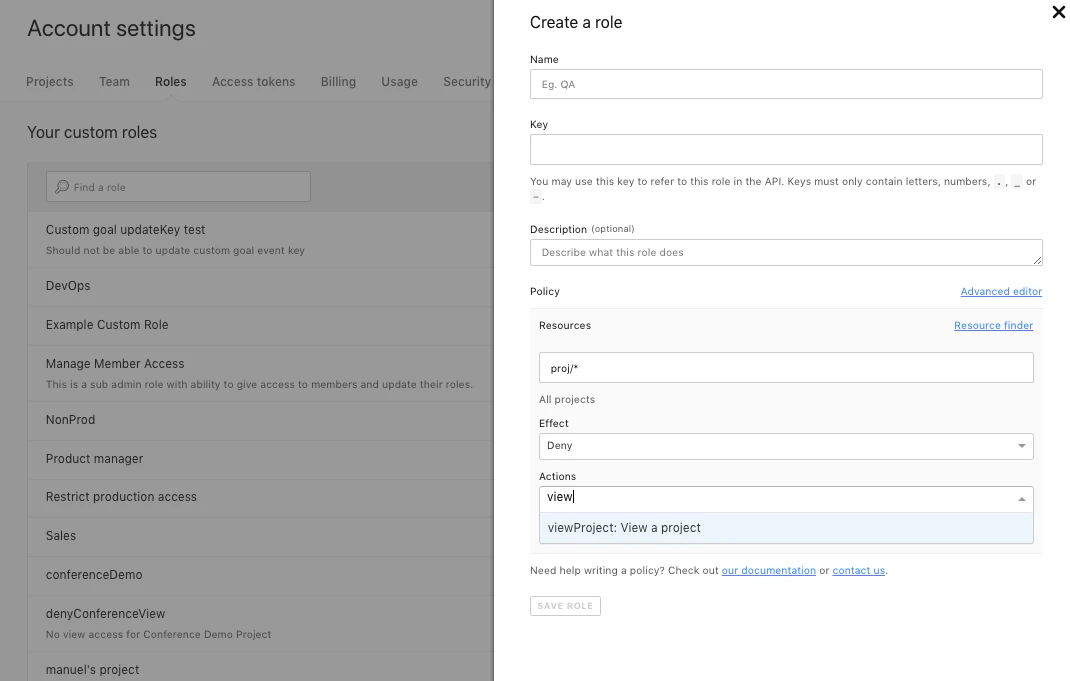
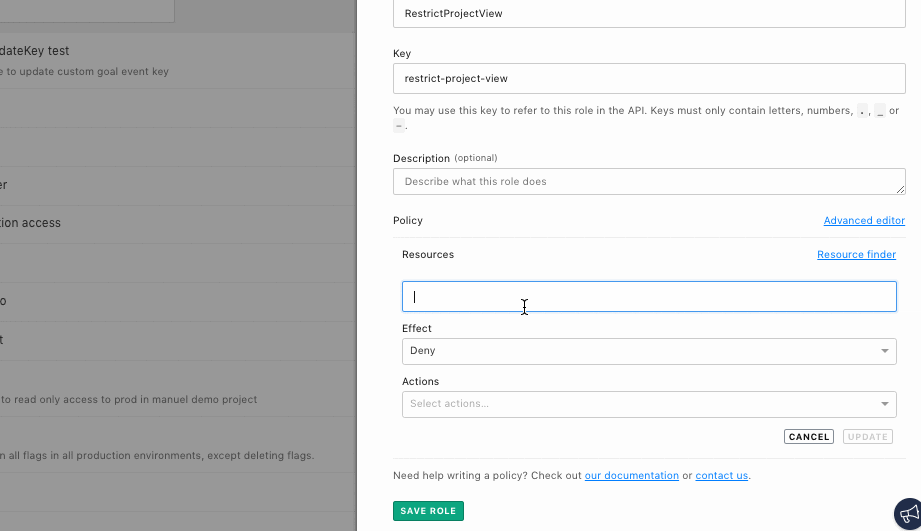
You can use custom roles in order to configure view restrictions:
- Go to Account Settings, then choose Roles
- To modify an existing role click Edit; to create a new role, click New Role
- Use the Policy editor to specify the project name(s), and set Effects and Actions
- To assign your new Custom Role, go to Account Settings, then choose Team
Custom roles allow you to configure permissions by allowing and denying access to standard and custom resources, and are available to Enterprise plan users of LaunchDarkly. For more information, please contact sales@launchdarkly.com or reach out to your account contacts.
Note: This feature is currently turned on for a portion of the user base. If you don't see the ability to deny viewing at the project level, please reach out to your account contact to be added.