


Treating every user the same is risky when they may have different goals, dreams, desires, and features they care about. To provide the best experience, you want to customize your website based on what you know about your users. Luckily, LaunchDarkly makes it easy to do just that.
In this tutorial, you will learn how to use LaunchDarkly’s segment targeting feature to show users with a .edu email address a more colorful version of your FastAPI website.
Prerequisites
- A developer environment with Python and pip installed. (I’m using Python 3.12 and I’d recommend 3.6 or newer).
A LaunchDarkly account - sign up for a free one here!
Getting the example FastAPI + LaunchDarkly app up and running
First, clone this repository on your local machine:
git clone https://github.com/annthurium/fastapi-targeting-segment Next, configure your credentials.
Go to https://app.launchdarkly.com/settings/projects. Click on the project you want to use. Copy the SDK key from the Environments tab on the following screen:

Important—SDK keys are environment-specific. Our example code uses the “Production” environment, but feel free to use “Test” or whatever you’d prefer. Paste the key into the .env.example file. Rename the .env.example file to .env.
With this setup, the LaunchDarkly SDK can access the credentials locally, but you won’t accidentally commit them to source control and compromise your security.
Create and activate a virtual environment, install dependencies, and start your server using the following commands
cd fastapi-targeting-segment
python -m venv venv
source venv/bin/activate
pip install -r requirements.txt
fastapi dev main.py
Load http://127.0.0.1:8000/ in the browser. You should see a rather enterprise-y webpage. Let’s create a LaunchDarkly segment to jazz that page up with some more color for student users. 🎨
What are segments?
Segments are groups that allow you to consistently target the same audiences, serving as a single source of truth for your targeting logic. While nothing stops you from duplicating targeting rules across different flags, keeping everything up to date when requirements change can be a major time sink. That’s where segments come in.
Segments can be shared across LaunchDarkly environments, making it easier to keep things in sync between dev, staging, and production. Let’s create a segment, add a targeting rule to it, and link that rule to a new feature flag.
Create a segment
Head back to the LaunchDarkly application. Ensure you’re in the environment matching the SDK key you copied into your .env file.
Click Segments on the left-hand menu, and then click one of the Create segment buttons.

Select Rule-based segments in the next section.

In the following window, choose a name for your segment such as “Students”. Enter a description as a gift for your future self. Click Save segment.

On the following screen, create a rule. Select the following values and save.
- Context kind: user
- Attribute: email
- Operator: ends with
- Values: .edu

You may be prompted to enter a comment explaining your changes and confirm them.
Create a feature flag
Finally, you’ll create a flag that targets that specific segment. Hang in there, we’re almost through configuring things.
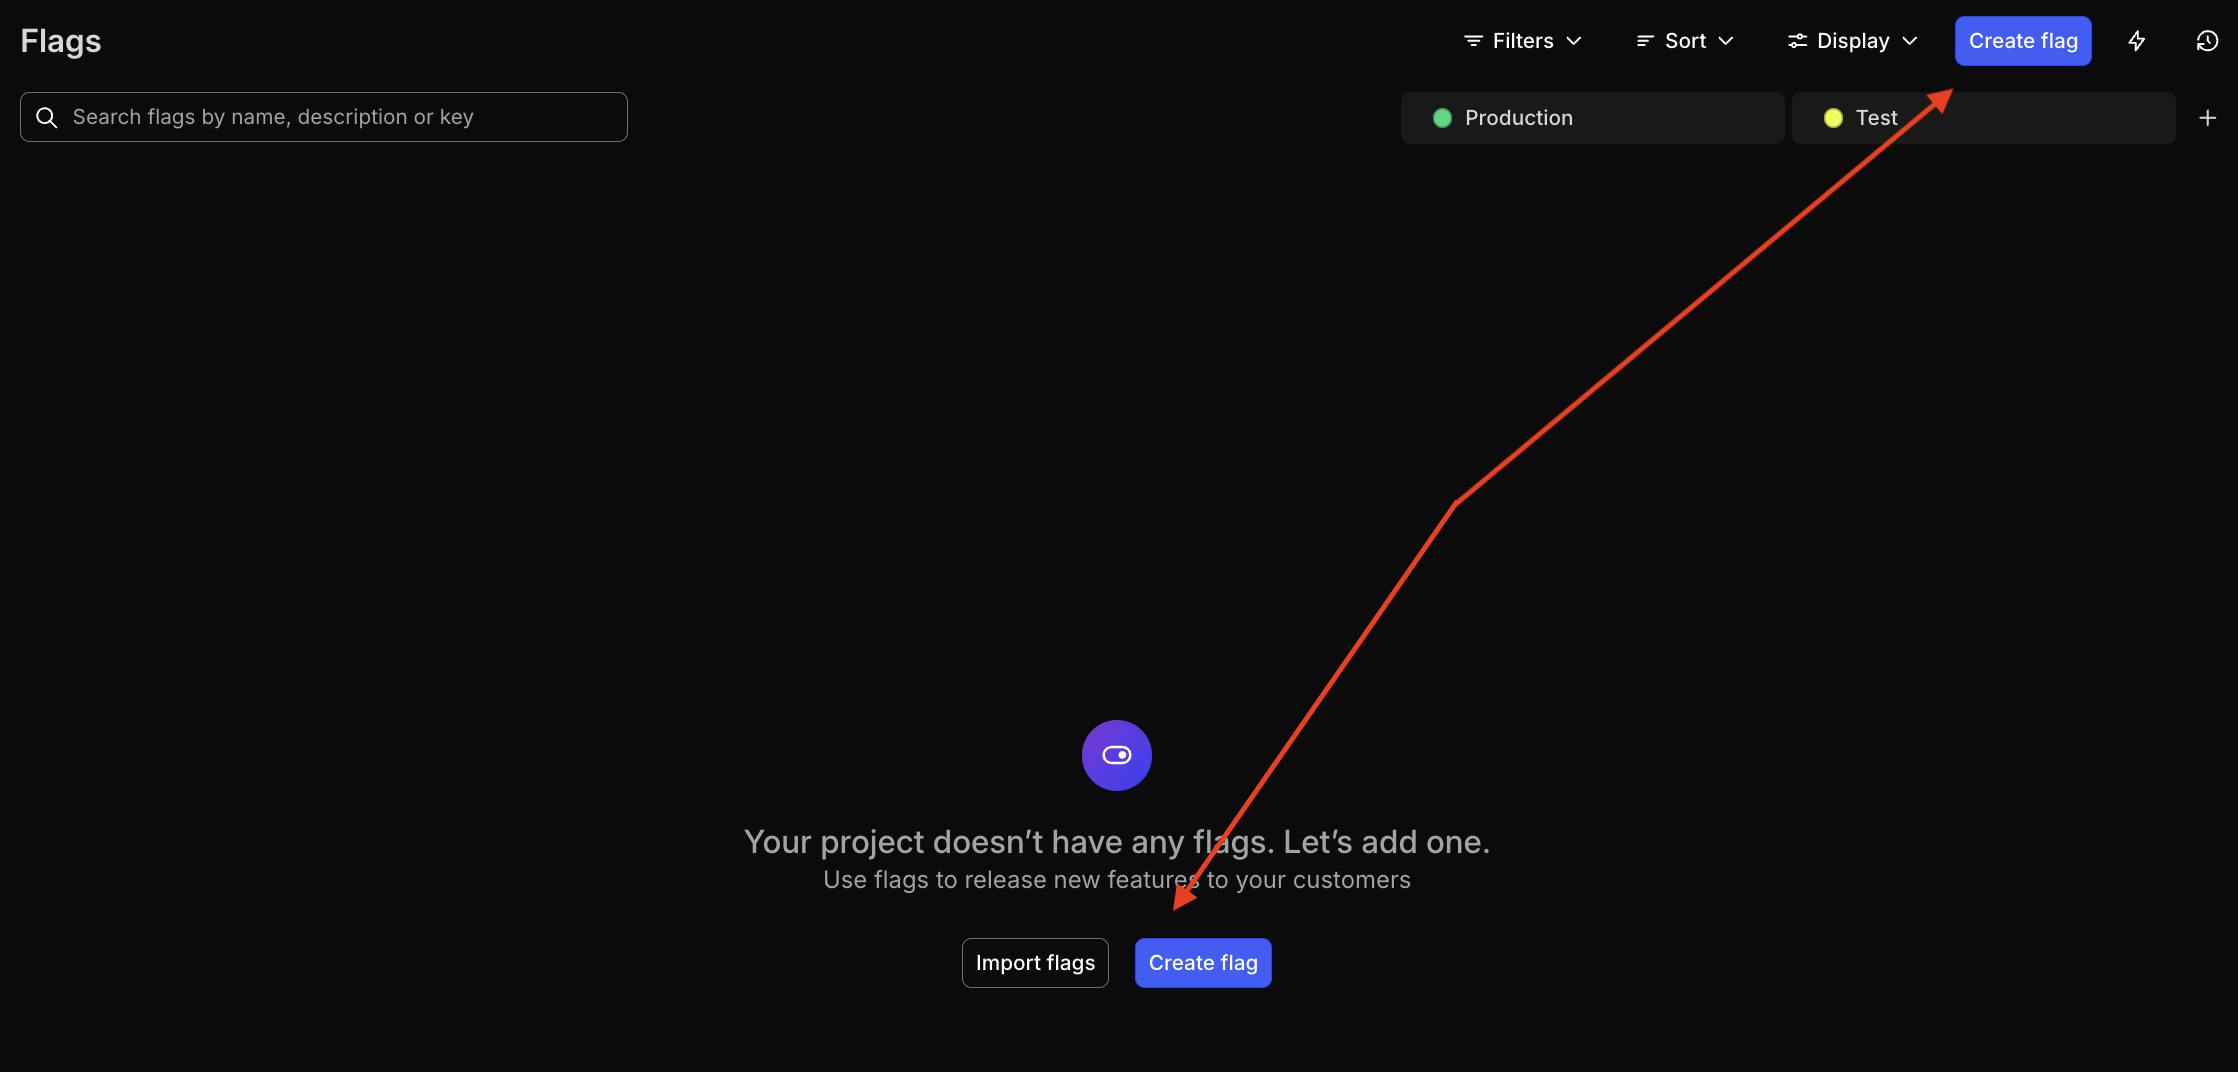
On the left navigation menu, click Flags, and then click the Create Flag button.
Name this flag “show-student-version”, matching the name of the variation that we’ll add to your application code. The key will auto-populate. The flag type is Boolean, and you can leave the “variations” input boxes blank. Click the Create flag button when you’re done typing in the name and description.

On the next screen, click on the View targeting rules then the plus sign. Choose Target segments from the dropdown. Configure the rule as follows, and then click Confirm and save.
- If Context is in Students, serve true
- When no targeting rules are matched (the default rule), serve false
- Flag is On

In the Save dialog, if you are prompted to, add a comment explaining these changes and confirm the environment.
Using a feature flag in your FastAPI application
Back in your app, you’ll need some code to grab your credentials and initialize the LaunchDarkly client. Add the following commented lines of code to main.py:
from fastapi import FastAPI
from fastapi.staticfiles import StaticFiles
from fastapi.responses import FileResponse

# new imports
from contextlib import asynccontextmanager
import ldclient
from ldclient import Context
from ldclient.config import Config
import os
from dotenv import load_dotenv
load_dotenv()

# Add this new function to instantiate and shut down the LaunchDarkly client
@asynccontextmanager
async def lifespan(app: FastAPI):
 # initialize the LaunchDarkly SDK
 ld_sdk_key = os.getenv("LAUNCHDARKLY_SDK_KEY")
 ldclient.set_config(Config(ld_sdk_key))
 yield
 # Shut down the connection to the LaunchDarkly client
 ldclient.get().close()

# Add the new lifespan parameter
app = FastAPI(lifespan=lifespan)

# Mount static files directory
app.mount("/static", StaticFiles(directory="static"), name="static")

@app.get("/")
async def root():
  # add logic to evaluate the LaunchDarkly flag and conditionally determine which template to show
  context = Context.builder("context-key-123abc").set("email", "sandy@example.com").build()
  show_student_version = ldclient.get().variation("show-student-version", context, False)
  file_name = "static/index.html"
  if show_student_version == True:
     file_name = "static/student-index.html"
  return FileResponse(file_name)
In the context variable, we are passing information about our user to LaunchDarkly, including the email address. The show-student–version flag is set to ‘On’, but the user’s email address doesn’t match our targeting rule for students. Go to http://127.0.0.1:8000, you should be redirected to the enterprise version of the website.
Try changing the email address in the context to something that ends in .edu. Save these changes in your editor:
context = Context.builder("context-key-123abc").set("email", "sandy@example.edu").build()Go back to http://127.0.0.1:8000. Without changing any of your flag configurations or targeting in LaunchDarkly, the app should have redirected you to the student version of the website. Tada! 🏁
- That your flag is set to “On” and you’ve targeted your user segment.
- Ensure your .env.example file has been renamed to .env, and you’re using the SDK key from the same environment and project where you created the segment.
- The flag variation name referenced in the code matches the name of the flag you created on the LaunchDarkly dashboard.
Conclusion: adding conditional routing in a FastAPI application to customize your user experience
In this tutorial, you’ve learned how to use LaunchDarkly to target different segments of your audience. By using targeting rules and segments, you can create custom user experiences, avoid duplicating flag rules, and showcase different features of your site based on a user’s email address.
Email addresses are just the beginning. You can target just about any user attribute: name, plan type, zip code, and more. Read more about how to target users based on context attributes in the LaunchDarkly docs.
If you’re curious about other ways you can use LaunchDarkly to customize your user experience, you might enjoy:
- Using segments and targeting to manage early access programs
- Using targeting to manage AI model usage by tier with the Python AI SDK
- Building a toggle-able link in bio app with Reflex.dev and LaunchDarkly
Thanks so much for reading! If you have any questions, or just want to synergize your enterprise applications in my general direction, you can circle back via email (tthurium@launchdarkly.com), Bluesky, or LinkedIn.
Like what you read?
Get a demo