Required comments
Required comments are available to customers on select plans
Required comments are only available to customers on select plans. To learn more, read about our pricing. To upgrade your plan, contact Sales.
This topic explains how to use required comments for feature flag and segment changes.
Comments help establish a change history for a flag or segment. Requiring members to leave comments when they change flags or segments helps your organization understand why flags or segments look and behave certain ways.
Required comments are only enforced from the user interface
When Require comments is enabled, members must leave a comment to explain their changes when they make changes from the Flags list or the Segments list in the LaunchDarkly user interface (UI). Comments are not required for changes made with the LaunchDarkly API.
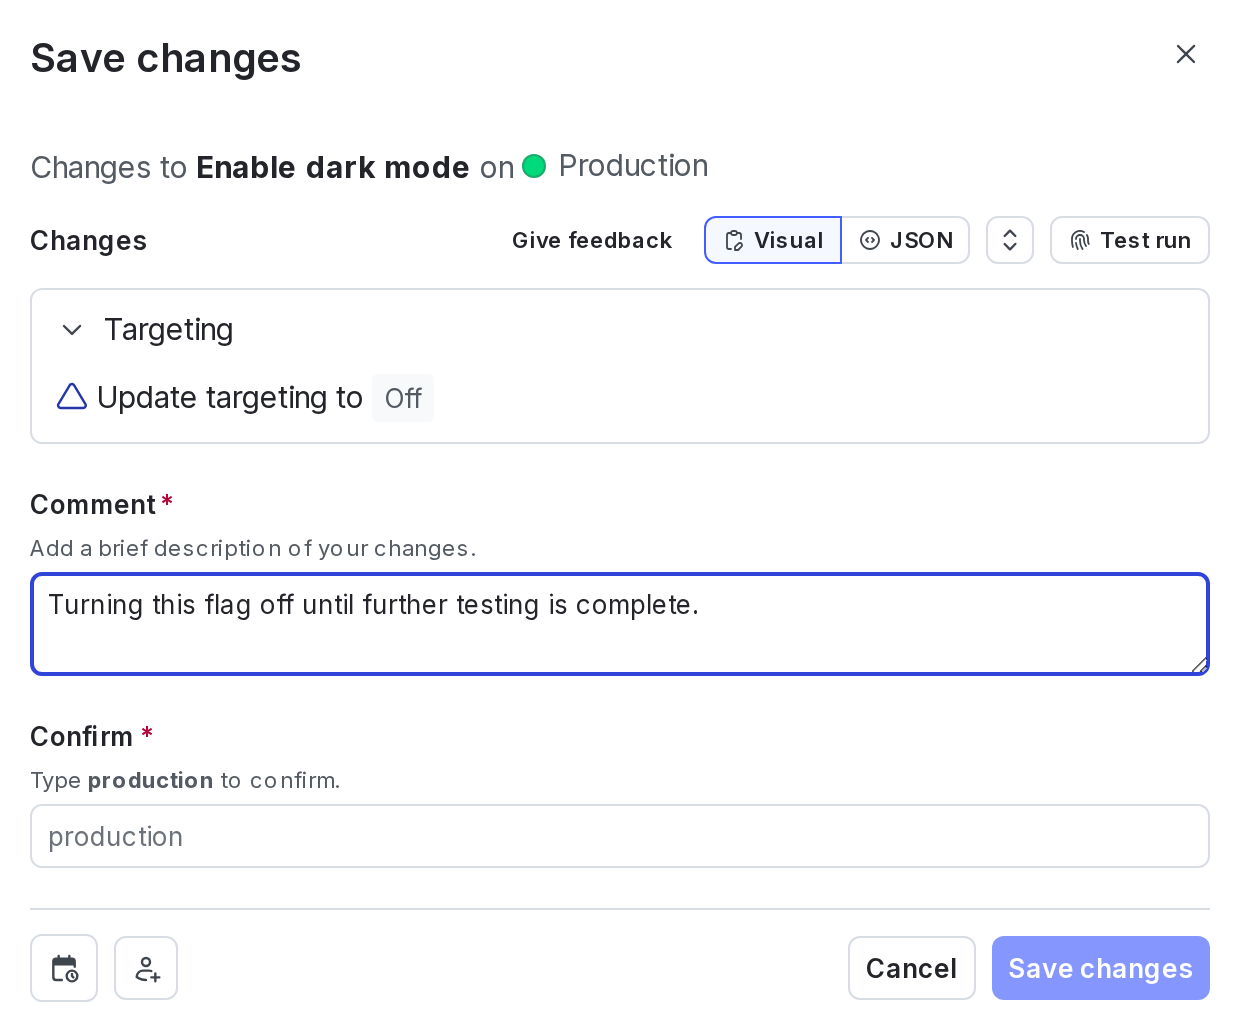
When you require comments in an environment, members must leave a comment when saving any changes to a flag:
Require comments
To require comments in a new environment:
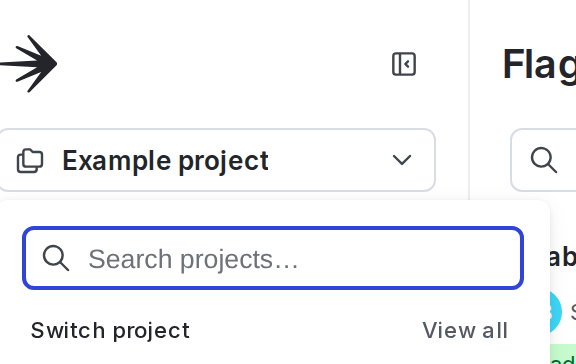
- Click the project dropdown. The project menu appears:
- Select Project settings.
- Select Environments. The Environments list appears.
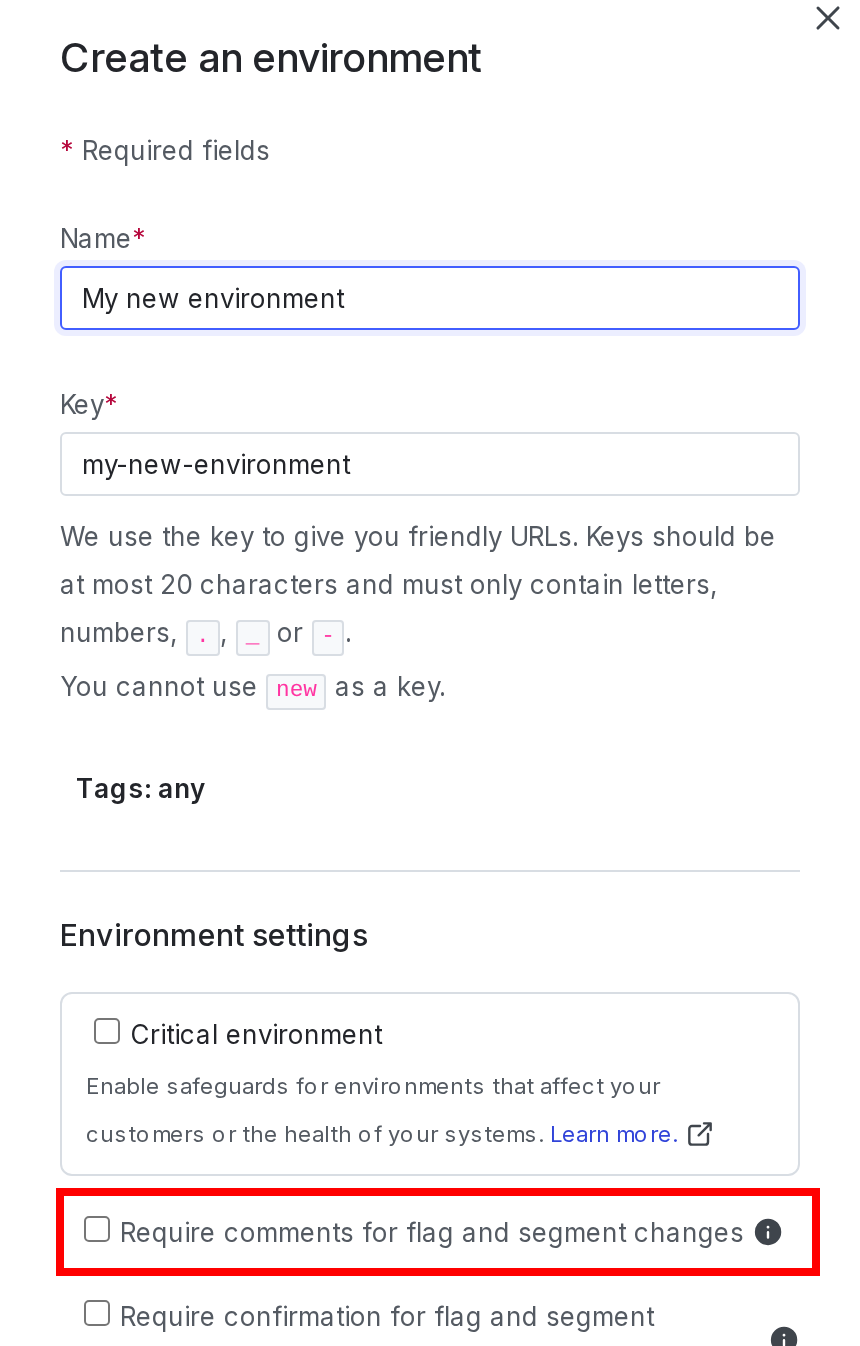
- Click Add environment. The “Create an environment” panel appears.
- Give your environment a human-readable Name.
- Select the Require comments for flag and segment changes checkbox:
- Click Create environment.
To learn more, read Create environments and Edit environment settings.
To require comments in an existing environment:
- Click the project dropdown. The project menu appears:
- Select Project settings.
- Select Environments. The Environments list appears.
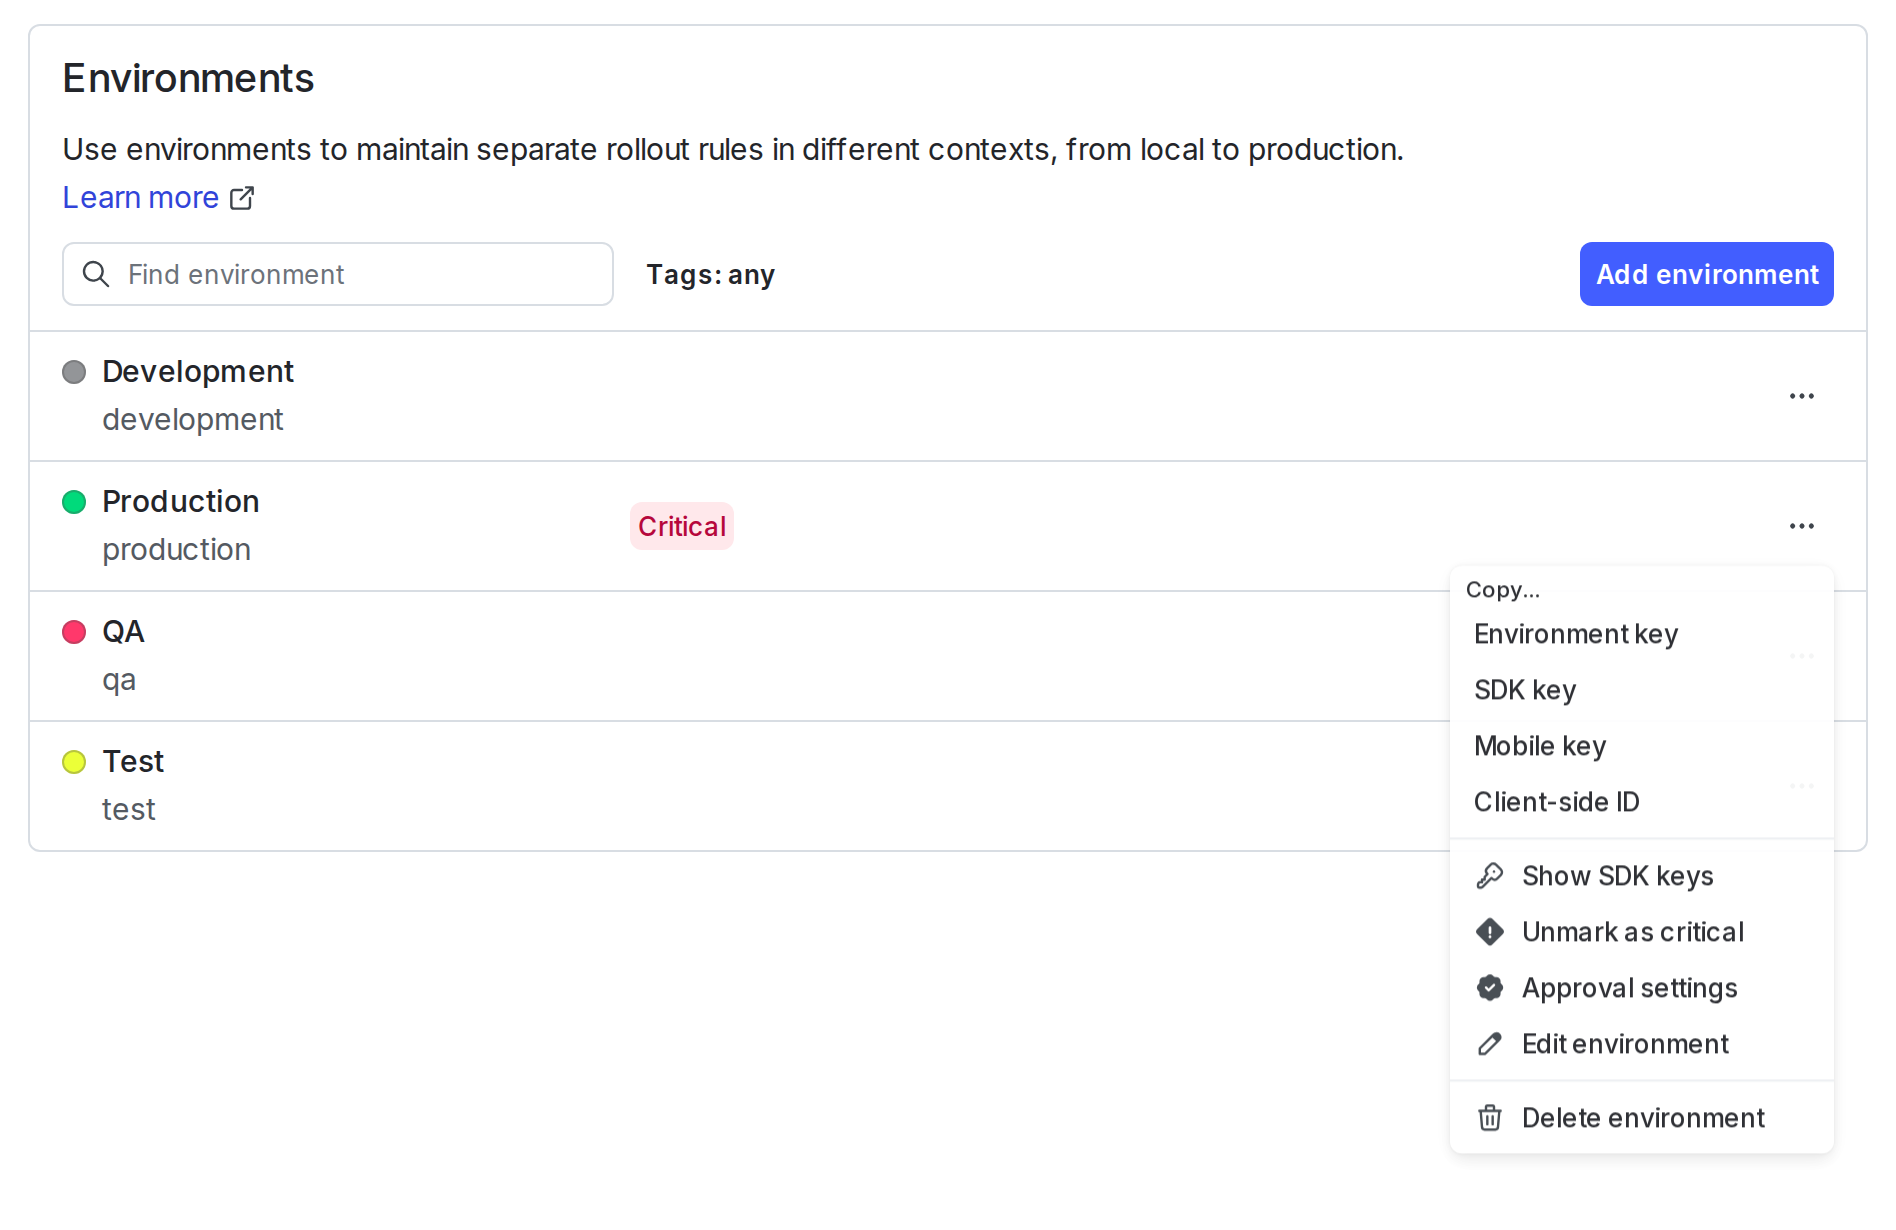
- Next to the environment you want to edit, click the overflow menu and choose Edit environment. The Edit environment panel appears.
- Select the Require comments for flag and segment changes checkbox.
- Click Save environment.
Comments on changes are now required for your environment.