
Custom flags
This topic explains how to get started with custom flags.
While LaunchDarkly provides flag creation templates for the common flag templates discussed in this category, we expect that you will need other flags as well. For ideas and examples of other flags and their use cases, read our guide on Creating flags.
When you create a new flag in the LaunchDarkly UI, you can choose to start with a flag template, or create a custom flag. Each flag template has its own custom default settings that you cannot alter. Only custom flags are affected by the default flag settings you configure at the project level.
To learn more about default flag settings, read Projects.
Create custom flags
To create a custom flag:
-
Click Create and choose Flag. The “Create flag” dialog appears.
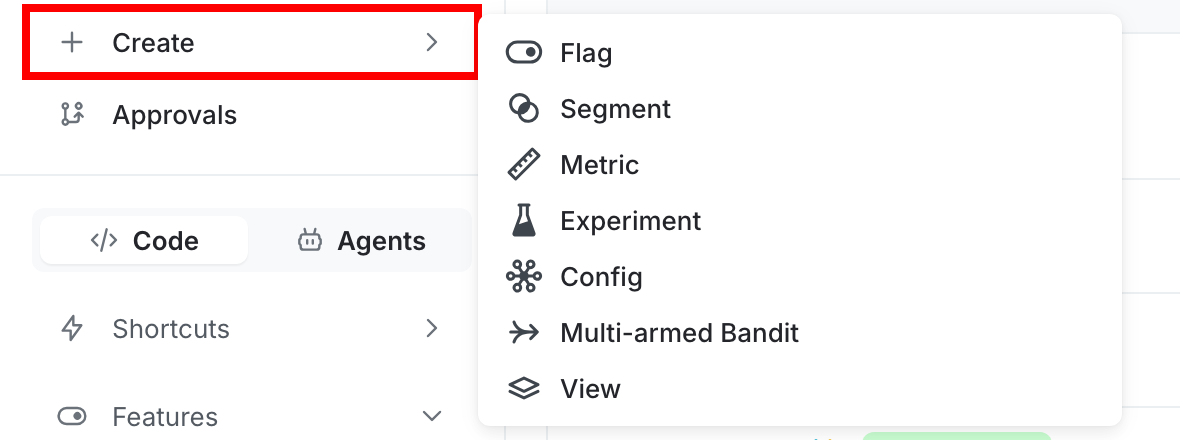
The "Create" menu options. -
Enter a unique, human-readable Name. A suggested key auto-populates from the name you enter, but you can customize it if you wish.
-
(Optional) Click Edit key to update the flag key. You’ll use this key to reference the flag in your code.
-
(Optional) Enter a Description of the flag. A brief, human-readable description helps your account members understand what the flag is for.
-
From the Variations menu, choose “Boolean”, “String”, “Number”, or “JSON”.
-
(Optional) Click + to add additional variations to string, number, or JSON flags.
-
(Optional) Click a variation name to edit its name and value.
-
(Optional) For string, number, or JSON flags, click Schema to validate the variations using a JSON schema.
- Click the magic wand icon to suggest a JSON schema based on your existing variation values.
- Click the broom icon to format the JSON schema.
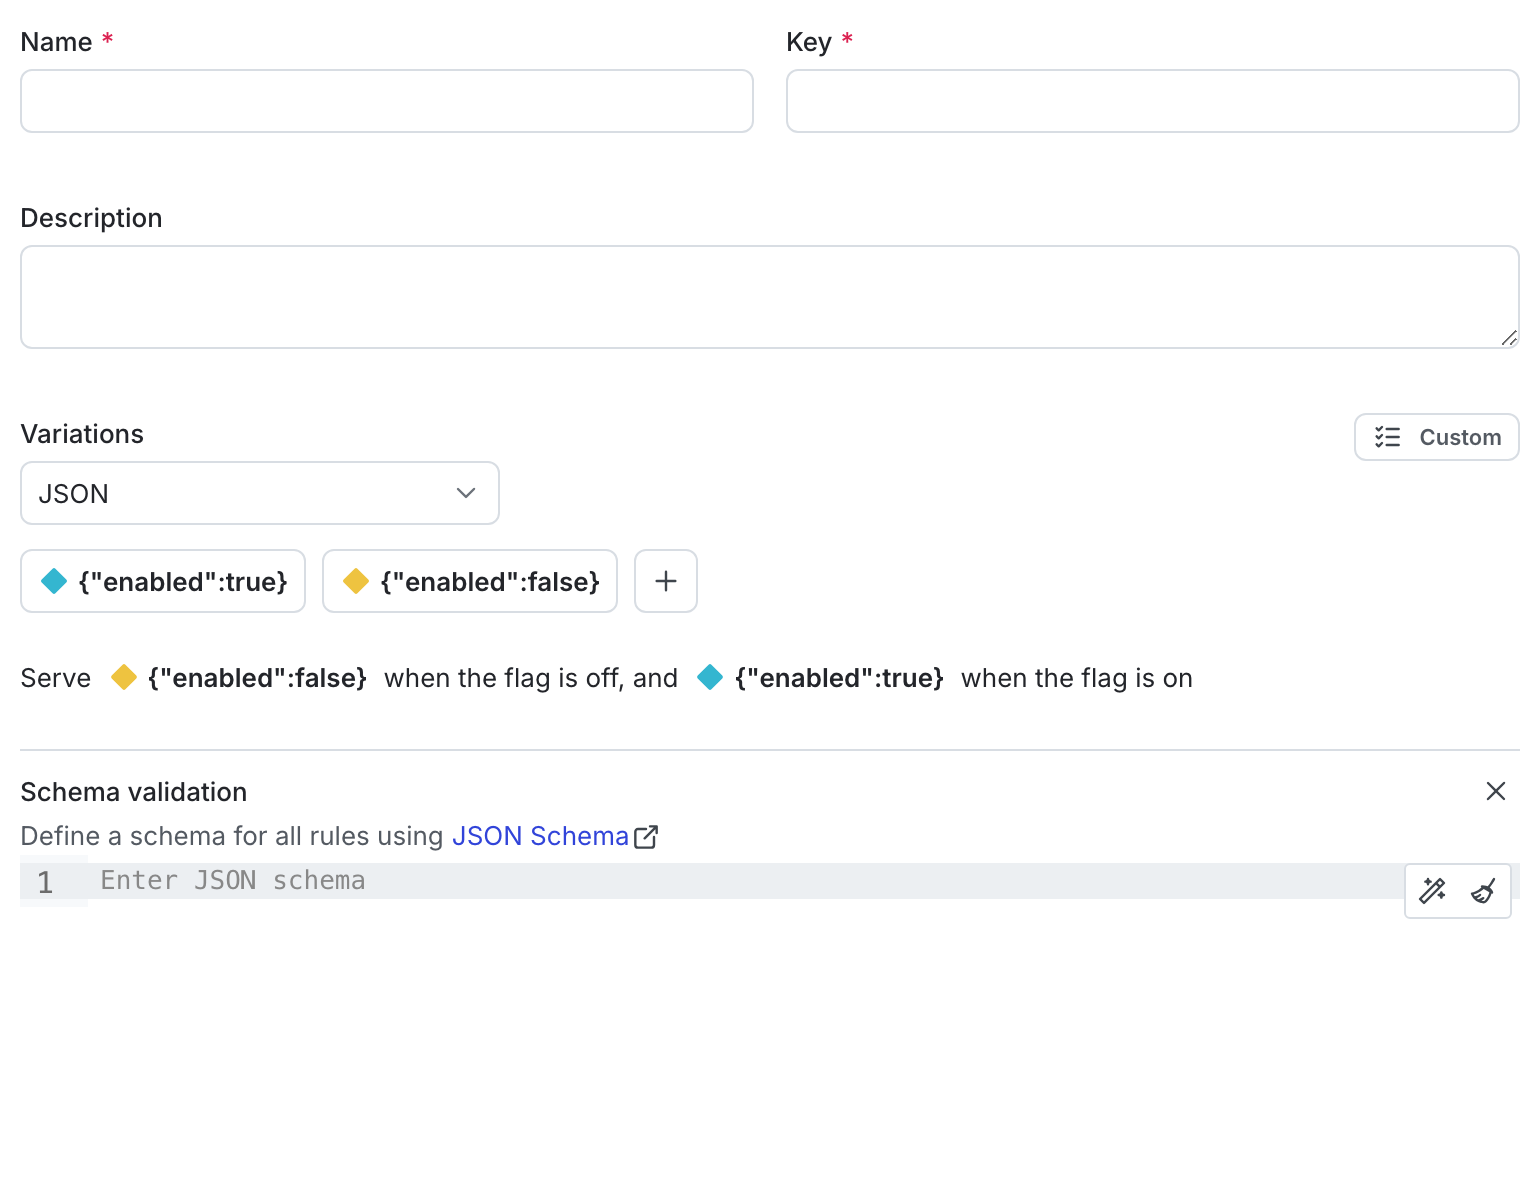
The schema option in the flag creation dialog. -
(Optional) Change the default on and default off variations if needed.
-
(Optional) Click on your member name to change the flag maintainer.
-
(Optional) Click the tag icon to add one or more tags.
-
(Optional) Click the views icon to add the flag to a view.
-
(Optional) Click All SDKs to make the flag unavailable to client-side or mobile SDKs. Flags are available to all SDKs by default.
-
(Optional) Click Temporary to change the flag from temporary to permanent.
-
(Optional) Click Prerequisite to add a prerequisite flag.
-
Click Create flag.
The flag Targeting tab appears.
After you create a flag, you can make further changes to it as needed, such as to update flag targeting.
To learn more, read Creating new flags.
Modify the default flag template
To modify your default flag template:
-
Click the project dropdown. The project menu appears:
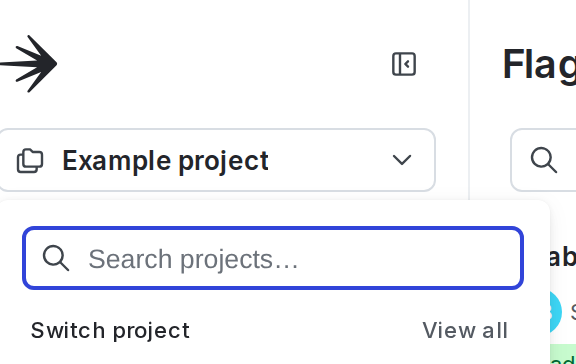
The project menu. -
Select Project settings.
-
Select Flags. The Flags settings list appears.
-
In the “Flag templates section, click the pencil icon next to “Default.”
-
Choose Yes or No to mark all custom flags as temporary or permanent.
-
In the “Variations” section, edit the flag variation Names.
-
In the “Default variations” section, choose which default variations to serve when the flag is toggled On or Off.
-
In the “Tags” section, type to add tags to each new flag by default.
-
Click Save.
Verify that the updated default template settings are correct by navigating to the Flags list and creating a new custom flag.