
Environments
This category explains what environments are in LaunchDarkly and how to use them to manage different business areas or areas of your product lifecycle.
Environments are organizational units contained within projects. Environments allow you to manage your feature flags throughout your entire development lifecycle, from local development through production. Typical environments within a project could be Production, QA, Staging, or individual development environments.
You can create multiple environments within each project, and all projects must have at least one environment. To learn more about projects, read Projects.
Every project starts with two environments. In this topic, learn about:
- Default environments
- View a project’s environments
- Critical environments
- Migrate content between environments
You can create as many additional environments as you need. In this category, learn how to:

You can also use the REST API: Environments
Default environments
Your first project has two environments, Test and Production, by default. Each environment has its own SDK key, client-side ID, and mobile key.
Each feature flag that you create has its own set of targeting rules for each environment. This means that you can change your flag targeting rules in a development or staging environment for QA testing before rolling out to production.
By default, LaunchDarkly marks your Production environment as “critical” to indicate that it affects your customers or the health of your systems.
View a project’s environments
To view a project’s environments:
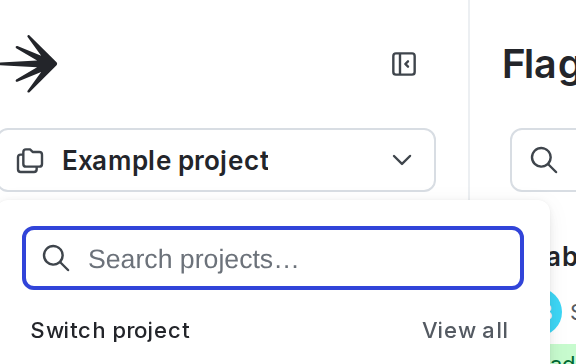
- Click the project dropdown. The project menu appears:
- Select Project settings.
- Select Environments. The Environments list appears.
Open environments
You can open environments from the Flags list, or while on a flag’s Targeting tab:
- On the Flags list, opening an environment adds that environment’s flag status to the list
- On the flag’s Targeting tab, opening an environment adds a new section with that environment’s flag targeting rules
To open an environment from the Flags list or the flag’s Targeting tab:
- Click the + next to the list of environment sections.
- Search for the environment you want, and select it from the list.
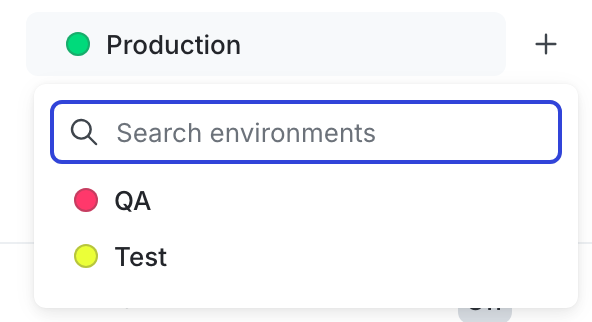
The new environment, and its related flag targeting information, appears. The number of environments you can view at once is limited by the width of your browser.
Critical environments
Critical environments, such as Production, affect your customers or the health of your systems.
When you create a new environment, we strongly recommend enabling the following safeguards for your critical environments:
- Require comments for flag and segment changes
- Require confirmation for flag and segment changes
LaunchDarkly also enables some safeguards for critical environments, such as prompting you to check these environments when you archive a flag or view flags across multiple environments. Additionally, you can create custom roles that allow or deny access to critical environments.
To mark an environment as critical after you have created it:
- Click the project dropdown. The project menu appears:
- Select Project settings.
- Select Environments. The Environments list appears.
- Click the three-dot overflow menu next to the environment.
- Select Mark as critical.
- The “Mark environment as critical” dialog appears.
- Review the recommended safeguards:
- (Optional) Select the Require comments for flag and segment changes checkbox to force members who modify flags and segments to leave a comment to explain their changes.
- (Optional) Select the Require confirmation for flag and segment changes checkbox to force members who modify flags and segments to verify they wish to make these changes.
- Click Mark as critical.
To remove the critical designation from an environment, click the three-dot overflow menu next to the environment and select Mark as non-critical.
Environment and SDK credentials
Each environment has its own SDK key, client-side ID, and mobile key, which are used to connect your applications to a specific LaunchDarkly environment. You can view these credentials from the Environments list.
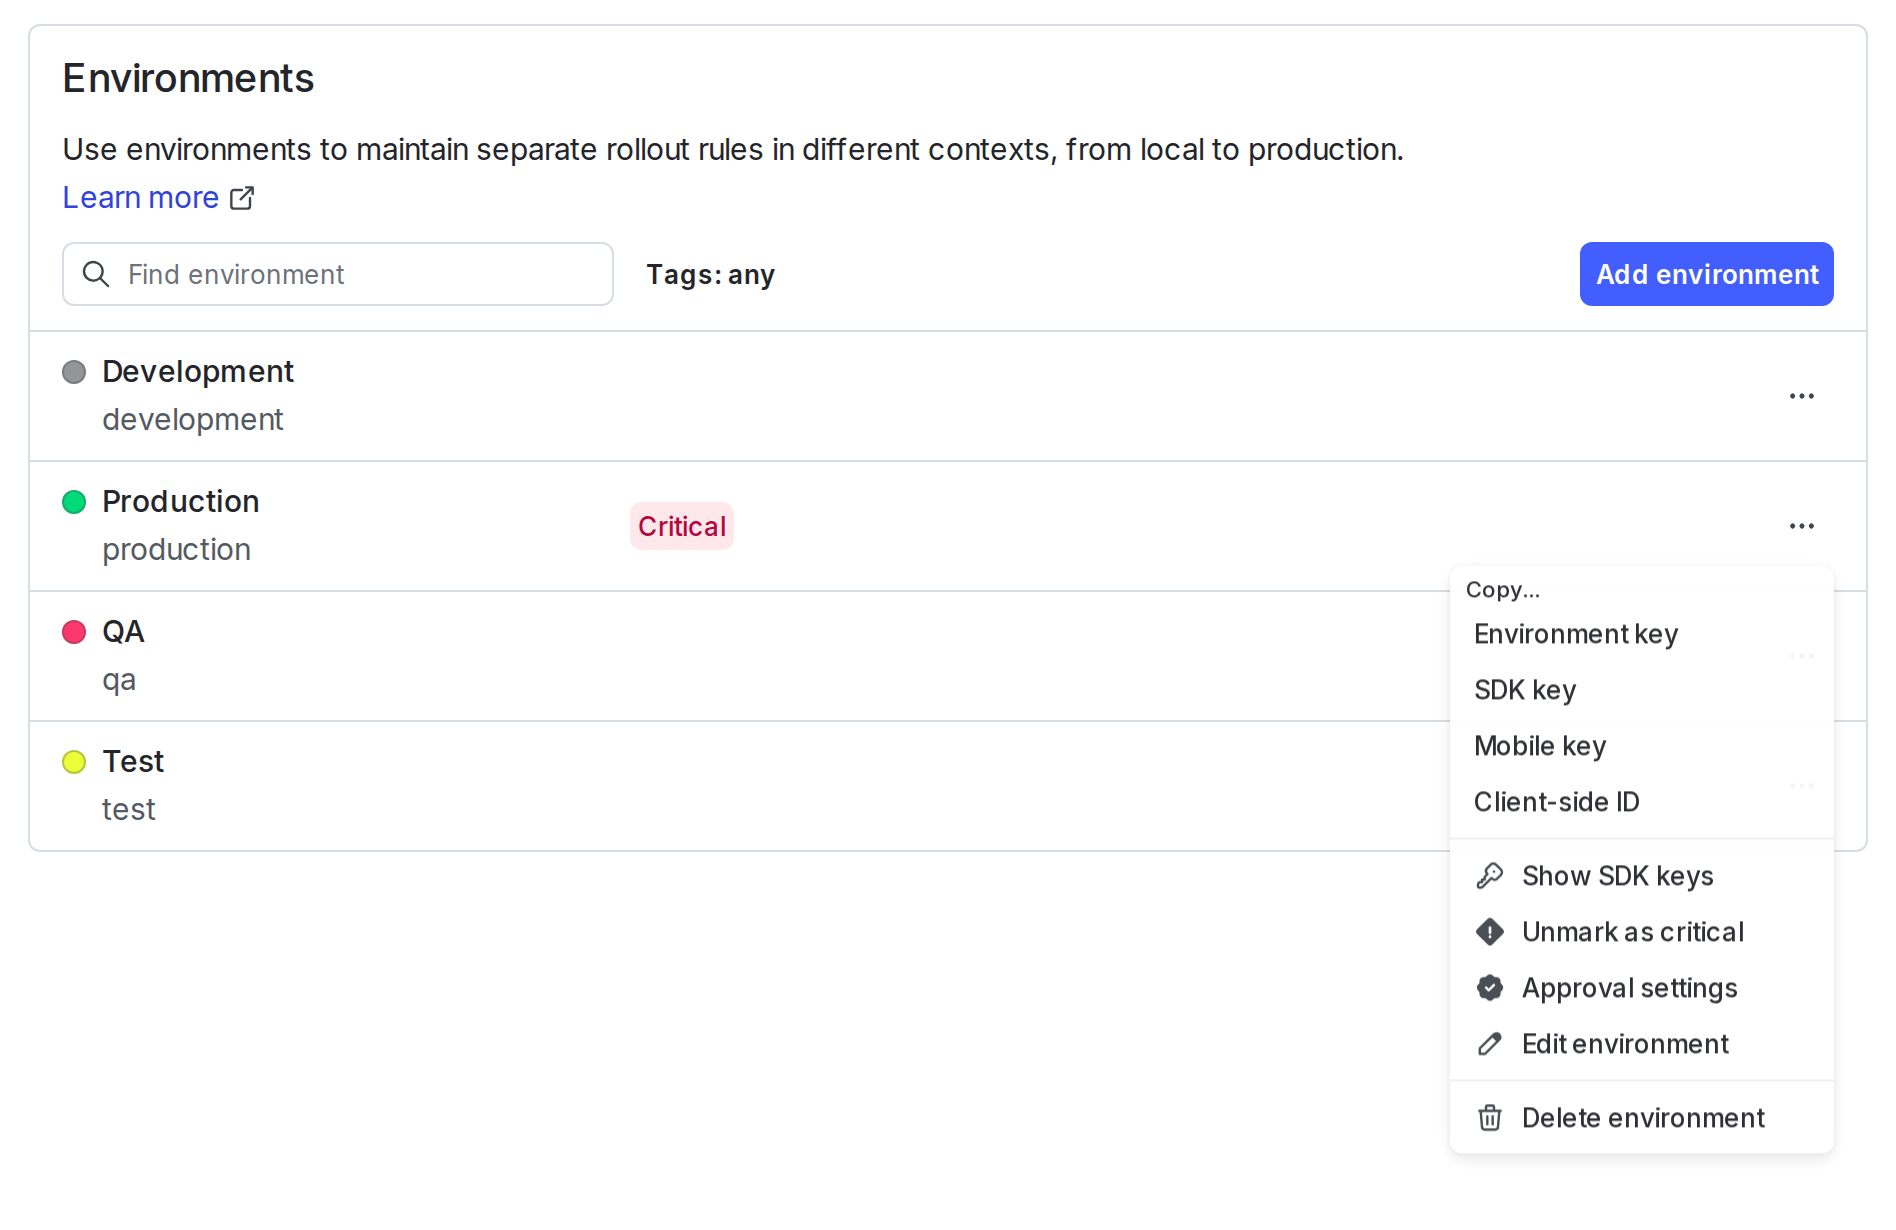
To learn how to view, copy, and reset SDK credentials, read SDK credentials.
Favorite environments
To pin environments for quick access, add them to your Favorites list. Favorites appear at the top of the Environments list.
To add an environment to your favorites list:
- From the Flags list, hover over the environment you want to add to your favorites, and click the three-dot overflow menu that appears.
- Click Add to favorites.
The environment is added to your favorites list.
You can also add an environment to your favorites list from a flag’s details page using the environment’s three-dot overflow menu.
To remove an environment from your favorites list, click Remove from favorites in the three-dot overflow menu.
Migrate content between environments
You can migrate some, but not all, content between environments from the Flags list. To learn more, read Compare and copy flag settings between two environments.
Alternatively, you can use the REST API to migrate flags from one environment to another. First, GET the feature flag you wish to import, then PATCH to update the flag configuration in production.
You can also use the REST API: Get feature flag, Update feature flag