

The advanced editor is powerfulThe advanced editor can cause large permissions changes to sensitive or confidential resources. If you use the advanced editor incorrectly, it is possible to create a role that disables your LaunchDarkly project, locks yourself out of your account, or causes other irrevocable changes.It is critically important that you read all the documentation in the Member role concepts section thoroughly before you use the advanced editor to create or modify any roles.To learn more, read Member role concepts.
Create role policies with the advanced editor
To access the advanced editor:- Click the gear icon in the left sidebar to view Organization settings.
- Click Roles in the left sidebar.
-
Click Create role. The New role page appears:
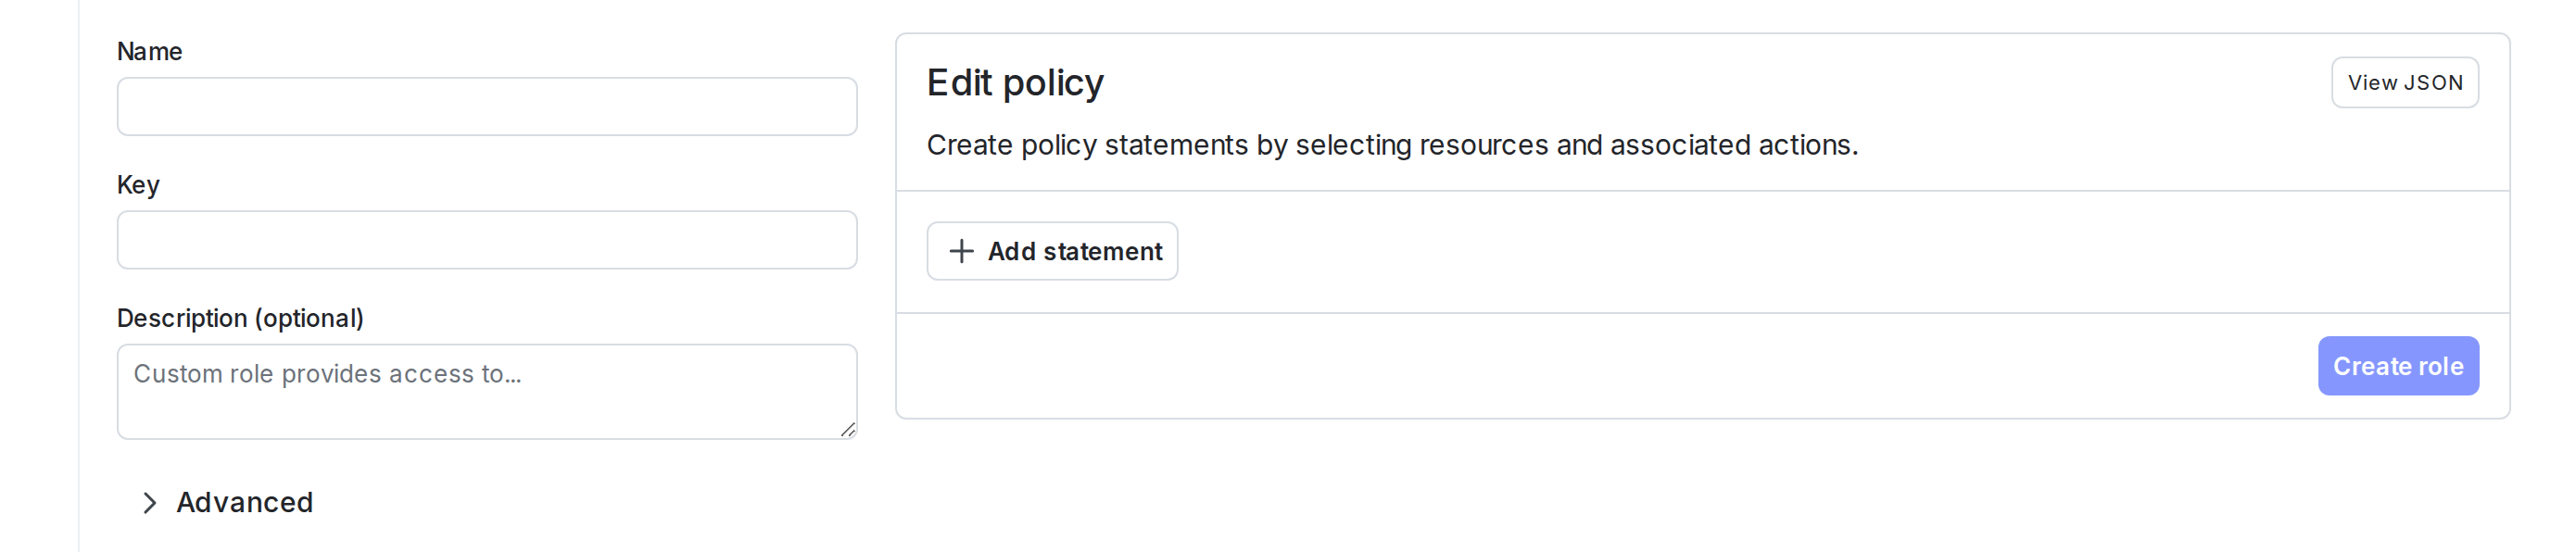
The New role page.
- In the “Edit Policy” panel, click View JSON.
- (Optional) If you do not wish to use the advanced editor, click Policy builder to return to the graphical policy builder. Continue with the procedure Create policies for roles.
-
Specify the effects, resources, and actions you wish. You can also specify inverse action and resource sets using
notActionsandnotResourcesrespectively. - Click Create role.
Syntax for the advanced editor
When you create a policy with the advanced editor, you use a JSON array to specify the policy. Each element in the policy array is a statement represented as a JSON object with three attributes:| Attribute name | Description |
|---|---|
effect | allow or deny. |
actions / notActions | A list of action specifiers defining the actions to which the statement applies or does not apply. To review the available action specifiers, read Using actions. |
resources / notResources | A list of resource specifiers defining the resources to which the statement applies or does not apply. To review the available resource specifiers, read About resource types and scopes. |
-
All instances of the resource, for example, all projects:
-
All instances of the resource with a few exceptions, for example, all projects except “Project A”:
-
Only specific instances of the resource, for example, “Project A,” “Project B,” and “Project C”:
-
Only specific instances of the resource, where the instances are specified based on a parameter, called a role attribute. You specify the value of this parameter when you assign the role to a member or team. For example, all projects whose project key will be specified by the parameter
developerProjectKeys: -
Only specific instances of the resource, where the instances have a particular tag. For example, all projects with the “example” tag:
-
Only specific instances of the resource, where the instance properties match a particular value, for example, all environments that are marked as critical:
production, then referencing proj/default:env/Production in your policy will not work. Alternatively, you can use role attributes instead of specific resource keys in your policy. To learn more, read Using role scope.
For advanced policy examples, read Example roles and policies.
Wildcards in policies
You can use an asterisk (*) as a wildcard in custom role policies. Use a wildcard in place of a list of actions when you want to match every action on a resource. This helps keeps a policy short. Using a wildcard also lets the role pick up any action LaunchDarkly adds to that resource later, without requiring a manual update to the policy.
If you use a wildcard in a custom role, the role may allow actions that bypass your safeguards. For example, on the flag resource, "actions": ["*"] grants bypassRequiredApproval, which lets the member change flag targeting without going through the approval process your environment requires. The equivalent action for segments is bypassRequiredSegmentApproval.
To grant broad access while withholding approval bypass, pair the wildcard with a deny statement. A deny statement always overrides an allow statement for the same resource and action, whatever order they appear in: