
IntelliJ IDEA
This topic explains how to configure the LaunchDarkly IntelliJ IDEA plugin and use it to interact with feature flags from within IntelliJ integrated development environments (IDEs).
Use this plugin with your favorite compatible products from JetBrains including IntelliJ IDEA, PyCharm, WebStorm, GoLand, and many others. A full compatibility list is available on the JetBrains Marketplace’s plugin listing.
With the extension, you can:
- Autocomplete feature flag keys
- View a tooltip with feature flag details when you hover over a flag key in your source code
- Open to specific feature flags in LaunchDarkly from your code editor
- View a list of feature flags and their settings in the LaunchDarkly tool window
- Update a flag’s state, fallback value, and default off variation
Prerequisites
To complete this procedure, you must have the following prerequisites:
- The IntelliJ IDEA plugin from the JetBrains Marketplace. The version must be compatible with your IDE.
- A personal access token. To learn more, read API access tokens.
Set up the IntelliJ IDEA plugin
To set up the IntelliJ IDEA plugin, you must complete the following steps:
- Give your API access token the required permissions:
- You can create a role with appropriate permissions, then add the role to a personal access token, or
- you can add the Writer base role to your personal access token.
- Configure the LaunchDarkly extension in IntelliJ IDEA with the API access token.
Give your API access token the required permissions
You can create a role with appropriate permissions then add the role to a personal, or you can add the Writer base role to your personal access token.
Create a role and add it to an API access token
Expand Create a role and add it to an API access token
Creating your own roles is only available to customers on select plans. To learn more, read about our pricing. To upgrade your plan, contact Sales.
The following example policy allows read access to all projects and write access to the minimal set of fields the plugin is able to update.
To create a role for the API access token:
-
Click the gear icon in the left sidebar to view Organization settings. The General settings page appears.
-
Click Roles.
-
Click New role. The “New role” page appears.
-
Enter a human-readable Name for the role.
-
Enter a Key for the role.
-
(Optional) Enter a Description to explain what the role does.
-
In the “Edit policy” panel, click View JSON to open the advanced editor.
-
Enter this policy in the “Editor” field:
Read access to all and write access to some projects -
Click Create role.
Add the Writer role to your personal access token
Expand Add the Writer role to your personal access token
To toggle flags from your IDE, you must generate the access token with a Writer base role. A Reader base role is sufficient for updating flag information.
To add the Writer base role to a personal access token:
- Click the gear icon in the left sidebar to view Organization settings. The General settings page appears.
- Click Authorization.
- Find the personal access token you want to add permissions to and select “Edit token” from its overflow menu. The “Edit” dialog appears.
- In the Role menu, select “Writer.”
- Click Save token.
Your personal token now has the Writer base role.
Configure the LaunchDarkly extension in IntelliJ IDEA
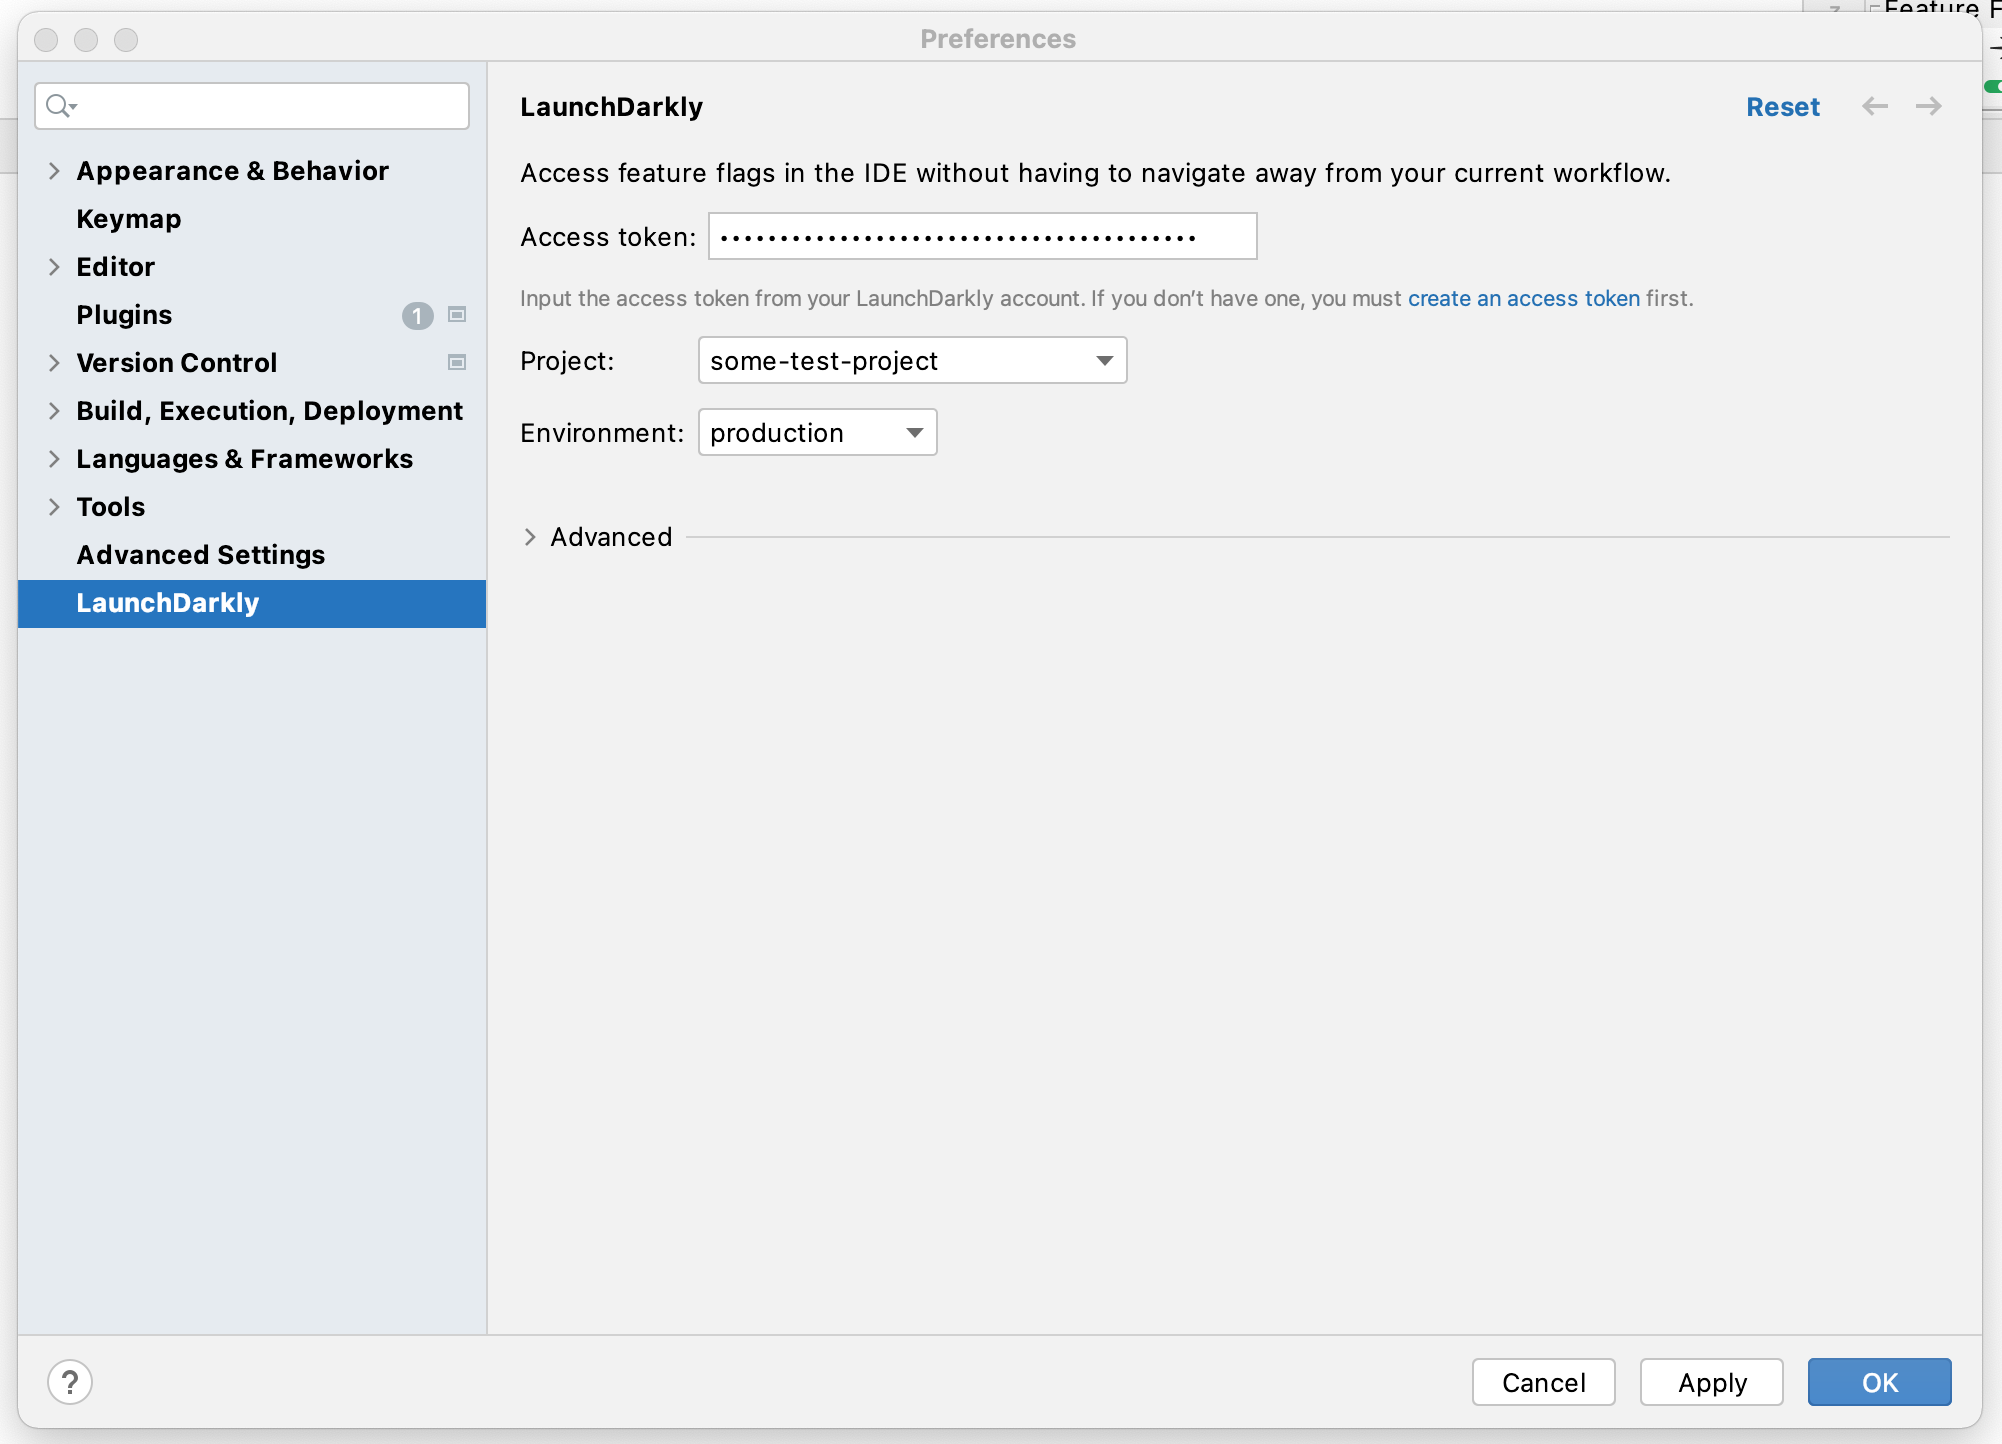
With your access token, you can finish configuring the LaunchDarkly extension in the “LaunchDarkly” menu option in the IntelliJ IDEA “Preferences” dialog.
You will need to grant IntelliJ IDEA access to system’s default credential store. This is to securely store your access token with IntelliJ’s Credential Store API. You can then provide your access token and select the project and environment associated with your IntelliJ project.
Code references in the IntelliJ IDEA plugin
The LaunchDarkly IntelliJ IDEA plugin supports code references. Configuring aliases for projects with code references makes the hover card available wherever that alias is used. To learn more, read Find flag aliases.