
Using policies
This topic explains how to work with policies for roles, integrations access, and Relay Proxy access.
Policies combine resources and actions into a set of statements that define what members can or cannot do in LaunchDarkly. To learn more, read Member role concepts.
To create a new role, read Creating roles and policies.
About the policy algorithm
The algorithm for determining whether a policy allows or denies access is as follows:
- If a statement within a policy explicitly denies access to a resource and action, access is denied. This statement overrides any other statement in the policy that allows access to the resource and action.
- If a statement within a policy explicitly allows access to a resource and action, and no statement denies access, access is allowed.
- If two different policies have conflicting permission levels, the more permissive level of access is applied.
- Any resource or action not specifically included within a policy is denied by default.
Statement order does not matter.
Account members can create access tokens that are limited to their existing permissions.
To learn more, read Minimum required actions.
You can assign multiple roles to one member, and each role has its own set of policy statements.
Permissions are cumulative across roles. If you assign multiple roles to a member, and one of those roles allows access to a resource, then access is allowed even if other roles deny that access. Adding roles to a member can only increase that member’s access.
About policies
Policies combine resources and actions into a set of statements that define what members can or cannot do in LaunchDarkly.
You use LaunchDarkly’s Policy builder to build roles by selecting combinations of resources and actions the role is allowed to or forbidden from taking on them.
You can define the resources explicitly in the role, or you can define them based on a parameter that you create. This parameter is called a role attribute. For example, you can set the value of the role attribute to “Project A” when you assign the role to member A, and then set the value of the role attribute to “Project B” when you assign the role to member B.
You can create most roles using the graphical Policy builder. If needed, you can also define a role directly in JSON, using the advanced editor.
Create policies in the policy builder
When you create a policy using the policy builder, you use the Scope menu to specify the resources this policy affects, and the Actions menu to specify whether to allow or deny particular actions on these resources:
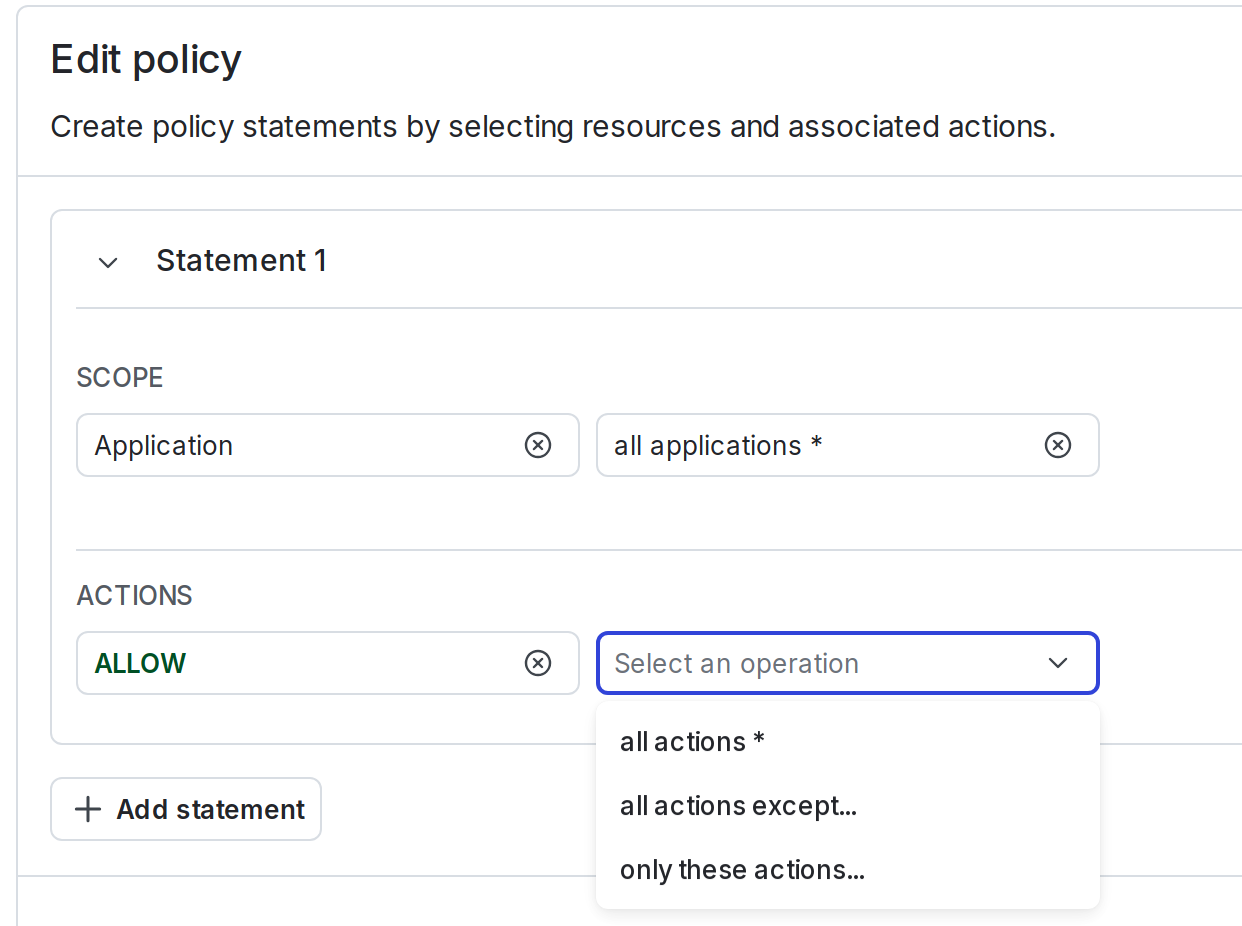
To learn more, read Create policies for roles.
Create policies in the advanced editor
The advanced editor uses JSON to specify the policy.
For a full list of available resources, read Using resources. Resource specifiers can also include modifiers, such as tags and property-based selectors. To learn more, read Member role concepts.
You can create detailed and complex policies with the advanced editor. To learn more, read Using the advanced editor.